Advertisement
Food & Drink 3m read
8

How To Pulverize Garlic in Just Seconds Using an Immersion Blender

Having garlic on hand is a given for nearly every home cook. It’s a key ingredient in so many dishes worldwide that you couldn’t possibly list them all. But prepping those cloves can be time-consuming. After peeling, you still have to chop them — and because most recipes call for a fine mince, this process can take a long time, especially if you’re cooking for a crowd.

All featured products and deals are selected independently and objectively by the author. House Outlook may receive a share of sales via affiliate links in content.

Having garlic on hand is a given for nearly every home cook. It’s a key ingredient in so many dishes worldwide that you couldn’t possibly list them all. But prepping those cloves can be time-consuming. After peeling, you still have to chop them — and because most recipes call for a fine mince, this process…

Don’t Chop, Pulverize

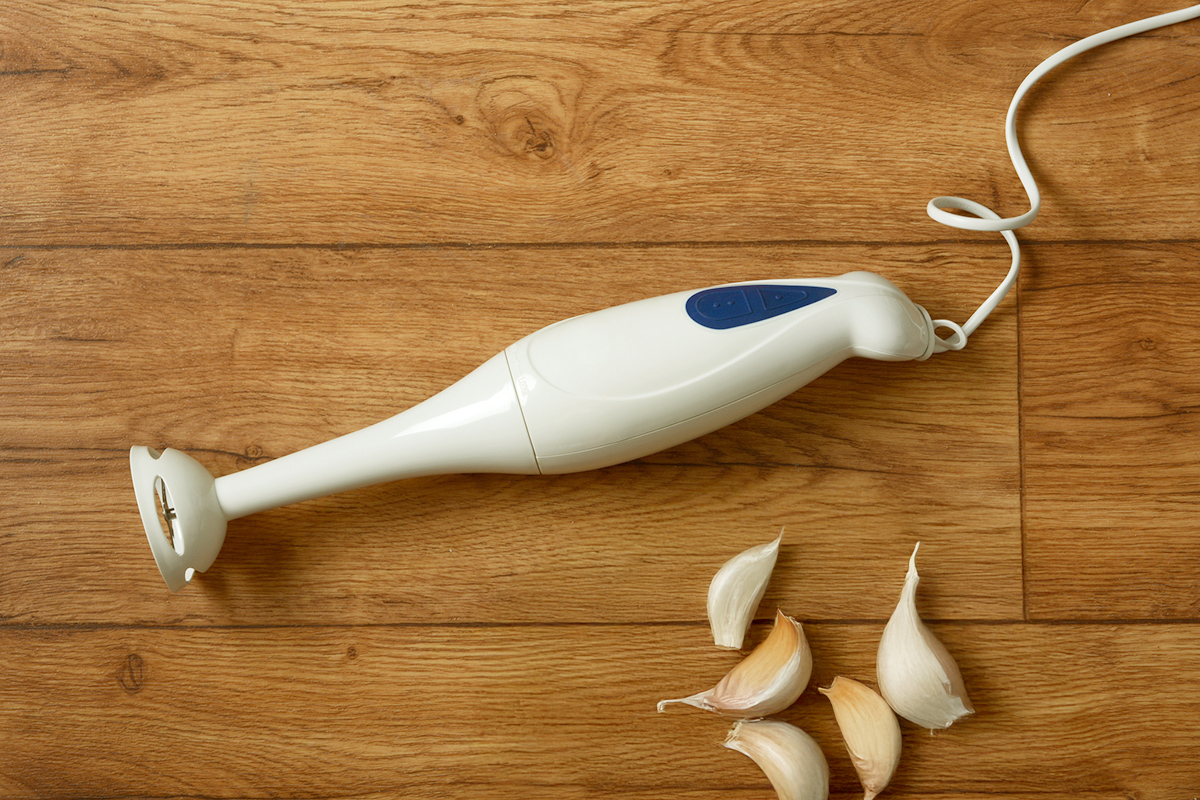
If you own an immersion blender, though, you can whip up minced garlic in mere seconds, saving you the time and effort of chopping it yourself. With the power off for safety, hold your immersion blender with the blades facing up. Place several peeled garlic cloves between the blades, making sure they fit within the bell-shaped blade guard. Cover the entire head of the immersion blender tightly with an open, resealable plastic bag, using one hand to secure it around the shaft. Then, turn on your immersion blender — start with a low setting — and in just a few seconds, your garlic will be pulverized. As a bonus, you won’t have to deal with that persistent garlic smell on your fingers.

Related: How To Save Time Peeling Lots of Garlic

This hack also works for mincing ginger, shallots, and chilies, or for grinding spices such as peppercorns, cumin seeds, coriander seeds, fennel seeds, and mustard seeds. Because the mess is contained in a plastic bag, your favorite aromatics are easy to store and ready to use. 

Advertisement

How To Store Minced Garlic in the Freezer

Looking to save time by prepping garlic in bulk? Mince several bulbs of garlic at once using a food processor (or do multiple rounds of the immersion blender trick). Put the minced garlic into a freezer-safe plastic bag and roll it flat with a rolling pin or your hands. Next, use the back of a knife to draw (not cut) a grid of vertical and horizontal lines across the bag. Place it in the freezer on a flat surface. Once it’s frozen, you’ll have perfectly portioned garlic squares that you can pop out and use as needed whenever you cook.

Advertisement
Featured Image Credit:  Credit: al62/ iStock | Updated  Mar 3, 2026 |
Allegra Ringo
Writer
Allegra Ringo is a California-based writer who has written for publications including Reductress, The Hard Times, VICE, and The Atlantic. She loves sparkling water and old Chihuahuas with hardly any teeth, like her dog Pistachio.
This article is for general informational purposes only.
Featured Image Credit:  Credit: al62/ iStock | Updated  Mar 3, 2026 |
Advertisement
Cleaning 3m read
956

The Trick To Saving Sweat-Stained Hats

Many people have a favorite ballcap, whether it shows off a sports superfandom, provides sun protection, or hides messy hair. But as you wear that hat, the fabric inevitably develops unsightly sweat stains. While you might think the washing machine is your best option, be careful — that appliance can easily damage the cap’s shape. Here’s a trick to restore vibrancy to any sweaty hat without turning it into a floppy mess.

All featured products and deals are selected independently and objectively by the author. House Outlook may receive a share of sales via affiliate links in content.

Many people have a favorite ballcap, whether it shows off a sports superfandom, provides sun protection, or hides messy hair. But as you wear that hat, the fabric inevitably develops unsightly sweat stains. While you might think the washing machine is your best option, be careful — that appliance can easily damage the cap’s shape.…

A No-Sweat Solution

Creating a homemade cleaning paste is a much safer alternative to the washing machine. To make the solution, mix 1/2 cup of baking soda with 1 tablespoon of fine-grain table salt and 1 tablespoon of 3% hydrogen peroxide. Combine those ingredients in a small bowl, grab a soft-bristled brush (such as an old toothbrush or a laundry stain brush), and you’re ready to begin.

Before applying the mixture, dip your brush into the paste and test it on an inconspicuous part of the hat. This spot test is essential to ensure the solution won’t damage or discolor the fabric. Wait 20 to 30 minutes, or until the paste is completely dry, to check the results.

Once you know that the paste is fabric-safe, slather it on the inside of the hat, focusing on the sweatband and any other problem areas. Use your soft brush to scrub the paste into the fabric with small, circular motions. Let the paste sit for at least 20 minutes. The hydrogen peroxide acts as a color-safe bleach to remove stains, while the baking soda and salt work together to neutralize odors and scrub away oils.

Advertisement

After 20 minutes, submerge the hat in cool water to rinse away the paste — assuming the material is durable enough. While this method works for sturdier modern hats, be cautious with vintage hats made before the 1980s. These may contain cardboard brims that will lose their shape if soaked. For older hats, carefully wipe the paste away with a damp towel instead.

Related: Harness the Sun To Remove Stains Naturally

Molded to Perfection

After removing the paste, let the hat air-dry. To maintain its shape, place the cap on a rounded object that resembles the shape of a human head, such as an upside-down bowl. This helps prevent the hat from flattening, ensuring it’s ready to wear once dry. If any stubborn sweat stains persist, repeat the process until the cap is clean enough for your liking.

Advertisement
Featured Image Credit:  Porechenskaya/ iStock | Updated  Mar 5, 2026 |
Bennett Kleinman
Staff Writer
Bennett Kleinman is a New York City-based staff writer for Inbox Studio, covering topics for several brands including House Outlook and Better Report. He previously contributed to television programs such as "Late Show With David Letterman" and "Impractical Jokers," and digital publications like The Onion. Bennett is also a devoted New York Yankees and New Jersey Devils fan, and thinks plain seltzer is the best drink ever invented.
This article is for general informational purposes only.
Featured Image Credit:  Porechenskaya/ iStock | Updated  Mar 5, 2026 |
Advertisement
Food & Drink 2m read
0

Adding Water to Bacon Sounds Wrong — But It’s Actually Genius

If you’ve ever mustered the courage to attempt classic French dishes such as beef bourguignon or coq au vin, you may have noticed that the recipes take an odd approach to preparing bacon. It’s cut into lardons — relatively thick, inch-long strips — which are then simmered in water to render the fat before being crisped in their own juices. It sounds counterintuitive — after all, water is usually the enemy of crispness — but it actually works beautifully.

If you’ve ever mustered the courage to attempt classic French dishes such as beef bourguignon or coq au vin, you may have noticed that the recipes take an odd approach to preparing bacon. It’s cut into lardons — relatively thick, inch-long strips — which are then simmered in water to render the fat before being…

You can use this chef-style technique for your breakfast bacon, too. Even if you’re skeptical, one try will prove that it’s the secret to the best bacon ever. Here’s a breakdown of how and why it works.

Low Temperature Is the Key to Better Bacon

If your usual approach is to warm up a pan and slap your bacon right in, you’ll still get decent results. (Let’s face it — even mediocre bacon is still pretty good.) The problem is that the pan conducts heat only to the parts of the bacon in direct contact with it. As the meat contracts in the high heat, it wrinkles and curls. This leaves you with corrugated bacon where relatively little of the strip touches the pan.

Advertisement
Related: An Easy Way To Safely Discard Cooking Oil

It’s better to lay out your bacon in a cold pan, then pour about 1/4 cup of cold tap water over the strips before turning up the heat. The water does two things: It keeps the pan’s temperature low, since water can’t exceed 212 degrees Fahrenheit, and it distributes heat evenly to every inch of the bacon. That helps the fat render out more effectively. Once the water evaporates, that rendered fat browns and crisps the bacon perfectly. It takes a few extra minutes, but the results are worth the wait.

Advertisement
Featured Image Credit:  vitalssss/ iStock | Updated  Feb 24, 2026 |
Fred Decker
Writer
Fred Decker is a trained chef and former restaurateur. Since closing his restaurants over a decade ago he has been a prolific freelance writer, publishing several thousand articles on dozens of high-volume websites including Taste Of Home, Hunker, Tasting Table, Week&, eHow, and GOBankingRates. He lives on a rural acreage shared with a big garden, chickens, rabbits, and grandkids.
This article is for general informational purposes only.
Featured Image Credit:  vitalssss/ iStock | Updated  Feb 24, 2026 |
Advertisement
Cleaning 2m read
0

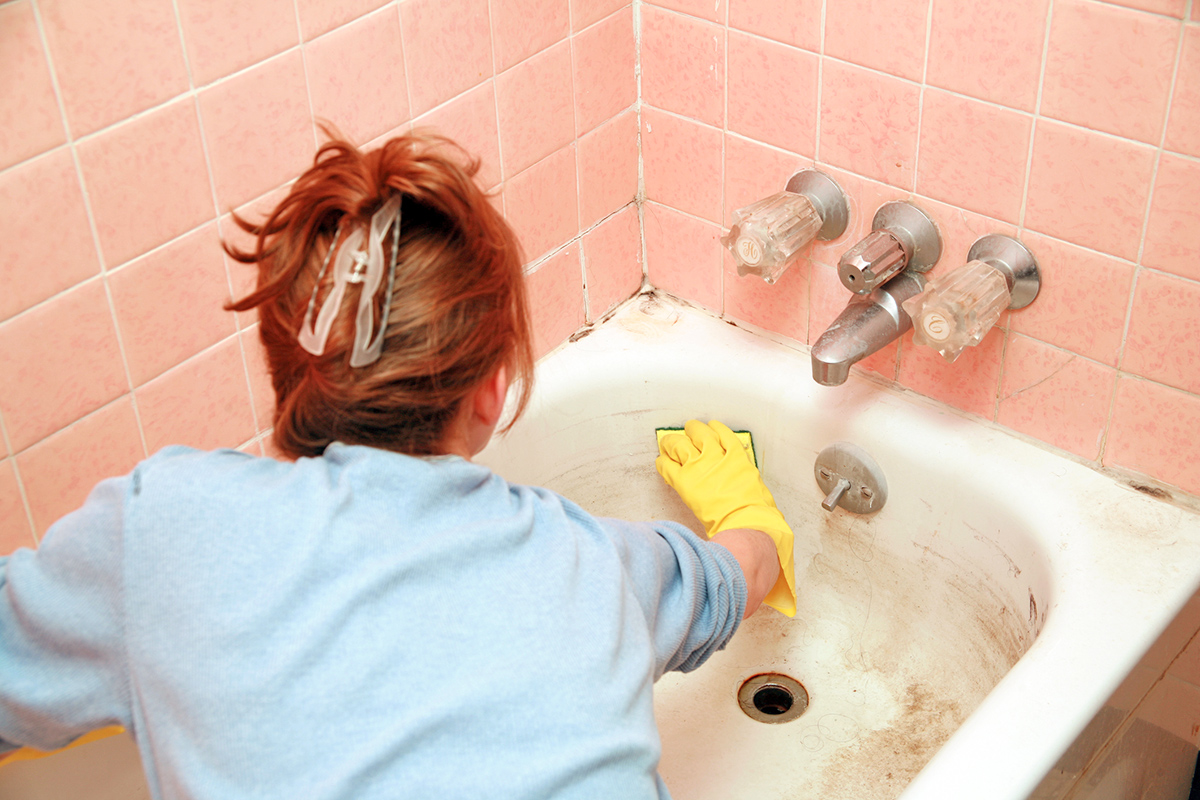
Clean Your Grimy Bathtub in Half the Time

As relaxing as a bath can be, keeping the tub clean is tough. It’s one of those spots in the home that gets grimy seemingly as soon as you’re done scrubbing it; between daily use and the constant humidity in your bathroom, buildup can appear in just a few days. Fortunately, there are easy ways to keep your tub looking fresh. Simple habits such as a post-shower squeegee or a quick rinse after a bath go a long way, but if you’re dealing with existing stains, this DIY cleaner is exactly what you need.

All featured products and deals are selected independently and objectively by the author. House Outlook may receive a share of sales via affiliate links in content.

As relaxing as a bath can be, keeping the tub clean is tough. It’s one of those spots in the home that gets grimy seemingly as soon as you’re done scrubbing it; between daily use and the constant humidity in your bathroom, buildup can appear in just a few days. Fortunately, there are easy ways…

Out With the Grime, In With a DIY Cleaner

If you guessed that baking soda is partially responsible for removing those stubborn stains, you’re correct. (Honestly, what can’t baking soda fix?) To get your bathtub sparkling again, all you need is baking soda and 3% hydrogen peroxide.

Mix two parts baking soda with one part 3% hydrogen peroxide to create a thick paste. Apply the mixture to any bathtub stains — whether it’s soap scum or hard water — and let it sit for anywhere from 10 minutes to an hour, depending on the severity of the discoloration.

After allowing the paste to work its magic, take a nonabrasive sponge and begin scrubbing. Buff the paste into the stains and watch them disappear. Between the gentle abrasiveness of the baking soda and the stain-fighting power of the hydrogen peroxide, bathtub grime doesn’t stand a chance. Just give it a thorough rinse afterward, and your bathtub will be looking brand-new.

Advertisement
Related: Get Rid of Soap Scum Buildup on Shower Doors

Stubborn Stains? No Problem

If you have a stain that just won’t budge, don’t give up yet. You can repeat the process, but instead of waiting only 10 minutes, let the paste sit for the full hour. This allows the ingredients to really sink in before you scrub your way to a stain-free tub.

Advertisement
Advertisement
Organizing 3m read
0

How To Keep Your Home Tidy With Almost Zero Effort

If you’ve ever looked around your living room and wondered how all those little messes piled up so fast, you’re in good — if slightly cluttered — company. Busy schedules, family chaos, and an ever-growing to-do list can make a clean house feel like an impossible feat. But what if the secret to a tidier space is not a major cleaning overhaul or a fancy new storage system, but a tiny habit that takes less than 60 seconds?

If you’ve ever looked around your living room and wondered how all those little messes piled up so fast, you’re in good — if slightly cluttered — company. Busy schedules, family chaos, and an ever-growing to-do list can make a clean house feel like an impossible feat. But what if the secret to a tidier…

Enter the “one-minute rule” — a simple mindset shift that keeps your home neat without the stress.

What’s the One-Minute Rule?

If a task takes 60 seconds or less to complete, do it right away instead of postponing it. This idea turns quick actions into major long-term payoff. By tackling small chores the moment they pop up, you stop the mess before it ever has the chance to become clutter.

Why It Works

Clutter isn’t born from big messes — it’s created by lots of tiny ones. A lone sock on the floor, a single dish in the sink, a stack of mail on the counter — each feels harmless, until, suddenly, it isn’t.

The brilliance of the one-minute rule lies in its simplicity:

It’s fast: You have dozens of “spare” minutes every day.

It’s automatic: Acting immediately trains your brain to stop procrastinating.

It prevents buildup: Small actions stop minor messes from becoming a major headache.

By handling these micro tasks in the moment, you reclaim your space — clearing both the clutter on your counters and the noise inside your head.

Advertisement

How To Practice It Daily

Here are easy, everyday ways to make the one-minute rule work in your household:

• Hang up your jacket as soon as you walk in the door.

• Wipe the bathroom counter after getting ready.

• Return books to the shelf when you’re done reading.

• Toss trash and recyclables right away.

• Go through the mail as you receive it.

Related: ‘Scary Hour’ Helps You Complete Tasks You Don’t Want To Do

Eventually, your home stays orderly without the need for marathon cleaning sessions, and your brain finally gets a break from carrying around all those little to-dos.

Advertisement
Featured Image Credit:  Daiga Ellaby/ Unsplash | Updated  Mar 3, 2026 |
Jill Layton
Writer
Jill Layton started writing professionally when she realized her emails and texts were kinda funny. She’s an affiliate shopping writer and lifestyle contributor for Scary Mommy, Bustle, Mic, and Best Products. She’s the mom of two alarmingly witty kids and the world’s most perfect dog.
This article is for general informational purposes only.
Featured Image Credit:  Daiga Ellaby/ Unsplash | Updated  Mar 3, 2026 |
Advertisement
Home Improvement 3m read
0

The 30-Second Test To Find Hidden Drafts in Your Home

Whether cold or warm, drafty air is more than just an annoyance — it forces your HVAC unit to work overtime. But much like finding a needle in a haystack, locating the source of these drafts can feel nearly impossible. While searching for the leak might seem like an uphill battle, the solution is actually quite simple. And best of all, tracking down the source will take only about 30 seconds.

All featured products and deals are selected independently and objectively by the author. House Outlook may receive a share of sales via affiliate links in content.

Whether cold or warm, drafty air is more than just an annoyance — it forces your HVAC unit to work overtime. But much like finding a needle in a haystack, locating the source of these drafts can feel nearly impossible. While searching for the leak might seem like an uphill battle, the solution is actually…

Follow the Trail

Most people use incense to make their homes smell amazing, though some burn it while tailgating in a parking lot before seeing a Grateful Dead cover band. But beyond the pleasant aroma, a lit incense stick produces a thin trail of smoke that can be used as a helpful visual guide to help you find drafts. The logic is that a lit incense stick normally produces smoke that slowly wafts upward. However, if that smoke begins to move in an irregular direction, it may be because of an air leak.

Before starting the test, turn off anything that produces a breeze, such as a fan, an air purifier, or an HVAC unit. You should also close every window and door to isolate the airflow in each room — this makes it easier to pinpoint where the draft is coming from.

Once you’ve sealed the perimeter, light a stick of incense and carry it around the room, pausing anywhere drafty air could theoretically creep inside. Common culprits include window frames, the gaps under doors, floor vents, electrical outlets and switches, recessed can lights, fireplace dampers, and attic hatches. If there’s a leak, that incoming air will cause the smoke to change course. You might see the trail suddenly switch directions, pick up speed, or spiral in an unusual way — giving you a clear visual of the “invisible” draft.

Advertisement
Related: 12 Things Silently Draining Your Wallet Every Month

You Found a Leak — Now What?

When that smoke trail starts to waver, you’ve located the source of the draft. Now it’s time to troubleshoot. While the exact solution depends on the issue, most are easy fixes. If air is sneaking under a door, consider a draft stopper. For leaky windows, caulk may need to be added where the frame meets the siding, or the weather stripping along the sashes may need to be replaced. You can seal drafty electrical outlets with foam gaskets, and stop attic air leaks by insulating the hatch with rigid foam board and weather stripping.

There’s still work to be done, but at least you’ve solved the mystery of where that draft is coming from.

Advertisement
Featured Image Credit:  YEVHEN HOLOBORODKO/ iStock | Updated  Mar 4, 2026 |
Bennett Kleinman
Staff Writer
Bennett Kleinman is a New York City-based staff writer for Inbox Studio, covering topics for several brands including House Outlook and Better Report. He previously contributed to television programs such as "Late Show With David Letterman" and "Impractical Jokers," and digital publications like The Onion. Bennett is also a devoted New York Yankees and New Jersey Devils fan, and thinks plain seltzer is the best drink ever invented.
This article is for general informational purposes only.
Featured Image Credit:  YEVHEN HOLOBORODKO/ iStock | Updated  Mar 4, 2026 |
Advertisement
Cleaning 3m read
0

Keep Your Faucets Cleaner for Longer

Hard water marks on faucets are like fingerprints on stainless steel appliances — unsightly little reminders of daily life that nobody enjoys the look of. The unfortunate truth is that these spots are unavoidable if you use the sink or tub. However, you can keep your fixtures looking shinier for longer with a simple trick, and all it takes is an ordinary candle.

All featured products and deals are selected independently and objectively by the author. House Outlook may receive a share of sales via affiliate links in content.

Hard water marks on faucets are like fingerprints on stainless steel appliances — unsightly little reminders of daily life that nobody enjoys the look of. The unfortunate truth is that these spots are unavoidable if you use the sink or tub. However, you can keep your fixtures looking shinier for longer with a simple trick,…

More Than Just a Warm Glow

In addition to setting a relaxing mood, candles are an unlikely secret weapon for preventing water marks on faucets. While there’s no way to avoid these marks altogether, you can keep your fixtures looking clean for days longer. The wax acts as a protective layer, which causes the water to bead up and roll off instead of sitting on the surface and leaving behind mineral deposits.

Related: Why You Should Rub Wax Paper on Your Closet Rod

Wax On, Water Off

To get started, you’ll need a white, unscented candle — skip those with colors or scents, as they could stain the finish and leave your bathroom reeking of patchouli. Beyond that, all you’ll need is a microfiber cloth. If you don’t have a candle or would prefer not to waste one, wax paper, beeswax bars, and even jarred wax work just as well. As long as the substance is waxy, scentless, and colorless, it’ll get the job done.

Advertisement

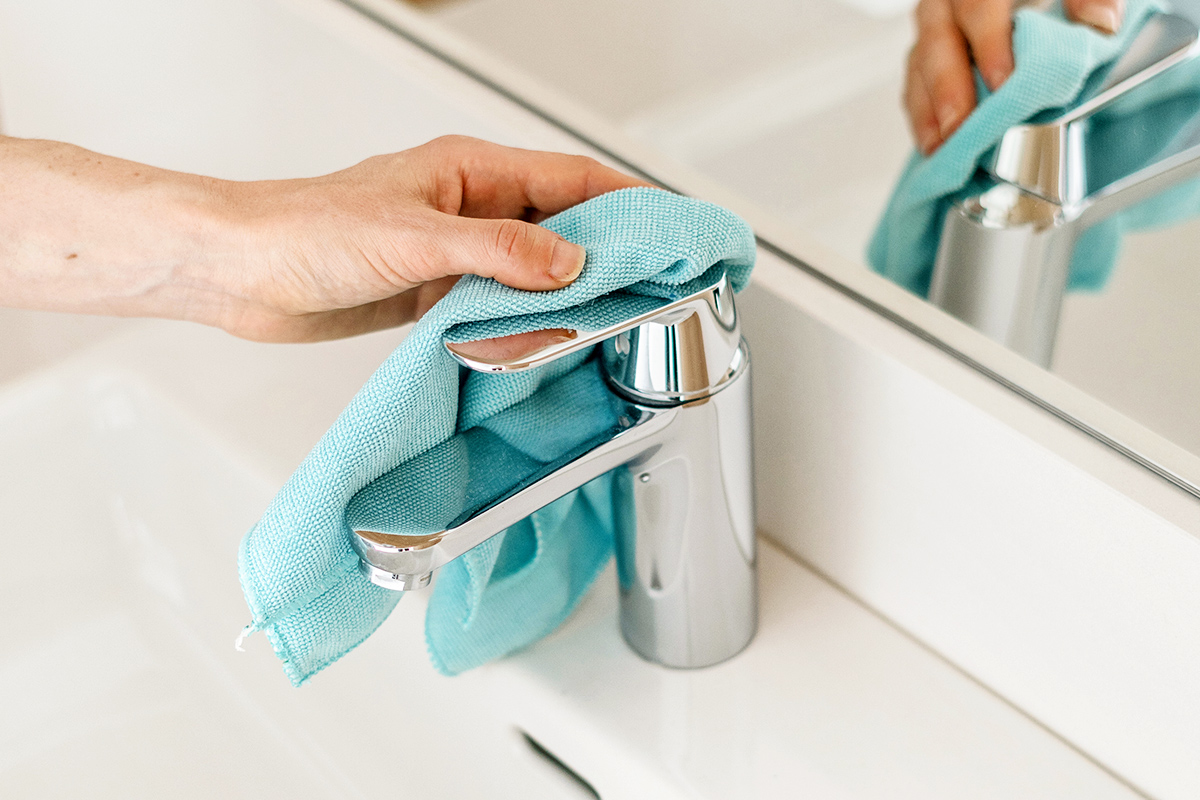
Take your candle and rub it all over the faucet until a visible layer begins to form. Don’t worry about the finish; the wax is soft and won’t cause scuffing. Next, take a clean, dry microfiber cloth and use it to buff the wax into the faucet — this will leave it looking bright and shiny. But more importantly, that protective barrier will keep your faucet pristine and stain-free for days, if not weeks.

This trick isn’t a permanent fix, but it’s a whole lot better than worrying about water stains forming every time you turn on the tap. For the best results, plan to reapply the wax every five to seven days — a small price to pay when you consider how much time you used to spend scrubbing away those stubborn mineral deposits.

Advertisement
Featured Image Credit:  brizmaker/ iStock | Updated  Feb 24, 2026 |
Bennett Kleinman
Staff Writer
Bennett Kleinman is a New York City-based staff writer for Inbox Studio, covering topics for several brands including House Outlook and Better Report. He previously contributed to television programs such as "Late Show With David Letterman" and "Impractical Jokers," and digital publications like The Onion. Bennett is also a devoted New York Yankees and New Jersey Devils fan, and thinks plain seltzer is the best drink ever invented.
This article is for general informational purposes only.
Featured Image Credit:  brizmaker/ iStock | Updated  Feb 24, 2026 |
Advertisement
Decorating 3m read
0

The Optical Illusion That Brightens Up Dark Corners

If you have a small bedroom, there isn’t much you can do about the square footage. Unless you’re a homeowner with a renovation budget and room to expand, you’re likely stuck with the existing footprint. To make matters worse, limited natural light often exaggerates dim corners, making even a thoughtfully decorated space feel closed in.

All featured products and deals are selected independently and objectively by the author. House Outlook may receive a share of sales via affiliate links in content.

If you have a small bedroom, there isn’t much you can do about the square footage. Unless you’re a homeowner with a renovation budget and room to expand, you’re likely stuck with the existing footprint. To make matters worse, limited natural light often exaggerates dim corners, making even a thoughtfully decorated space feel closed in.

Fortunately, you don’t need to knock down walls to brighten up a small space. With one simple styling trick, you can visually double your light and soften shadows. All it takes is placing a mirror behind each nightstand with a lamp positioned in front of it. It sounds almost too easy, but the effect is surprisingly transformative.

Why Reflecting Light Helps Small Spaces

It’s simple science: A mirror positioned directly behind a nightstand lamp catches the light, bouncing the glow around the room. Instead of light radiating in just one direction, it reaches the walls, the ceiling, and even the darkest corners.

This trick works because the human eye interprets reflection as depth. When your brain sees the lamp and part of the room repeated in the mirror, it perceives more space than actually exists. The effect is immediate: Hard shadows soften, the ceiling looks taller, and the room feels less confined.

This optical illusion is especially helpful in bedrooms where overhead lighting is often too harsh, but it’s equally useful in entryways, hallways, living spaces, and other low-light areas.

Advertisement

How To Style the Nightstand

The scale of the mirrors is important. Choose a style that’s slightly narrower than the nightstand so the arrangement appears balanced. Leaning a mirror against the wall creates a relaxed look, while mounting it produces a tailored effect.

Related: The Mirror-Hanging Mistake Almost Everyone Makes

For the prettiest glow, opt for warm bulbs around 2700 Kelvin and lampshades in soft white or linen. The diffused light prevents glare and creates a flattering reflection. Leave a few inches between the lamp and mirror so the light can spread naturally, and keep cords neatly tucked away. In minutes, a once-dim bedroom will feel bigger and brighter.

Advertisement
Featured Image Credit:  Africa Studio/ Adobe Stock | Updated  Feb 24, 2026 |
Megan McCarty
Writer
Megan McCarty is a Los Angeles-based writer who covers the fun stuff: design, travel, wellness, beauty, and fashion. She has written for publications including Domino, The Spruce, MyDomaine, Bustle, and Rue Magazine. Her life rules include, but are not limited to, zipper when merging, contribute to your IRA, and do the nice thing.
This article is for general informational purposes only.
Featured Image Credit:  Africa Studio/ Adobe Stock | Updated  Feb 24, 2026 |
Advertisement
Food & Drink 3m read
0

The Secret to Always Buying Fresh Olive Oil

How many cooking oils do you keep in your pantry? Ideally, we’d have exactly the right type of oil for every culinary task, but that would get unwieldy quickly. Cooking oils are perishable, after all, and take up a lot of shelf space. Most home cooks find it easier to use one general-purpose oil as their workhorse, keeping a high-quality extra-virgin olive oil on standby for moments when the flavor truly matters.

All featured products and deals are selected independently and objectively by the author. House Outlook may receive a share of sales via affiliate links in content.

How many cooking oils do you keep in your pantry? Ideally, we’d have exactly the right type of oil for every culinary task, but that would get unwieldy quickly. Cooking oils are perishable, after all, and take up a lot of shelf space. Most home cooks find it easier to use one general-purpose oil as…

But here’s the thing: While all oils eventually go bad, extra-virgin olive oil begins losing its fresh flavor the minute it’s pressed. Its distinctive profile comes from polyphenols, natural antioxidants that help the oil stay stable. However, these compounds are delicate and fade over time. This causes the oil to “go flat” long before it actually becomes unsafe to consume. So, buying the freshest bottle you can find is the secret to getting the best flavor.

The “Best By” Date Isn’t Your Guide to Freshness

Now, you might think picking a fresh oil is easy: Just look at the “best before” date and you’re good, right? Well …not exactly. Those dates are unregulated at the federal level in the United States, so manufacturers can be quite generous with them. The date you actually want is the harvest date, which you’ll find on any high-quality bottle of extra-virgin olive oil. Keep in mind that olives are harvested in late fall and early winter — typically October through December in the Northern Hemisphere, and April through June in the Southern Hemisphere.

Related: When You Should Toss Old Spices

Look for a harvest date within the past year — the more recent, the better. It takes time to press, bottle, and ship the oil, so while the timeline varies by producer and region, aiming for a year or less is your best bet. Premium olive oils offer a range of grassy, peppery, herbal, floral, or fruity notes, but these qualities fade quickly after pressing. So, wherever you happen to live, make freshness your top priority.

Advertisement

A Few More Olive Oil Tips

Here are a few more tips for finding the best bottle:

• Always buy your oil in a dark glass bottle or a tin. Light degrades the oil faster. 

• California-grown EVOO is lab-verified by law. Oils with a designated geographic origin, such as DOP/PDO (Europe) or COOC (California), usually adhere to stricter quality standards. 

• Attend tastings whenever you can. You’ll soon be able to recognize quality just by the flavor. 

• Some oil producers sell directly to the consumer. This cuts out the retail lag time, which ideally results in fresher oil.

Advertisement
Featured Image Credit:  sergeyryzhov/ iStock | Updated  Feb 24, 2026 |
Fred Decker
Writer
Fred Decker is a trained chef and former restaurateur. Since closing his restaurants over a decade ago he has been a prolific freelance writer, publishing several thousand articles on dozens of high-volume websites including Taste Of Home, Hunker, Tasting Table, Week&, eHow, and GOBankingRates. He lives on a rural acreage shared with a big garden, chickens, rabbits, and grandkids.
This article is for general informational purposes only.
Featured Image Credit:  sergeyryzhov/ iStock | Updated  Feb 24, 2026 |
Advertisement
Cleaning 3m read
0

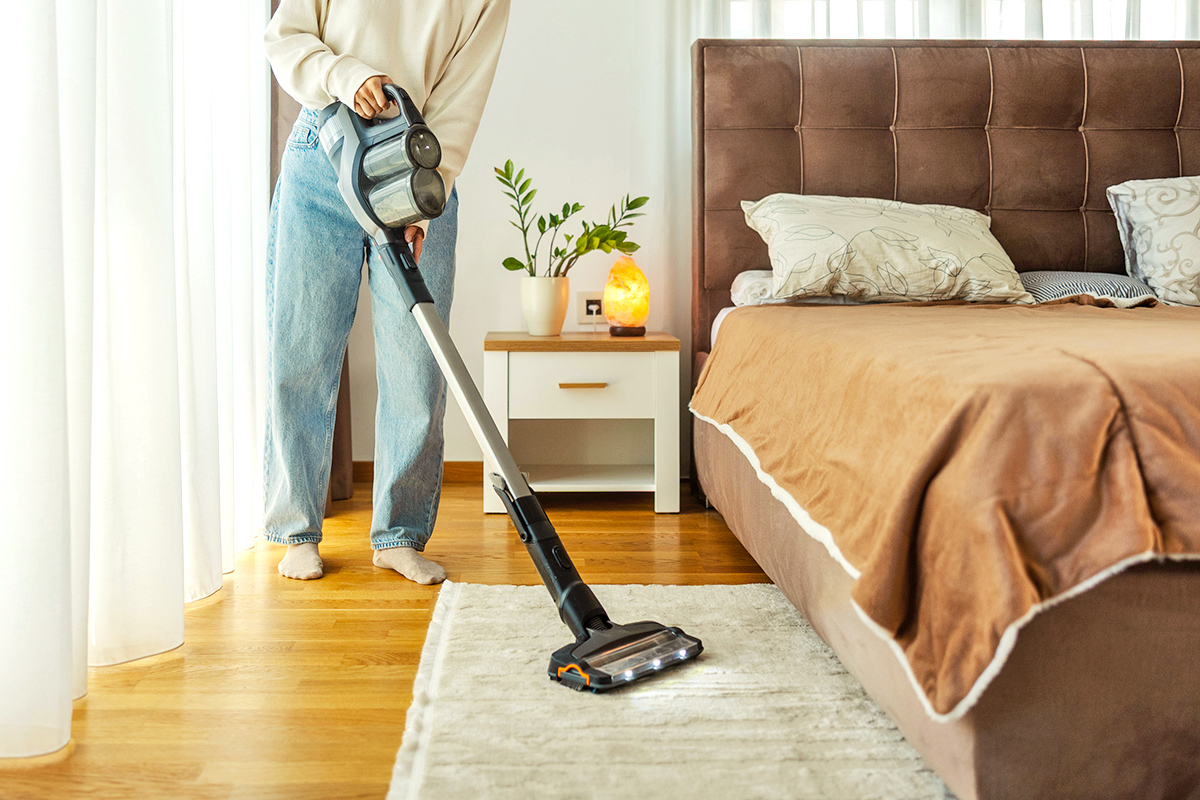
Are You Vacuuming Too Fast?

Most people vacuum like company is arriving any minute — though, to be fair, sometimes they actually are. A few quick laps around the room, some noisy passes, and you’re finished — or so you think. The “slow vacuuming” trend resurfacing on TikTok suggests that this rush-job approach might be the reason why your floors never feel truly clean.

Most people vacuum like company is arriving any minute — though, to be fair, sometimes they actually are. A few quick laps around the room, some noisy passes, and you’re finished — or so you think. The “slow vacuuming” trend resurfacing on TikTok suggests that this rush-job approach might be the reason why your floors…

Videos, such as this one from creator Lisa Parker (@piece_of_the_parkers), are racking up views by pointing out something oddly obvious: Your vacuum can’t pick up what it doesn’t have time to grab.

Why Slow Vacuuming Actually Works

It comes down to how vacuums pick up debris. When you zip over a patch of carpet or hardwood:

• The brushes aren’t able to reach deep into the fibers. 

• The suction doesn’t have enough contact time to lift dust and particles.

• Debris gets pushed ahead of the nozzle instead of being pulled inside.

Related: 9 Messes You Should Never Clean With a Vacuum Cleaner

By slowing your pace — often to about half your normal speed — you give the machine a fighting chance. The rotating brush and suction chamber have more time to engage with dirt, resulting in fewer passes and genuinely cleaner floors.

It’s the housekeeping equivalent of marinating meat: You could slap on some spices and toss it straight onto the grill, but taking your time makes all the difference between surface flavor and flavor that permeates.

Advertisement

Tips for Vacuuming More Effectively

If you want to try the slow and steady method, a few tweaks to your technique can make a big difference:

Work in small sections: Mentally divide the room into zones and finish one before moving on to the next.

Overlap each pass: Much like painting, overlapping your strokes by an inch or two helps ensure full coverage.

Vacuum from multiple angles: Follow your forward-and-back passes with a side-to-side sweep to lift debris trapped deep in the carpet pile.

Match settings to surfaces: Set the correct height for the vacuum head: low for hard floors; low-to-medium for low-pile carpet; and high for high-pile or plush carpet. Use the brush roll for carpet and a soft roller for hard surfaces.

Maintain your machine: Remember that a full bin, clogged filter, or tangled brush roll will reduce performance, no matter how slow you go.

Final Sweep

The next time you grab your vacuum, resist the urge to get the chore done as quickly as possible. Channel a slow and steady mindset — your floors (and your vacuum) will thank you. Sometimes the hack isn’t a trick at all; it’s just taking the time to do it right.

Advertisement
Featured Image Credit:  Organic Media/ iStock | Updated  Feb 18, 2026 |
Jill Layton
Writer
Jill Layton started writing professionally when she realized her emails and texts were kinda funny. She’s an affiliate shopping writer and lifestyle contributor for Scary Mommy, Bustle, Mic, and Best Products. She’s the mom of two alarmingly witty kids and the world’s most perfect dog.
This article is for general informational purposes only.
Featured Image Credit:  Organic Media/ iStock | Updated  Feb 18, 2026 |