Advertisement
Decorating 3m read
0

Your House Needs a Theme — Here’s Why

Take a look around your home. Is there a farmhouse table in the dining room, a traditional sofa in the living room, industrial lighting in the kitchen, and a coastal-style bed frame in the bedroom — even though you’re a long road trip away from an ocean? None of those elements is bad on its own. Together, however, they fail to tell a cohesive story, and the result feels unfinished. 

Take a look around your home. Is there a farmhouse table in the dining room, a traditional sofa in the living room, industrial lighting in the kitchen, and a coastal-style bed frame in the bedroom — even though you’re a long road trip away from an ocean? None of those elements is bad on its…

That’s why your home needs a theme. Establishing a clear design direction is one of the simplest ways to elevate your space — no remodeling required. A theme isn’t about committing to anything gimmicky (no Trading Spaces-style stunts) or turning your home into a matchy-matchy showroom. It just means your choices are intentional, not random.

How To Establish a Theme for Your Home

According to interior designer Hans Lorei, establishing a theme starts with choosing seven to 10 elements that you love and that look good together. More importantly, those elements should reflect how you want to feel in your space — perhaps relaxed, warm, dramatic, or elegant. Rather than decorating room by room, consider the big picture by thinking of the house as a whole.

These elements could include:

• A type of wood (walnut, oak, cherry)

• A material (terra-cotta, wrought iron)

• A window treatment (wood blinds, Roman shades)

• A metal finish (brass, nickel, copper)

• A fabric (linen, velvet) 

• An architectural period (art deco, midcentury modern)

• An accent color (blue, oxblood, green)

• A recurring shape (round, tall/tapered)

Advertisement

To keep things interesting, pull your inspiration from a few different categories. Ultimately, though, this is your home, so choose the elements that resonate with you the most. These are now your baseline, guiding every decorating decision going forward.

Related: Design Trends Homeowners Regret the Most, According to Interior Designers

How To Apply the Theme

Next, move through your home and introduce two to three of your chosen elements into each room. There’s no need to jam every item into every space; you just want enough to create continuity. Use furniture, lighting, hardware, art, textiles, and decor to bring the theme together.

Over time, your rooms will begin to relate to one another, making your home feel more cohesive. It’ll make decorating easier too, since you’ll know what fits your theme and what doesn’t.

Advertisement
Featured Image Credit:  Hans/ Unsplash+ | Updated  Feb 17, 2026 |
Megan McCarty
Writer
Megan McCarty is a Los Angeles-based writer who covers the fun stuff: design, travel, wellness, beauty, and fashion. She has written for publications including Domino, The Spruce, MyDomaine, Bustle, and Rue Magazine. Her life rules include, but are not limited to, zipper when merging, contribute to your IRA, and do the nice thing.
This article is for general informational purposes only.
Featured Image Credit:  Hans/ Unsplash+ | Updated  Feb 17, 2026 |
Advertisement
Cleaning 2m read
0

Say Goodbye to Stubborn Toilet Rings

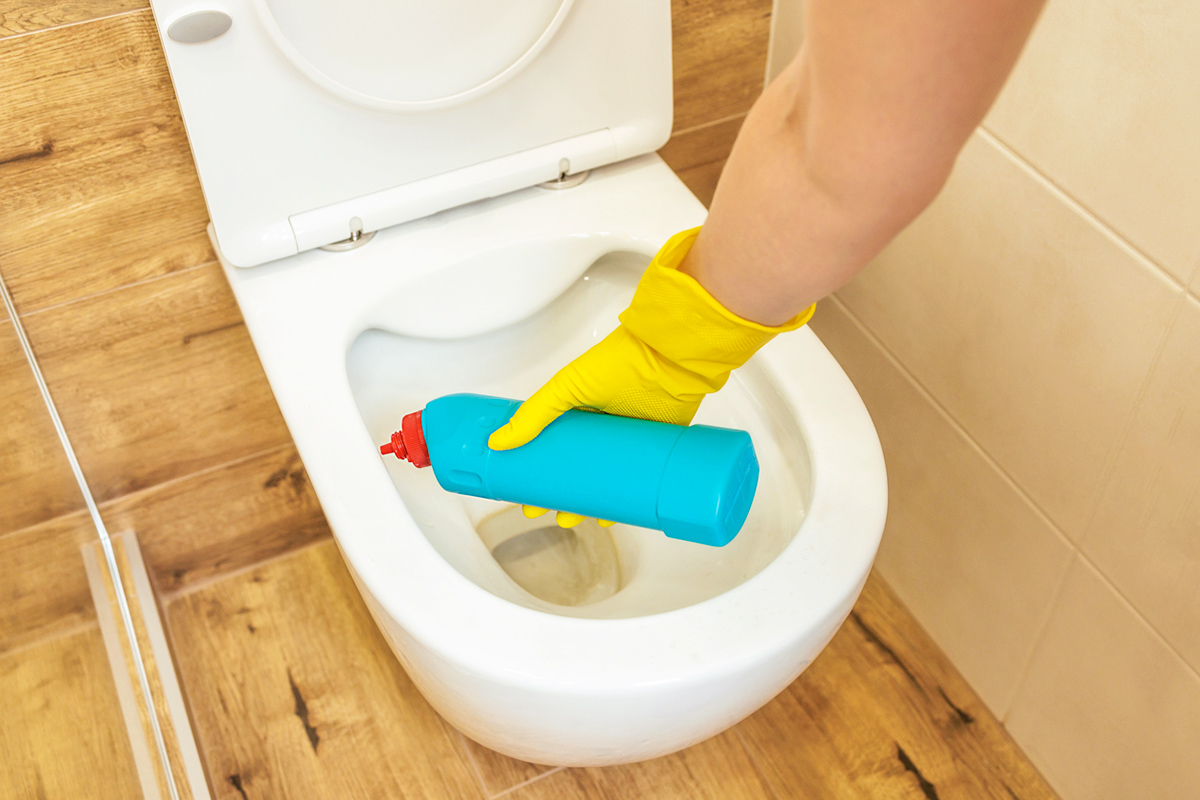
There’s something deeply satisfying about wiping away the dust and grime that builds up in our homes. But the job isn’t always as simple as spritzing and swiping — especially in the bathroom, where hard water stains wreak havoc on sinks, showers, and toilets. If you’re fed up with stubborn toilet bowl rings, put down the pumice stone and reach for a cleaning solution containing hydrochloric acid.

All featured products and deals are selected independently and objectively by the author. House Outlook may receive a share of sales via affiliate links in content.

There’s something deeply satisfying about wiping away the dust and grime that builds up in our homes. But the job isn’t always as simple as spritzing and swiping — especially in the bathroom, where hard water stains wreak havoc on sinks, showers, and toilets. If you’re fed up with stubborn toilet bowl rings, put down…

What Is Hydrochloric Acid?

Hydrochloric acid is a heavy-duty cleaning agent potent enough to dissolve mineral deposits. While these cleaners won’t prevent future rings — we have a bonus hack for that below — they easily lift buildup, ensuring your toilet reflects all the hard work you put into cleaning it.

Related: How To Keep Your Toilet Brush Germ-Free

Heavy-Duty Mineral Melters

When stocking up on bathroom cleaning supplies, look for products formulated with hydrochloric acid, such as Lysol Lime and Rust or Bar Keepers Friend Toilet Bowl Cleaner. These are designed to tackle the toughest cleaning jobs, from rusty faucets to calcified toilet rings. Bar Keepers Friend is valued for its mild abrasiveness — similar to baking soda or Bon Ami powder cleanser — which adds some extra oomph to your scrubbing.

Advertisement

For the best results, use a scoop to remove most of the water from the toilet bowl. Apply the solution under the rim, allowing it to drip down and coat the sides. Let the formula sit for at least 30 minutes, or even overnight for deep stains, to maximize its effectiveness. Then, use a stiff-bristled toilet brush to scrub away the mineral deposits. Flush the toilet to rinse away any remaining product and repeat the process if staining persists.

Bonus Hack

To prevent the rings from coming back, drop an IRON Out tablet into your toilet’s tank every 45 days. Do this immediately after flushing while the tank is nearly empty, placing it in a rear corner away from the valve. These septic-safe tablets work to reduce stains and mineral deposit buildup with every flush.

Advertisement
Featured Image Credit:  Natallia Ramanouskaya/ iStock | Updated  Feb 20, 2026 |
Jessie Quinn
Writer
Jessie Quinn is a Los Angeles-based lifestyle journalist with words published in PEOPLE, StyleCaster, Apartment Therapy, The Spruce, Byrdie, and more. She has a Bachelor's Degree in fashion journalism from Academy of Art University and her work spans across many categories, including style, beauty, home, health, crafts, and more.
This article is for general informational purposes only.
Featured Image Credit:  Natallia Ramanouskaya/ iStock | Updated  Feb 20, 2026 |
Advertisement
Cleaning 3m read
0

Toothpaste Isn’t Just for Teeth — Try It on Headlights

Ask any dentist and they’ll tell you toothpaste is essential for keeping your pearly whites bright and shiny. But talk to a car mechanic and they may suggest using it on something far removed from the world of dentistry — your car’s headlights.

All featured products and deals are selected independently and objectively by the author. House Outlook may receive a share of sales via affiliate links in content.

Ask any dentist and they’ll tell you toothpaste is essential for keeping your pearly whites bright and shiny. But talk to a car mechanic and they may suggest using it on something far removed from the world of dentistry — your car’s headlights.

When your headlights start to look cloudy or discolored, you may be tempted to replace them altogether. But before you shell out cash for a costly repair, try cleaning them first with a tube of toothpaste.

A Hack Worth Sinking Your Teeth Into

Headlights typically become foggy or discolored from repeated exposure to the elements. This includes yellowing from the sun’s powerful UV rays or dirt trapped in tiny surface cracks. Whatever the cause may be, hazy headlights are a major safety risk, as they make it harder for other drivers to see your vehicle.

One of the best DIY hacks for this problem is using toothpaste — preferably a whitening toothpaste or one that contains baking soda. You’ll also need a water supply and a few rags you don’t mind getting dirty.

Buff Away the Fog

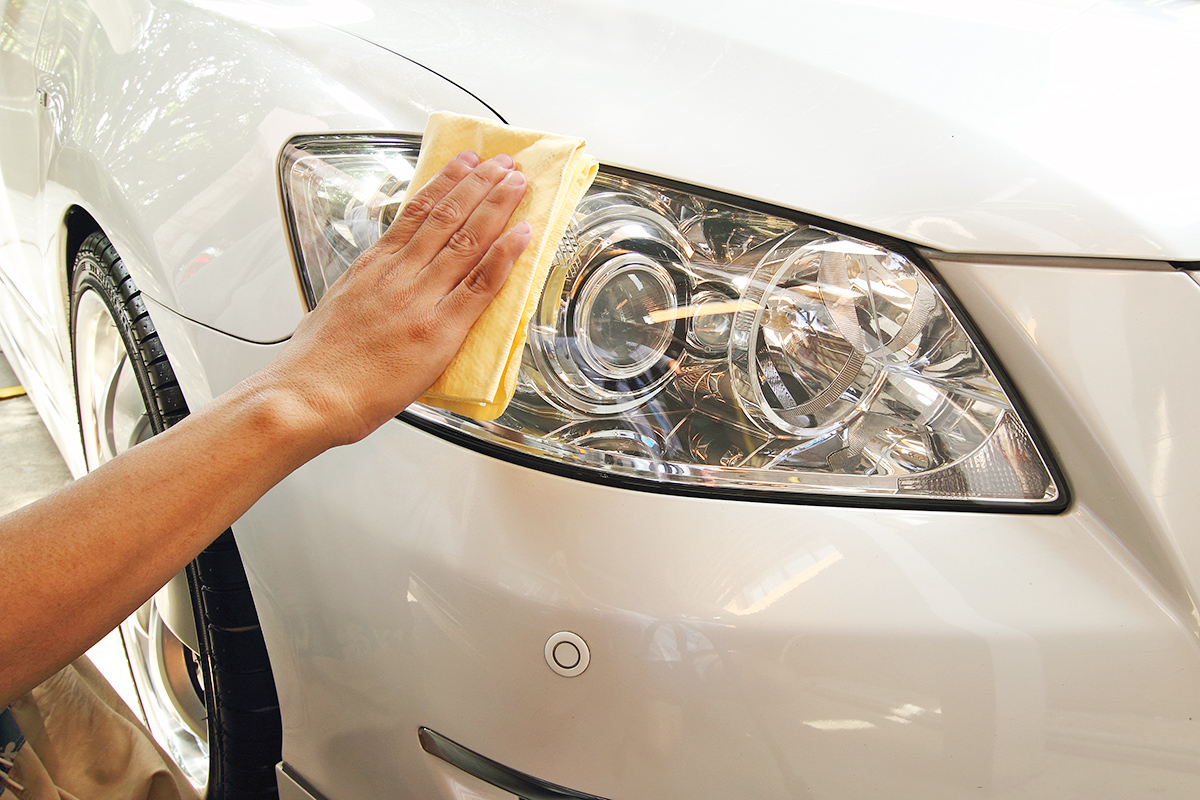
First, soak a clean rag in lukewarm water and wipe down the headlights to remove any superficial dirt or gunk. Then, apply a dab of toothpaste to a different clean cloth and scrub the headlight in circular motions for several minutes. There’s no exact amount of time to scrub, as all headlights age differently. As a rule of thumb, plan for two to three minutes per headlight for mild fog and five-plus minutes for persistent yellowing.

Advertisement

As you scrub, the whitening elements lift stains while the toothpaste’s abrasive texture dislodges dirt trapped in tight cracks. Apply extra pressure to particularly cloudy areas. After a few minutes, rinse the headlight with clean water; you should notice a massive improvement in clarity and, more importantly, safety.

Related: A Gentle Way To Get Bug Splatter Off Your Car

Mistakes To Avoid

While this hack is easy to perform, there are a few guidelines worth noting. Be careful to avoid getting toothpaste on the car’s finish, as the abrasives could damage the paint or chrome. Also, use a traditional toothpaste over a gel; gel formulas are usually less effective at whitening and lack the grit needed to remove embedded dirt.

Advertisement
Featured Image Credit:  nattzkamol/ iStock | Updated  Feb 17, 2026 |
Bennett Kleinman
Staff Writer
Bennett Kleinman is a New York City-based staff writer for Inbox Studio, covering topics for several brands including House Outlook and Better Report. He previously contributed to television programs such as "Late Show With David Letterman" and "Impractical Jokers," and digital publications like The Onion. Bennett is also a devoted New York Yankees and New Jersey Devils fan, and thinks plain seltzer is the best drink ever invented.
This article is for general informational purposes only.
Featured Image Credit:  nattzkamol/ iStock | Updated  Feb 17, 2026 |
Advertisement
Home Improvement 3m read
0

Is Your Exhaust Fan Actually Pulling Air? Test It in Seconds

While it’s impossible to prevent moisture from forming in the bathroom, it’s important to mitigate it. Too much dampness leads to mold and mildew, which bring odors, stains, and potential health risks. That’s why a working exhaust fan — one that sucks in moist air and sends it outside your home — is a must. But knowing if your ventilation system is functioning properly is easier said than done … until now. Here’s a three-second hack to test your exhaust fan’s suction.

While it’s impossible to prevent moisture from forming in the bathroom, it’s important to mitigate it. Too much dampness leads to mold and mildew, which bring odors, stains, and potential health risks. That’s why a working exhaust fan — one that sucks in moist air and sends it outside your home — is a must. But…

Put Your Exhaust Fan to the Test

Every bathroom vent is different, and it’s hard to tell if yours is actually pulling air or just making noise. But a single sheet of toilet paper — or any lightweight scrap material — can reveal if the fan is running at full capacity, half-power, or not at all.

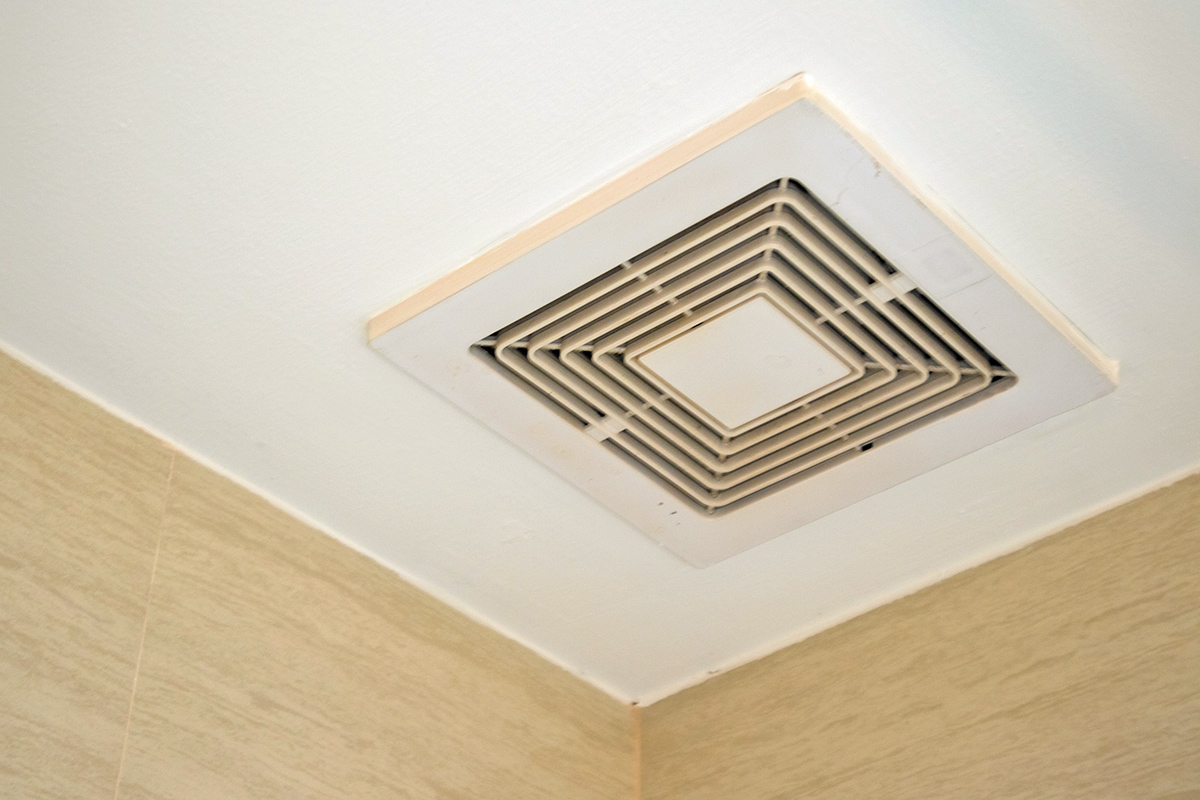
With the fan on, place a single sheet of toilet paper directly against the vent and remove your hand. If it sticks firmly in place, that means the vent is working properly. But if the paper droops and barely hangs on, your exhaust fan may not be working at full capacity. Should the paper fall to the floor, it’s a clear sign the fan is officially kaput.

Dusty vs. Dead

This hack determines only whether the exhaust fan is working — it doesn’t identify the cause. Most often, the culprit is dust obstructing the airflow. To check if this is the case, start by cutting power to the fan at your electrical panel. Remove the grate, wash it with mild dish soap and warm water, and then dry it completely. If you frequently use hair spray or notice considerable dust buildup, soak the grate in hot water and dish soap for 15 to 30 minutes.

Advertisement

Use your vacuum’s crevice tool or soft brush attachment to vacuum dust from inside the fan, paying close attention to the rotating blades and the corners of the metal housing. Then replace the grate and turn the power back on. Rerun the toilet paper test: If the sheet sticks, the problem is solved. If it still falls, the issue may be mechanical.

Related: 8 Things You Should Never Store in Your Bathroom

If it’s mechanical, you may need to replace the motor or the entire unit. In this case, we recommend contacting a professional handyperson for their expertise, as they can ensure the wiring and ductwork are handled safely. If you’d rather attempt a cheaper DIY replacement, do your research before jumping into the project.

Advertisement
Featured Image Credit:  Aekprachaya Ayuyuen/ iStock | Updated  Feb 17, 2026 |
Bennett Kleinman
Staff Writer
Bennett Kleinman is a New York City-based staff writer for Inbox Studio, covering topics for several brands including House Outlook and Better Report. He previously contributed to television programs such as "Late Show With David Letterman" and "Impractical Jokers," and digital publications like The Onion. Bennett is also a devoted New York Yankees and New Jersey Devils fan, and thinks plain seltzer is the best drink ever invented.
This article is for general informational purposes only.
Featured Image Credit:  Aekprachaya Ayuyuen/ iStock | Updated  Feb 17, 2026 |
Advertisement
Food & Drink 2m read
0

Protect Pantry Shelves From Sticky Ingredients

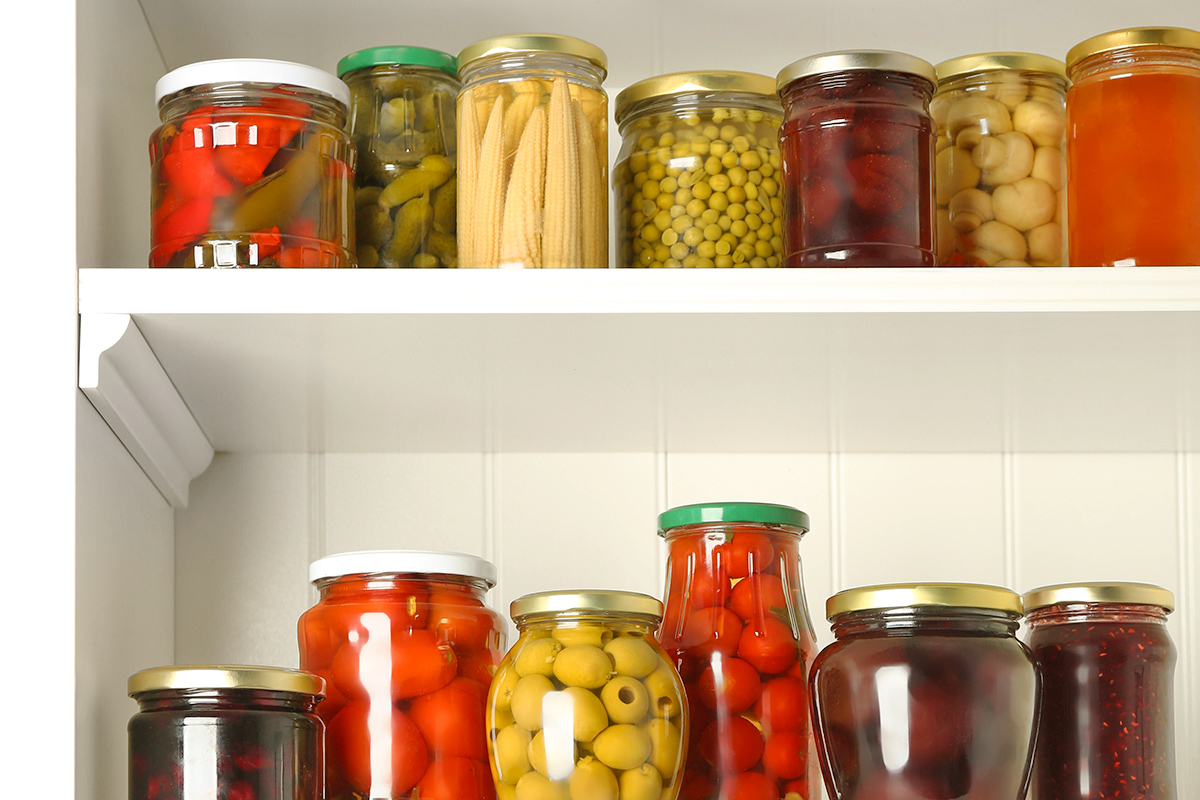
Much like a refrigerator, pantry shelves are prone to residue rings from sticky, syrupy ingredients. No matter how well you wipe them down after use, jars of honey, corn syrup, maple syrup, and molasses often leave behind a trail of sweetness. Unlike a refrigerator, however, pantry shelves are notoriously difficult to scrub, so doing what you can to prevent a mess is essential. Taking a moment to secure your syrup bottles will save you the headache of scraping off dried, hardened substances later.

All featured products and deals are selected independently and objectively by the author. House Outlook may receive a share of sales via affiliate links in content.

Much like a refrigerator, pantry shelves are prone to residue rings from sticky, syrupy ingredients. No matter how well you wipe them down after use, jars of honey, corn syrup, maple syrup, and molasses often leave behind a trail of sweetness. Unlike a refrigerator, however, pantry shelves are notoriously difficult to scrub, so doing what…

What You’ll Need

Basket coffee filters or cupcake liners

Rubber bands

Keep Pantry Surfaces Spotless

In addition to inspecting ingredients and wiping down jars and bottles before putting them back on the shelf, try placing a basket coffee filter under the base and securing it around the container with a rubber band. For smaller jars and bottles, a cupcake liner works perfectly — and even makes for a great makeshift lid if you happen to misplace the original.

Related: 32 Genius Life Hacks Using Only Things From Your Pantry

Coffee filters and cupcake liners act as a barrier between the bottle and shelf, catching drips before they collect in a ring shape. Just remember to remove the filter before using the ingredient to keep it from getting covered in sticky residue itself. This hack works just as well for leaky cooking oils, balsamic vinegar, soy sauce, and chili crisp. You can even use it in your fridge for greasy salad dressings or sticky jam jars.

Advertisement

Get a Grip on Stubborn Lids

Securing the filter with a rubber band also comes in handy if the jar is glued shut by sticky residue. The rubber material helps create a firm grip, similar to a gripper pad. Simply wrap the rubber band around the lid a couple of times and twist it open. Running the jar under hot water for 30 to 60 seconds can also help melt the crystallized sugar, making it easier to open.

Advertisement
Featured Image Credit:  Liudmila Chernetska/ iStock | Updated  Feb 17, 2026 |
Jessie Quinn
Writer
Jessie Quinn is a Los Angeles-based lifestyle journalist with words published in PEOPLE, StyleCaster, Apartment Therapy, The Spruce, Byrdie, and more. She has a Bachelor's Degree in fashion journalism from Academy of Art University and her work spans across many categories, including style, beauty, home, health, crafts, and more.
This article is for general informational purposes only.
Featured Image Credit:  Liudmila Chernetska/ iStock | Updated  Feb 17, 2026 |
Advertisement
Cleaning 3m read
0

Most People Use Disinfecting Products Incorrectly

Spritz and wipe — that’s all it takes to leave your kitchen countertops germ-free, right? Not necessarily. If you don’t give your favorite household disinfectant time to work, you’re merely cleaning the surface, not killing viruses and bacteria. The secret to eliminating pathogens is contact time — here’s how to use disinfectants correctly to ensure your surfaces are sufficiently sanitized.

All featured products and deals are selected independently and objectively by the author. House Outlook may receive a share of sales via affiliate links in content.

Spritz and wipe — that’s all it takes to leave your kitchen countertops germ-free, right? Not necessarily. If you don’t give your favorite household disinfectant time to work, you’re merely cleaning the surface, not killing viruses and bacteria. The secret to eliminating pathogens is contact time — here’s how to use disinfectants correctly to ensure…

Cleaning vs. Disinfecting

To get the most out of your cleaning products, you’ll want to learn the difference between two key terms: cleaning and disinfecting.

Cleaning is simply the act of removing dirt and debris from surfaces. This includes everything from kitchen counters to bathroom sinks and dining tables. According to professional house cleaner and TikTok creator Kellsie Zapata, cleaning should be done daily, while disinfecting should be reserved for “sick days, high-touch areas, bathroom cleanups, or when the [product] label specifically calls for it.”

Disinfecting goes a step further by destroying the germs that cause illness, including cold viruses and the bacteria responsible for food poisoning. Zapata stresses that you don’t need to disinfect every day; in fact, doing so can trigger respiratory issues, skin irritation, and even lead to antimicrobial resistance or health risks for pets.

Advertisement

How To Properly Disinfect 

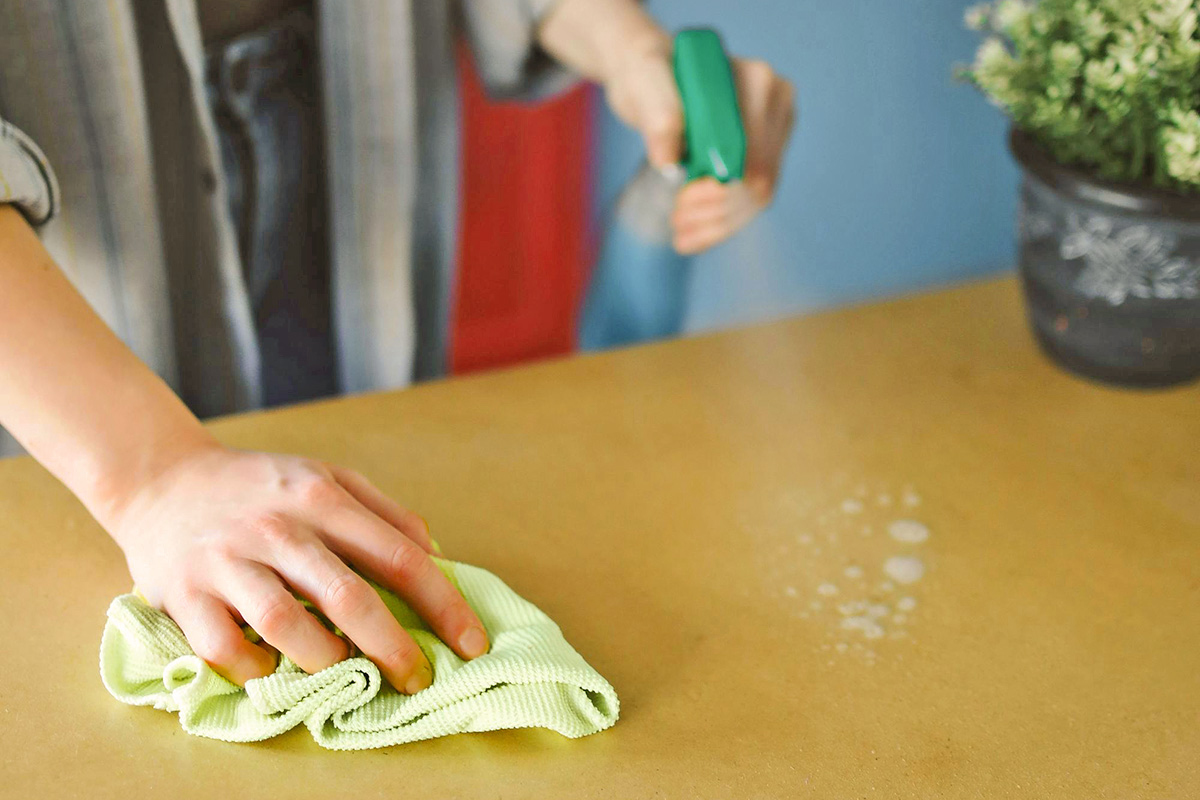
Disinfecting requires more than just a quick wipe; it needs contact time to actually work. Zapata recommends spraying the surface until it’s visibly wet. The surface must remain visibly wet for the entire recommended contact time, which can range from 2 to 10 minutes depending on the brand. (Remember to check the product label to confirm.) If the disinfectant dries before your timer goes off, you need to spray more to keep the surface wet.

Some disinfectants require rinsing with water, especially on food-prep surfaces such as cutting boards, sinks, and countertops. To do this, wet a clean microfiber cloth and wipe down the area a few times — rinsing the cloth with clean water in between — until all the product is gone. Now your surfaces aren’t just clean; they’re thoroughly disinfected and safe to use.

Advertisement
Advertisement
Home Improvement 2m read
0

The Trick for Cabinet Hardware That Never Loosens

Cabinets are among the hardest-working pieces of furniture in any home. Whether they’re built-ins or freestanding credenzas, the constant opening and closing often results in loose screws. If you have cabinet hardware that always loosens up, no matter how often you tighten it, you could buy threadlocker to glue the fastener in place — or you could look in your bathroom cabinet. You likely have an alternative that works just as well.

All featured products and deals are selected independently and objectively by the author. House Outlook may receive a share of sales via affiliate links in content.

Cabinets are among the hardest-working pieces of furniture in any home. Whether they’re built-ins or freestanding credenzas, the constant opening and closing often results in loose screws. If you have cabinet hardware that always loosens up, no matter how often you tighten it, you could buy threadlocker to glue the fastener in place — or…

Get a Grip

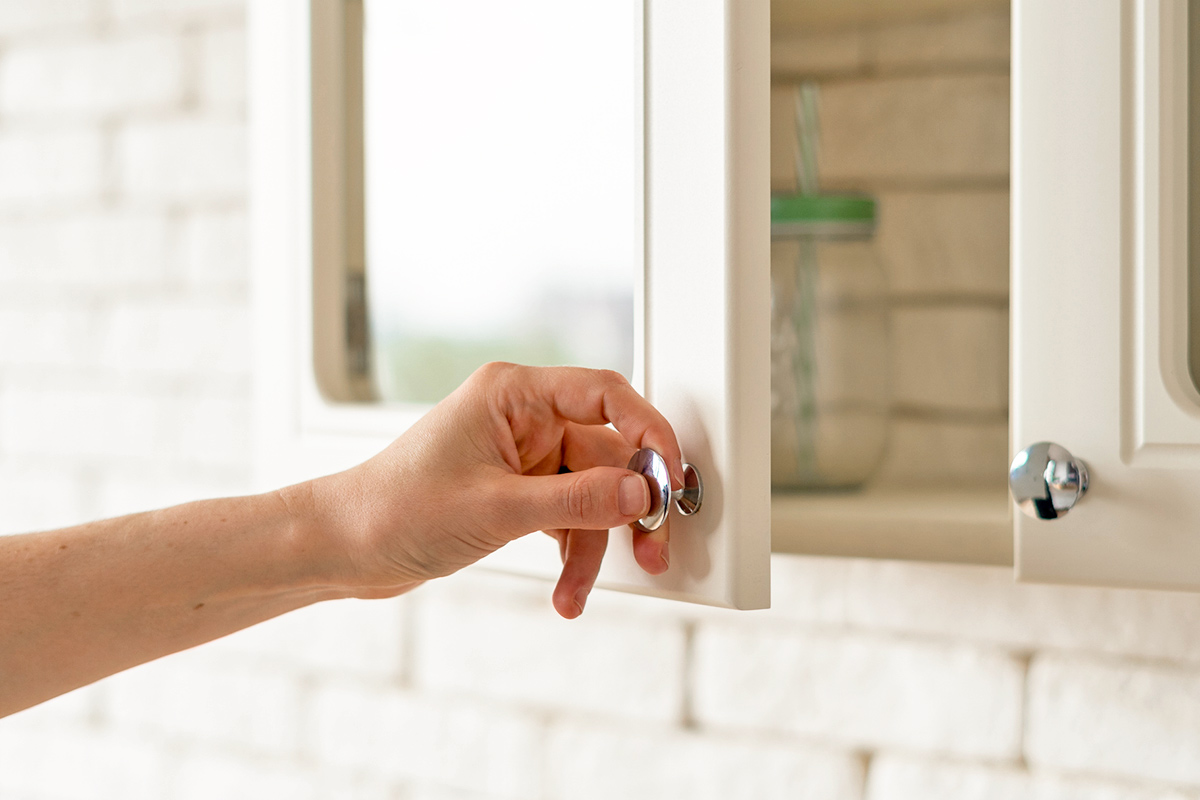
Whether you’re fixing a loose screw or want to prevent hardware from wiggling, add a thin drop of clear nail polish to the screw threads before inserting the screw and tightening it into place. Similar to commercial threadlocker, nail polish acts like a light adhesive that fills the gaps between threads to lock them into place. Clear nail polish dries almost instantly and stands up to the constant vibration of opening and closing cabinets and drawers.

Related: Why You Should Always Put Tape on Your Drill Bit

If you don’t have clear nail polish, you can achieve a similar result using super glue, rubber cement, or even Teflon tape. You can also opt for specialized fasteners, such as nylon insert nuts, lock washers, or safety wire to keep hardware locked in place.

Advertisement

Other Household Uses for Clear Nail Polish

Clear nail polish doesn’t just belong in your manicure kit — it’s one of the most useful tools to have around the house. Beyond its use as a threadlocker alternative, clear nail polish is great for stopping runs in stockings or tights before they spread. It also works well for temporarily patching small holes in window screens or preventing cut rope from fraying. And if you’re an avid camper or building an emergency kit, you can waterproof matches by dipping the heads in clear nail polish.

Advertisement
Featured Image Credit:  brizmaker/ iStock | Updated  Feb 10, 2026 |
Jessie Quinn
Writer
Jessie Quinn is a Los Angeles-based lifestyle journalist with words published in PEOPLE, StyleCaster, Apartment Therapy, The Spruce, Byrdie, and more. She has a Bachelor's Degree in fashion journalism from Academy of Art University and her work spans across many categories, including style, beauty, home, health, crafts, and more.
This article is for general informational purposes only.
Featured Image Credit:  brizmaker/ iStock | Updated  Feb 10, 2026 |
Advertisement
Food & Drink 3m read
0

Do This One Thing Before Eating Fresh Produce

We all know that eggs, undercooked chicken, and questionable shellfish are potential causes of food poisoning, but don’t overlook the risks from fresh produce. We typically cook meats and eggs, but produce such as lettuce, sprouts, and fresh fruit — just to name a few — are almost always eaten raw. If they’re carrying any bacteria (and with all the handling they get between the field and your table, who knows?), those pathogens will end up in your gut, where they become a problem for your immune system.

All featured products and deals are selected independently and objectively by the author. House Outlook may receive a share of sales via affiliate links in content.

We all know that eggs, undercooked chicken, and questionable shellfish are potential causes of food poisoning, but don’t overlook the risks from fresh produce. We typically cook meats and eggs, but produce such as lettuce, sprouts, and fresh fruit — just to name a few — are almost always eaten raw. If they’re carrying any…

You’ll find plenty of commercial produce washes on store shelves, but the USDA remains skeptical. The agency argues that these washes haven’t been well studied and raises concerns about the chemical residues they leave behind. Fortunately, a science-backed alternative exists that is inexpensive and relies on ingredients you likely already have on hand. Here’s how it works to keep your produce safe.

Cleaning Fresh Produce With Hydrogen Peroxide and Vinegar

Back in 1996, researcher Susan Sumner — then at the University of Nebraska and later Virginia Tech — discovered that two common household products could be a produce-cleaning powerhouse. By pairing distilled white vinegar with 3% hydrogen peroxide, she found they could kill nearly all salmonella, shigella, and E. coli bacteria, even on produce deliberately contaminated at high levels. Here’s the process:

• Fill a spray bottle with distilled white vinegar, or find a spray mechanism to fit the vinegar bottle. Do the same with 3% hydrogen peroxide; make sure the bottle is dark or opaque, as light breaks down the active ingredient.

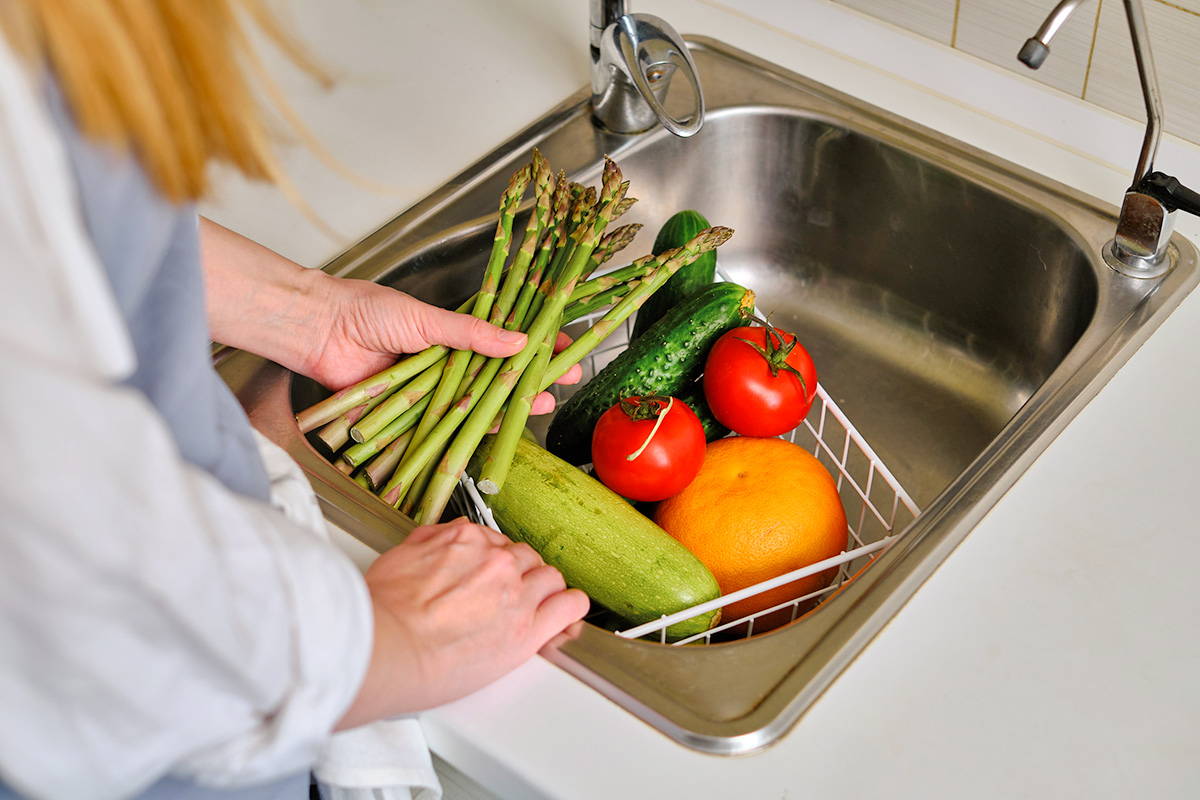
• Wash your produce first under clean, running water to remove any dirt that might give bacteria a hiding place.

• Spray the produce thoroughly with the vinegar, then immediately follow up with the hydrogen peroxide. Your produce should be visibly wet and glistening.

• Allow the produce to sit for at least 20 minutes.

• Rinse the produce under cool, running water for 30 to 60 seconds to remove any remaining vinegar or hydrogen peroxide. (Note: Trace amounts of hydrogen peroxide are generally considered safe to consume, as the compound eventually breaks down into water and oxygen when exposed to light and air.)

Advertisement

The Do’s and Don’ts

A couple of final notes: First, to avoid cross-contamination, wash your hands thoroughly before you begin. Second, don’t combine the distilled white vinegar and hydrogen peroxide in the same bottle — mixing them ahead of time reduces their effectiveness.

Related: 5 Tips for Ripening Your Favorite Fruits Faster

For delicate produce such as greens and berries, wait until you’re ready to use them before washing. For sprouts, swish them in a bowl of hydrogen peroxide followed by a dip in vinegar (or vice versa). Finally, don’t use this hack on cantaloupes. Their rinds are too porous and rough for the treatment to work, and the fruit can absorb the taste. Scrub those under running water with a stiff brush instead.

Advertisement
Featured Image Credit:  Iuliia Pilipeichenko/ iStock | Updated  Feb 10, 2026 |
Fred Decker
Writer
Fred Decker is a trained chef and former restaurateur. Since closing his restaurants over a decade ago he has been a prolific freelance writer, publishing several thousand articles on dozens of high-volume websites including Taste Of Home, Hunker, Tasting Table, Week&, eHow, and GOBankingRates. He lives on a rural acreage shared with a big garden, chickens, rabbits, and grandkids.
This article is for general informational purposes only.
Featured Image Credit:  Iuliia Pilipeichenko/ iStock | Updated  Feb 10, 2026 |
Advertisement
Cleaning 3m read
0

How To Remove Lingering Odors From Plastic Containers

Plastic food storage containers have a way of multiplying in our cupboards. They sneak in through takeout deliveries and the inevitable transfer of custody that happens whenever a friend sends you home with leftovers. While glass is aesthetically pleasing, plastic containers are considerably more affordable, shatterproof, and lightweight — making them the ideal choice for bringing your lunch to work. But whether you prefer the name-brand Tupperware or a budget-friendly alternative, the convenience comes with a catch.

All featured products and deals are selected independently and objectively by the author. House Outlook may receive a share of sales via affiliate links in content.

Plastic food storage containers have a way of multiplying in our cupboards. They sneak in through takeout deliveries and the inevitable transfer of custody that happens whenever a friend sends you home with leftovers. While glass is aesthetically pleasing, plastic containers are considerably more affordable, shatterproof, and lightweight — making them the ideal choice for bringing…

Ink Out the Stink

Since plastic is porous, food odors can easily seep into the material, leaving behind an off-putting scent that seems impossible to get rid of, even after the container is run through the dishwasher. Instead of scrubbing, reach for a sheet of black-and-white newspaper to get rid of the smell.

Related: The Smartest Way To Label All of Your Food Containers

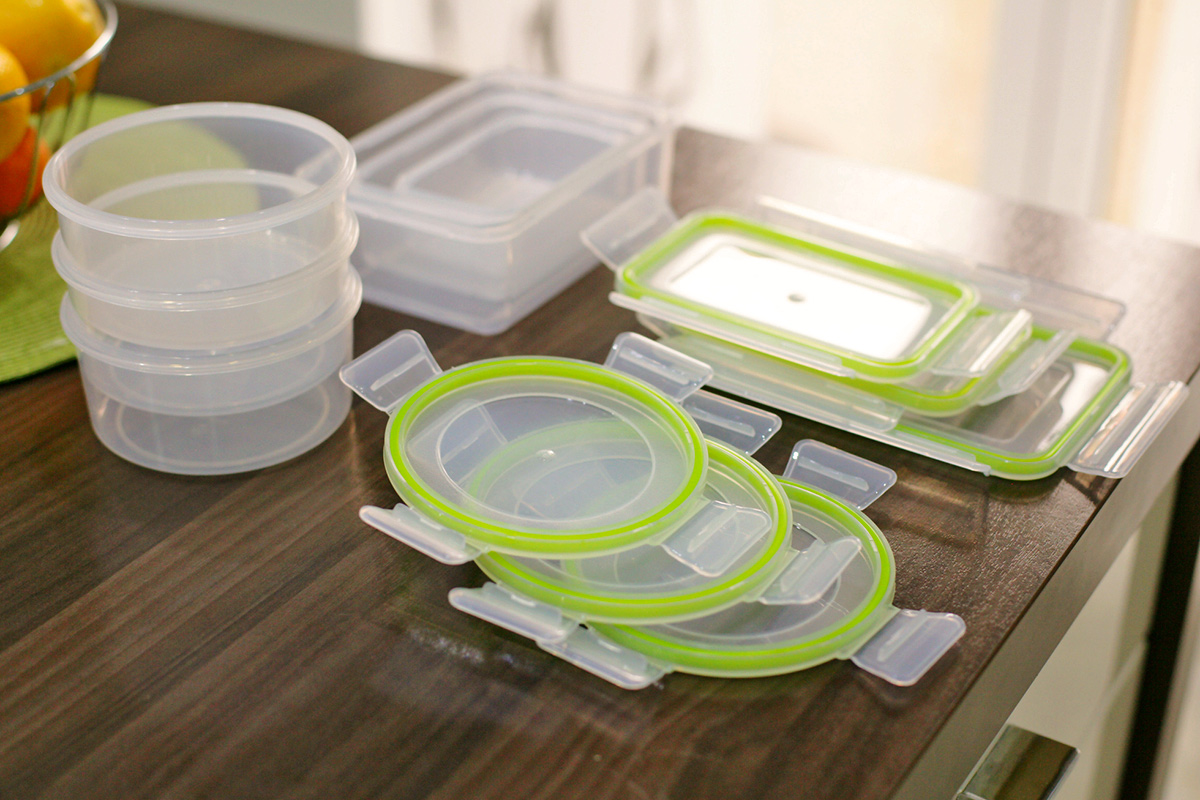
Newspaper is made of highly porous fibers and carbon-based ink. The fibers absorb the odor-causing molecules like a sponge, and the ink works to neutralize them. To get rid of food smells in plastic containers, crumple a sheet of newspaper, stuff it inside the container, and secure the lid. For best results, place the container in a sunny spot in your home. The warmth helps release the odor-causing molecules, making them easier to trap, while UV rays help break down the chemical bonds of those lingering scents. Let the container sit overnight for a quick refresh. If you’re dealing with a particularly stubborn smell, you can leave it for a few days (up to four) until you’re satisfied with the results.

Advertisement

A Bright Idea for Stained Plastic

If your clear plastic containers are sporting an orange glow — whether it be from spaghetti and meatballs or coconut chicken curry —  you’re going to want to try this trick. Direct sunlight can significantly fade and reduce discoloration on plastic food storage containers. You can up the ante by rubbing a cut lemon over the stained areas; the citric acid acts as a natural bleach, working with the UV rays to lift away stains. For more stubborn cases, mix 3 tablespoons of baking soda with 1 tablespoon of water until it forms a thick paste. Apply it generously to the stained areas and let it sit for 30 minutes to an hour before scrubbing. The baking soda cuts through grease and acts as a mild abrasive, buffing out those deep-set stains.

Advertisement
Featured Image Credit:  Bibica/ iStock | Updated  Feb 19, 2026 |
Jessie Quinn
Writer
Jessie Quinn is a Los Angeles-based lifestyle journalist with words published in PEOPLE, StyleCaster, Apartment Therapy, The Spruce, Byrdie, and more. She has a Bachelor's Degree in fashion journalism from Academy of Art University and her work spans across many categories, including style, beauty, home, health, crafts, and more.
This article is for general informational purposes only.
Featured Image Credit:  Bibica/ iStock | Updated  Feb 19, 2026 |
Advertisement
Food & Drink 3m read
0

Make Restaurant-Style Pizza in Your Own Oven

There’s a reason most of us prefer pizzeria pizza over homemade, and it isn’t always because we don’t feel like cooking. The primary reason is heat: Commercial pizza ovens reach temperatures far beyond home ovens, which typically max out at 500 degrees Fahrenheit. The wood-fired oven at that trendy pizza place across town, on the other hand, routinely hits 800 degrees or more. That intense blast of heat rapidly puffs the crust, creating a leopard-spotted underside and a flavor-enhancing char while quickly browning the cheese and other toppings.

All featured products and deals are selected independently and objectively by the author. House Outlook may receive a share of sales via affiliate links in content.

There’s a reason most of us prefer pizzeria pizza over homemade, and it isn’t always because we don’t feel like cooking. The primary reason is heat: Commercial pizza ovens reach temperatures far beyond home ovens, which typically max out at 500 degrees Fahrenheit. The wood-fired oven at that trendy pizza place across town, on the…

So how can you replicate this in a home oven that lacks the heat capacity, stone floor, and domed roof of a commercial model? A simple workaround can give you some of the best homemade pizza you’ve ever tasted with minimal fuss and investment.

Restaurant-Quality Home Oven Pizza

First, you must replicate the floor — or hearth — of a commercial oven. For that, you’ll need a pizza stone or steel large enough to hold the biggest pizza you plan to cook. While a steel is more expensive, it’s more durable and arguably more effective. Place it in your oven at its maximum temperature (usually 500 degrees Fahrenheit) for at least 30 minutes before baking.

Related: This Chef-Approved Trick Keeps Herbs Fresher for Longer

To recreate the tomato-blistering, cheese-browning top-down heat of a commercial oven, switch from the bake setting to the broiler. Your elements ordinarily heat the oven’s air, and it’s the air that heats the food. Your broiler uses infrared radiation from the red-hot element (usually a metal coil) to cook the surface of the food directly. 

Advertisement

The Best Homemade Pizza, Step by Step

Preheat the hearth: Put the pizza steel or stone in the oven and preheat to 500 degrees Fahrenheit (or as high as your oven will go) for at least 30 minutes.

Prepare the pie: Assemble your pizza and add your desired toppings.

Switch to the broiler: Once the oven is preheated, turn it off and immediately switch to the broil setting. If your broiler offers both high and low settings, select high.

Slide and bake: Carefully slide the pizza onto the hot stone or steel. Using cornmeal — or better yet, semolina flour — under the dough makes this easier. Take care not to burn yourself (a pizza peel is especially handy for this step). Broil until the cheese is bubbly and the crust is browned, then remove the pizza from the oven.

Advertisement
Featured Image Credit:  amirali mirhashemian/ Unsplash | Updated  Feb 10, 2026 |
Fred Decker
Writer
Fred Decker is a trained chef and former restaurateur. Since closing his restaurants over a decade ago he has been a prolific freelance writer, publishing several thousand articles on dozens of high-volume websites including Taste Of Home, Hunker, Tasting Table, Week&, eHow, and GOBankingRates. He lives on a rural acreage shared with a big garden, chickens, rabbits, and grandkids.
This article is for general informational purposes only.
Featured Image Credit:  amirali mirhashemian/ Unsplash | Updated  Feb 10, 2026 |