Advertisement
Food & Drink 2m read
93

How To Make Brown Rice in Half the Time

Brown rice has been a staple food in many cultures for centuries. With its earthy yet neutral taste, it serves as both a side dish and the foundation for grain bowls, stuffed peppers, and hearty salads. It’s also highly nutritious, retaining more intact nutrients than its heavily processed counterpart, white rice. The one downside is the cook time. In this department, white rice has a significant edge, requiring roughly 20 minutes compared to the 40 minutes needed for brown rice. However, a handy trick significantly shortens the process, making brown rice just as fast to prepare as white rice. It simply requires a bit of planning ahead.

All featured products and deals are selected independently and objectively by the author. House Outlook may receive a share of sales via affiliate links in content.

Brown rice has been a staple food in many cultures for centuries. With its earthy yet neutral taste, it serves as both a side dish and the foundation for grain bowls, stuffed peppers, and hearty salads. It’s also highly nutritious, retaining more intact nutrients than its heavily processed counterpart, white rice. The one downside is…

The Case for Soaking Brown Rice

Here’s how to do it: At least six hours before you plan to cook your brown rice (you can also do this the night before), soak the rice in a two-to-one water-to-rice ratio in a covered pot inside the refrigerator. When it’s time to cook it, bring the water to a boil, cover it, then turn the heat down to low or medium-low, and simmer for about 20 minutes — the cook time usually reserved for white rice. Continue until the water is absorbed and the rice is fluffy and tender. This trick works because it softens the rice’s tough outer bran layer.

Related: 6 Surprising Things You Can Make in Your Rice Cooker
Advertisement

Bonus Hack: Store Dry Brown Rice in the Refrigerator or Freezer

It may seem natural to put any dry good in the pantry, but brown rice contains natural oils that white rice lacks. These oils, found in the bran and germ, can cause the rice to spoil more quickly than you might expect. To extend its shelf life, place it in an airtight container — such as a jar, food storage container, or gallon freezer bag — and store it in the refrigerator or freezer. The consistently cold environment keeps the grains fresh significantly longer than a room-temperature pantry. When stored properly in the freezer, brown rice can last up to 16 months.

Advertisement
Advertisement
Organizing 6m read
500

15 Things You Should Never Store Under Your Sink

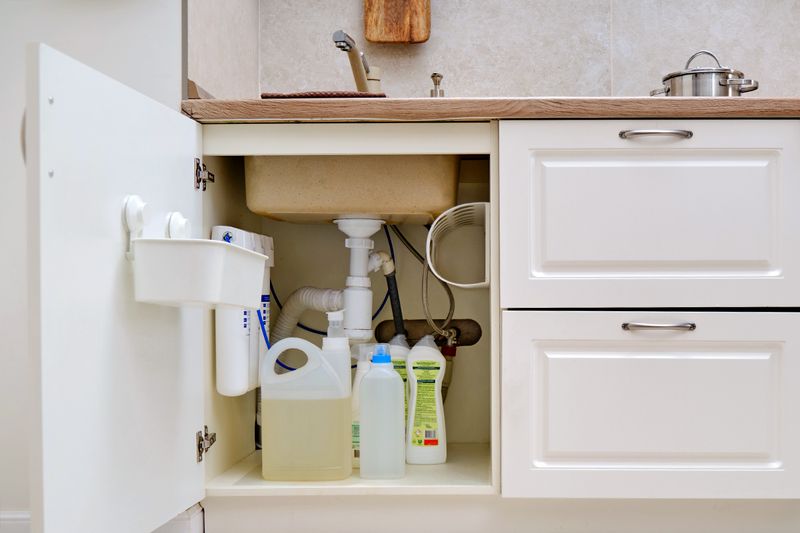
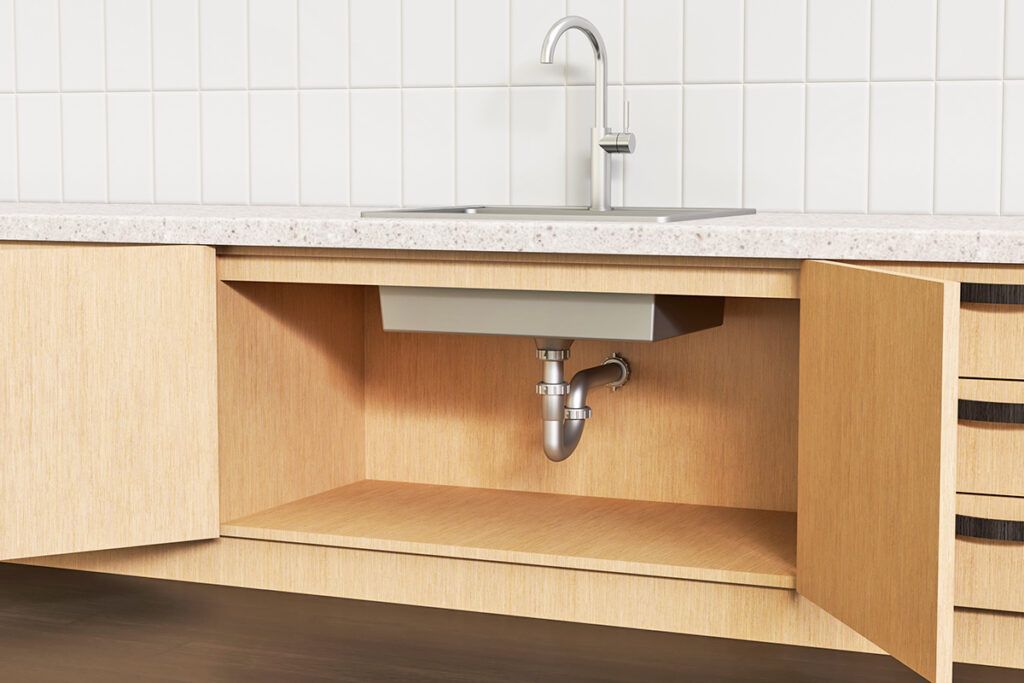
Regardless of your home’s square footage, it’s always a good idea to take advantage of every storage nook you can find — and the cabinet under your sink is a vital one. However, many of us are using this space incorrectly. We’re inadvertently storing items that can become hazardous when kept in such a moisture-prone environment.

Regardless of your home’s square footage, it’s always a good idea to take advantage of every storage nook you can find — and the cabinet under your sink is a vital one. However, many of us are using this space incorrectly. We’re inadvertently storing items that can become hazardous when kept in such a moisture-prone…

Avoid Storing These Items Under Your Sink

Whether you’re housing a backstock or everyday essentials, there are plenty of misconceptions about what actually belongs under the sink — and at least one of these will likely surprise you. Regardless of the room, here are the items you should never stash in an under-sink cabinet.

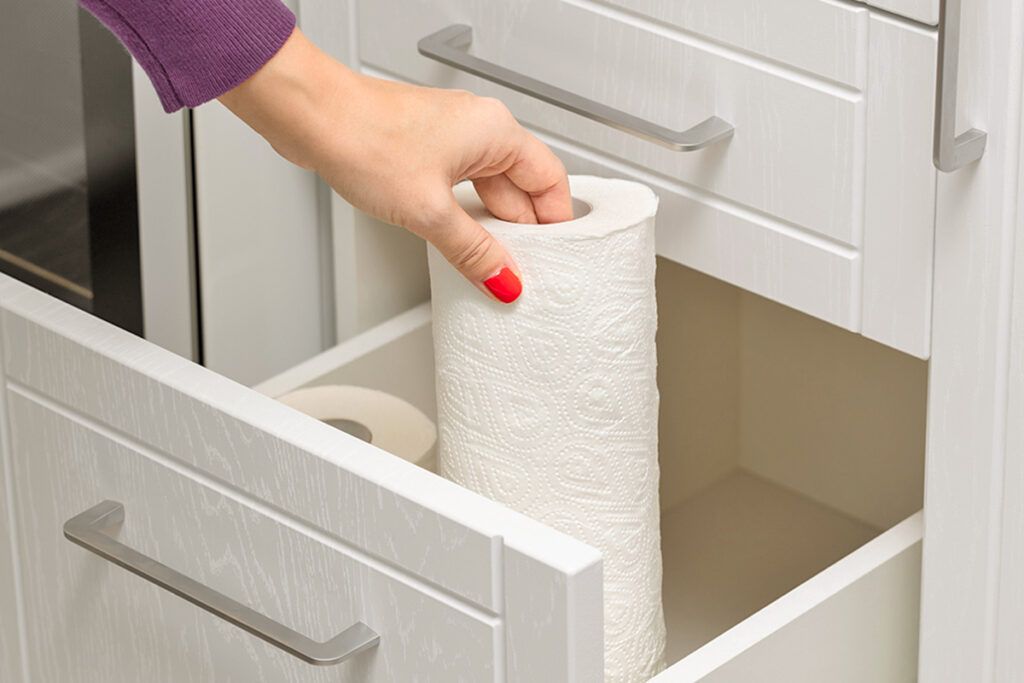
1. Backstock Paper Towels

Buying paper towels in bulk saves money in the long run, but it often leads to a storage headache. While it’s tempting to tuck those extra paper towels under the sink, they’re actually better off in a pantry or hall closet. The cabinet under your sink is often too damp and can damage the rolls before you even use them.

Credit: © Oleg Opryshko/Stock.adobe.com

2. Brown Paper Grocery Bags

If you reuse brown paper grocery bags, do your future self a favor and keep them out from under the sink. Because this area is susceptible to moisture, even minor dampness can compromise the integrity of the paper or cause the bags to disintegrate.

3. Cleaning Products

The cabinet under the sink is a popular spot for cleaning supplies, but many of these products belong elsewhere. Most household cleaners require climate-controlled environments with proper ventilation to prevent them from degrading. Plus, if they aren’t sealed properly, these chemicals can leak and create hazardous fumes within the cabinet that vent into your kitchen.

Advertisement

4. Extra Sponges and Dish Towels

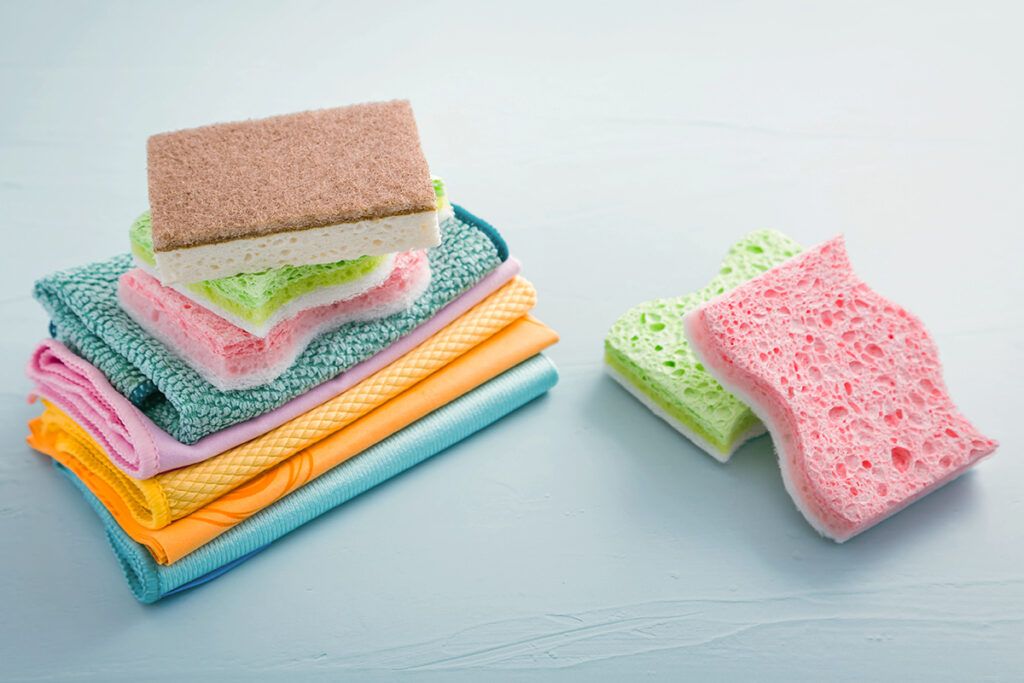
This might surprise you, but extra sponges and dish towels belong in a linen closet or another cool, dry location. While having them nearby is convenient, porous sponges can absorb excess moisture under the sink and develop mildew over time. If you must store sponges here, ensure they remain sealed in their original plastic packaging to prevent any issues. If you don’t have a linen closet, kitchen towels can be stored in a dedicated drawer or a labeled basket in the pantry.
Credit: © Brebca/stock.adobe.com

5. Tools

Household tools such as wrenches and hammers should never be stored under the sink. The humidity in this area can quickly cause metal tools to rust or corrode, shortening their lifespan. To keep your toolkit in top shape, store it in a dry closet, garage, or workshop.

Related: 15 Things To Declutter From Your Kitchen Right Now

6. Dog Poop Bags

While you might be tempted to use the under-the-sink area for your backstock of dog poop bags, check the packaging first. If you’re using compostable bags, store them in a cool, dry place. Because they’re designed to break down when exposed to heat and humidity, stowing them in a damp cabinet can cause the bags to degrade and tear.

Advertisement

7. Compostable Trash Bags

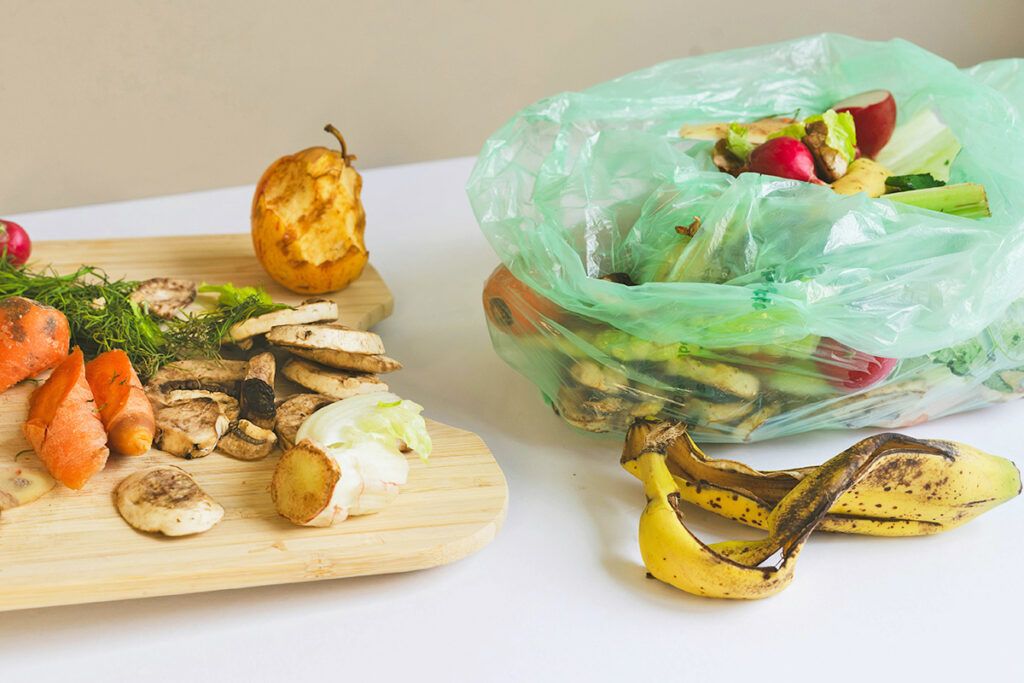
Similarly, compostable trash bags should find a home elsewhere. While these bags won’t break down right away, the backstock can lose its structural integrity over time if exposed to excessive moisture. To prevent the liners from weakening or tearing, store them in a climate-controlled area like a pantry.

Credit: © Toa Heftiba/Unsplash.com

8. Batteries

Don’t store batteries or battery-operated devices, such as flashlights, in the under-sink cabinet. When subjected to high humidity, batteries can corrode or short-circuit. To maintain their shelf life and performance, place these items in a cool, dry area of the home.

9. Pet Food

Bags of pet food don’t belong under the sink for several reasons. For one, if cleaning products are kept in the same cabinet, a spill could seep into the bag and contaminate your pet’s food. Additionally, storing pet food in this dark, enclosed area is an open invitation for mice and other household pests to feast on the kibble.

Advertisement

10. Small Appliances

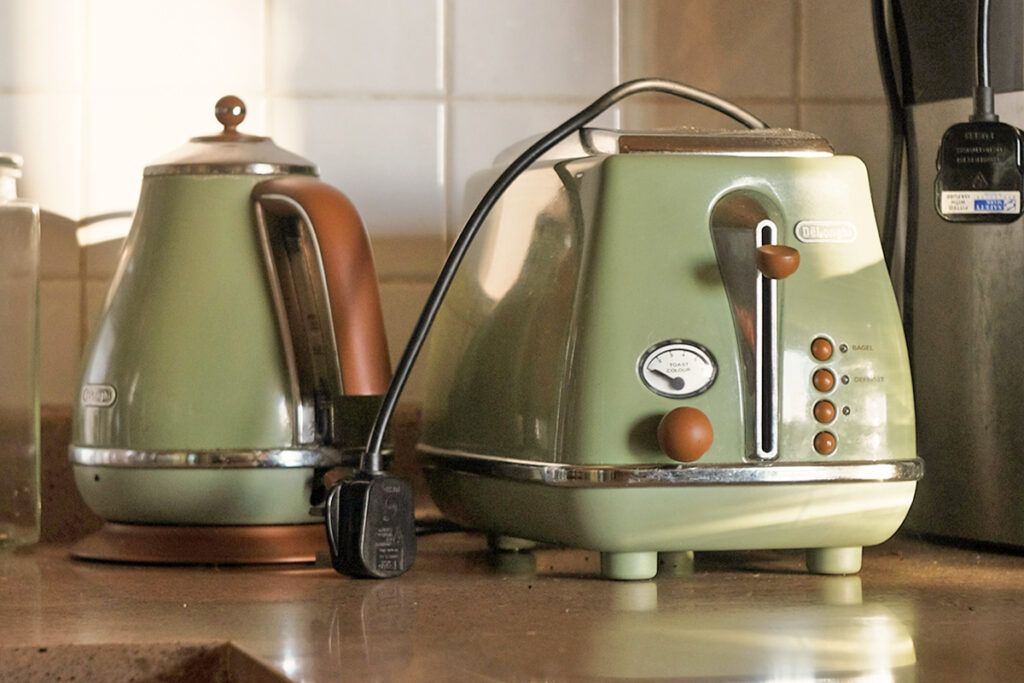
Countertop appliances such as blenders, toasters, and rice cookers aren’t meant for moist areas. Should your sink ever develop a leak, the water can easily damage these devices. Beyond the risk of a plumbing mishap, consistent moisture or humidity can damage internal electrical components and lead to rust.

Credit: © Hudson Graves/Unsplash.com

11. Kitchen Wraps

It’s best to keep kitchen wraps and parchment paper far away from the dampness of the under-sink cabinet. The cardboard boxes they come in can absorb moisture and become mildewy. To prevent your aluminum foil from oxidizing and your parchment paper from soaking up musty smells, store these rolls in a dry kitchen drawer or pantry.

12. Flammable Substances

Any flammable substance should also stay away from the area under the sink. Items such as paint, oil-based polishes, and aerosol sprays can degrade when exposed to heat. More importantly, these products present a significant fire hazard; if a leak occurs, vapors can ignite if they come into contact with heat or sparks generated by a garbage disposal motor.

Credit: © Pixel-Shot/stock.adobe.com
Advertisement

13. Glass Vases

If you have a collection of glass vases, it’s probably better to store them in higher cabinets rather than under the sink. This area is often dark and cramped, making it difficult to clean up shards if a vase accidentally shatters. Moving fragile glassware to an upper cabinet or storage closet also protects it from vibrations caused by plumbing and nearby foot traffic.

Related: 15 Items That Should Be in Every Junk Drawer

14. Light Bulbs

Finding the right spot for extra light bulbs can be tricky, but don’t resort to the cabinet under your sink. Because these areas are dark and small, storing any type of glass there is hazardous; the bulbs can easily shatter and leave hard-to-see shards everywhere. Instead, light bulbs should be kept in a pantry, junk drawer, or a labeled plastic bin in a low-traffic area.

15. Bulky Items

Since the area under your sink is typically more compact than other cabinets and closets, it’s worth finding a different home for bulkier items — even if they’re technically considered safe for this space. Removing oversized items keeps your cabinets clutter-free and ensures you have a clear view of your plumbing, making it easier to spot potential leaks before they cause serious damage.

Credit: © hippostudio—iStock/Getty Images
Advertisement
Featured Image Credit:  Андрей Журавлев/stock.adobe.com | Updated  May 5, 2026 |
Jessie Quinn
Writer
Jessie Quinn is a Los Angeles-based lifestyle journalist with words published in PEOPLE, StyleCaster, Apartment Therapy, The Spruce, Byrdie, and more. She has a Bachelor's Degree in fashion journalism from Academy of Art University and her work spans across many categories, including style, beauty, home, health, crafts, and more.
This article is for general informational purposes only.
Featured Image Credit:  Андрей Журавлев/stock.adobe.com | Updated  May 5, 2026 |
Advertisement
Cleaning 5m read
132

7 Places in Your Home Where Mold Is Likely Hiding

Your home might look spotless after a deep clean, but mold is a master of disguise. It doesn’t need much to thrive — just a little moisture, a porous surface, and a spot you don’t think to check very often. Once it settles in, it can cause real problems — from musty odors and property damage to potentially serious health issues.

All featured products and deals are selected independently and objectively by the author. House Outlook may receive a share of sales via affiliate links in content.

Your home might look spotless after a deep clean, but mold is a master of disguise. It doesn’t need much to thrive — just a little moisture, a porous surface, and a spot you don’t think to check very often. Once it settles in, it can cause real problems — from musty odors and property…

Mold can grow almost anywhere, which is unsettling to think about when most of us watch only for the obvious signs. Here are seven places mold could be hiding in your home right now, and what to do if you find it.

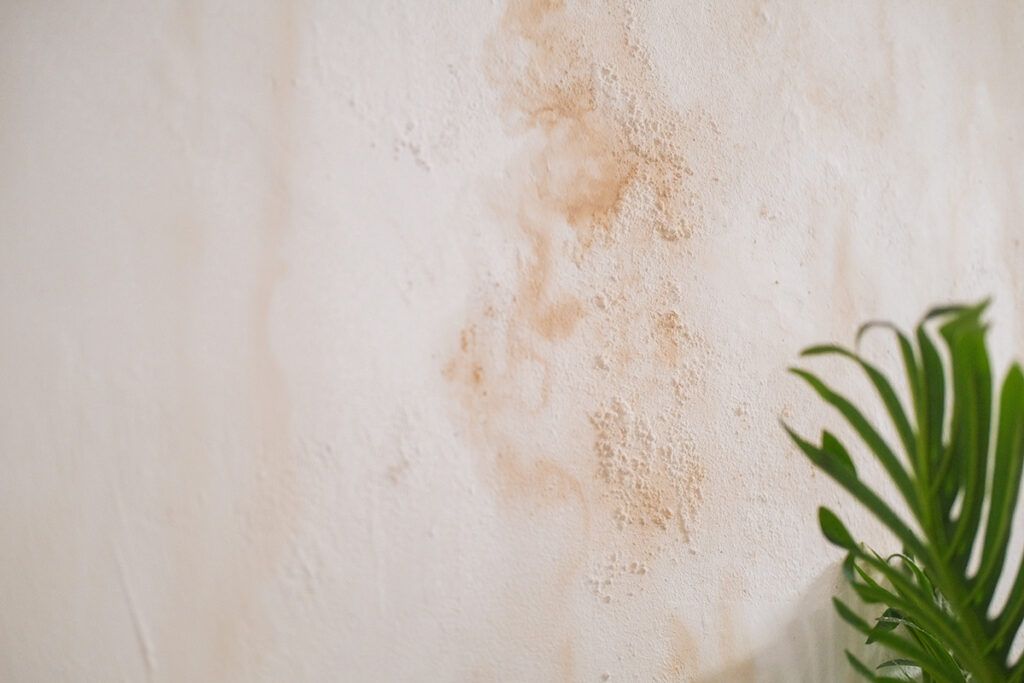
1. Inside Your Walls

Drywall is highly absorbent, making it an ideal breeding ground for mold. The problem is that you can’t always see what’s happening behind the surface. Water damage, whether it’s from a leaky pipe, a roof issue, or prolonged humidity, can trigger mold growth within 24 to 48 hours. If you notice water stains, warping, or a persistent musty smell, it’s worth investigating further. While professionals can use noninvasive methods such as thermal imaging to detect hidden dampness, effective treatment usually requires removing the affected drywall entirely and addressing the source of the moisture.

Credit: © moonmovie/stock.adobe.com
Related: 6 House Sounds That Require Immediate Attention

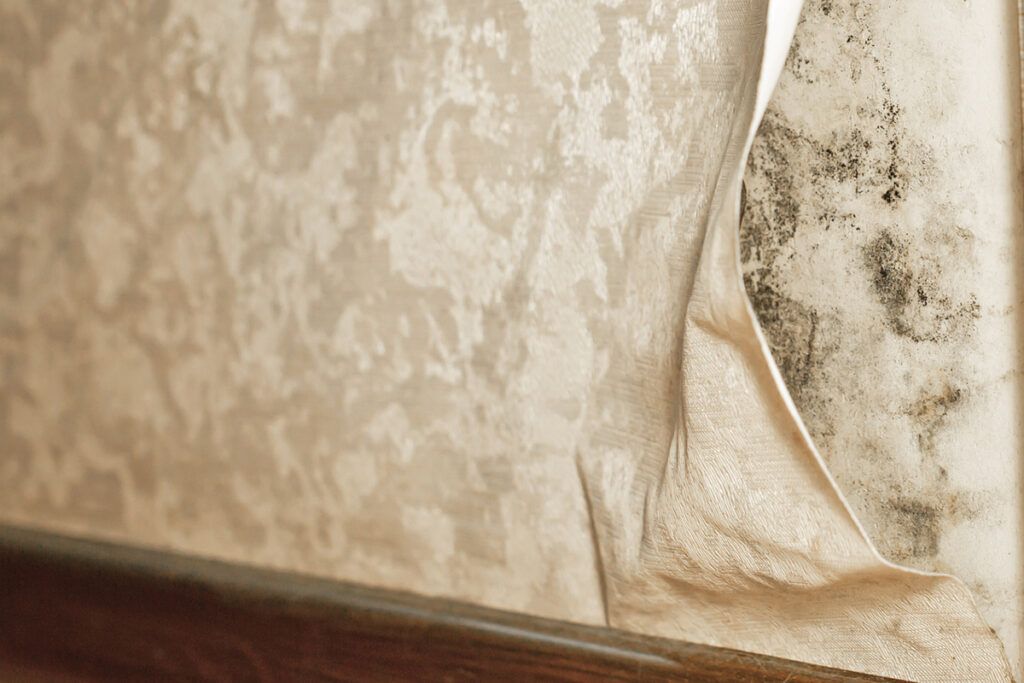
2. Behind Wallpaper

We love that wallpaper is back in style, but unfortunately, mold loves it too. If you notice the paper beginning to peel, it could signal a humidity or moisture issue that has allowed mold to take hold between the adhesive and the wall. While peeling doesn’t always mean mold, it’s a sign worth taking seriously — particularly in older homes or rooms prone to moisture.

Credit: © Oksana Muzykantova/iStock
Advertisement

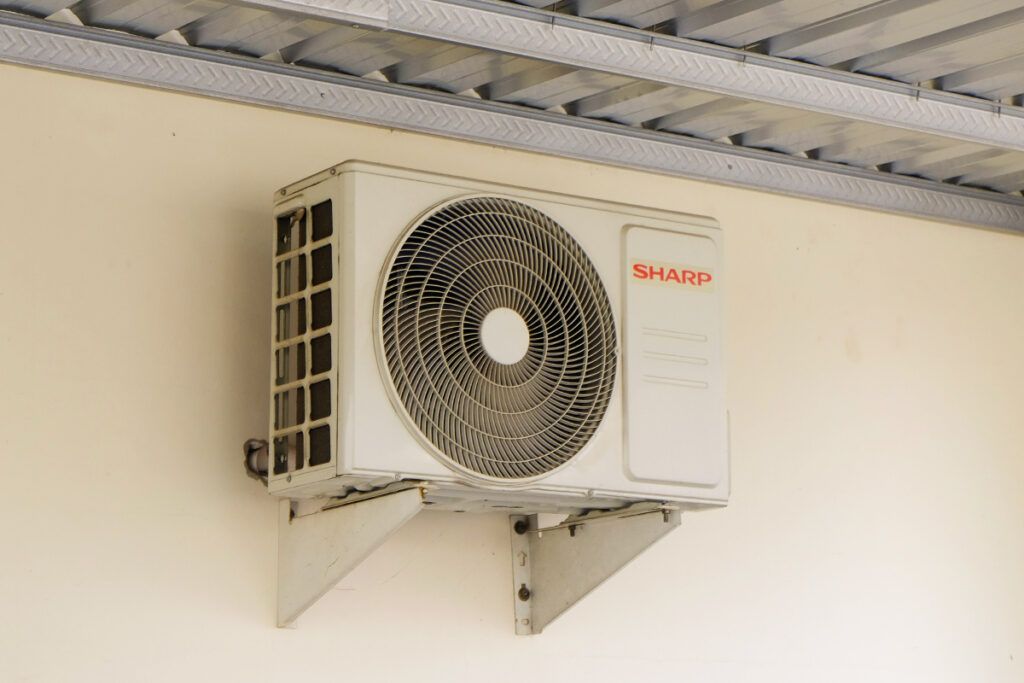
3. In Your HVAC System

Your heating and cooling system circulates air throughout your entire home, which means if mold is growing inside it, those spores are being distributed to every room. Mold often develops in ducts, on coils, and around drain pans, particularly in systems with moisture issues. To maintain high air quality and peak efficiency, HVAC systems should be checked by a professional twice a year — ideally in the spring and fall. If you notice a musty odor when the system kicks on or see discoloration near the vents, it’s time to call a professional. An expert can determine whether you’re dealing with mold or something else entirely.

Credit: © Andrianto Cahyono Putro/Unsplash.com

4. Under Your Mattress

Placing a mattress directly on the floor creates a near-perfect environment for mold: trapped moisture, lack of airflow, and a warm surface. Even mattresses on bed frames can be vulnerable if wooden slats trap humidity against the underside. Finding mold on a mattress is typically reason enough to replace it, as the material is too thick and porous to clean thoroughly. While sealed wooden slats can often be salvaged, unsealed wood should be replaced if mold has set in.

Credit: © Toa Heftiba/Usplash.com
Advertisement

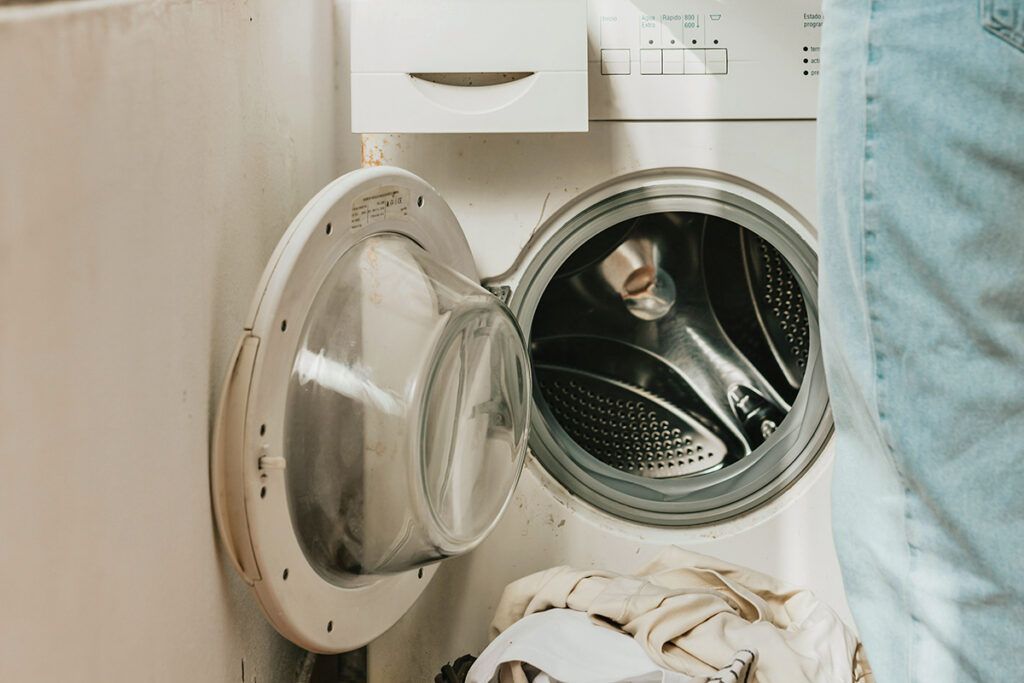
5. In Your Washing Machine

There’s a certain irony in the fact that the appliance designed to clean your clothes can also harbor mold. Front-loading washing machines are notorious for mold buildup on the rubber door gasket — that soft seal around the opening. Once mold moves in, it can transfer to your laundry and create a persistent musty smell. Prevention is the best fix: Leave the door and detergent dispenser open after each wash to let moisture escape. For existing growth, follow the manufacturer’s instructions, which often recommend a monthly cleaning cycle with bleach.

Credit: © A. C./Unsplash.com
Related: How To Eliminate Mold From Your Front-Load Washer

6. In the Bathroom (Beyond the Obvious Spots)

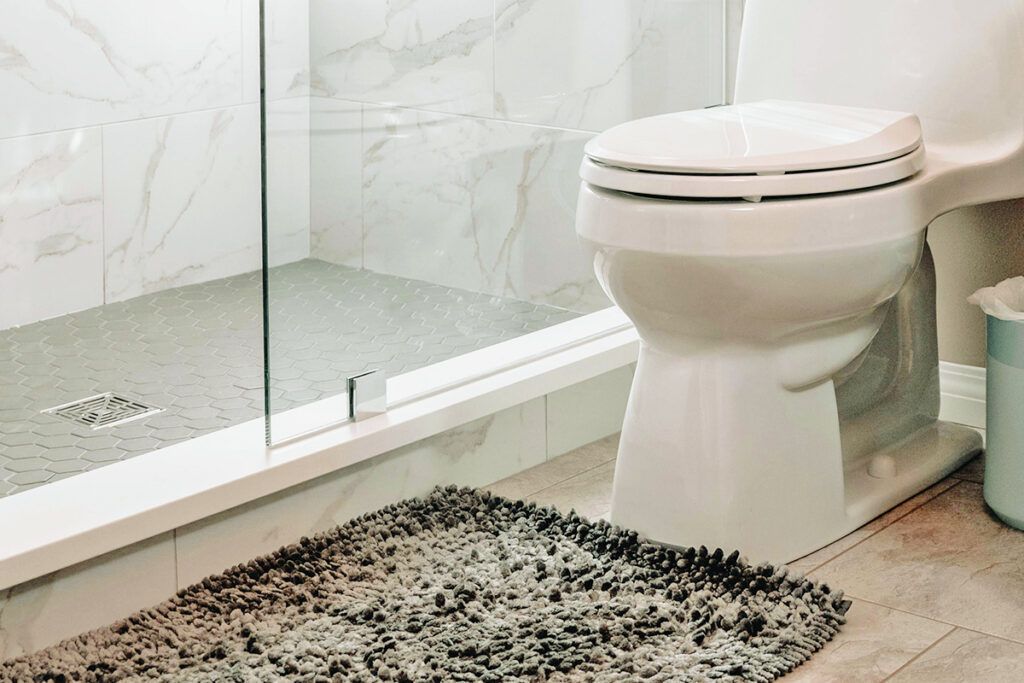
Mold in bathrooms extends well beyond obvious spots like grout and toilet bases. Check underneath the sink for dripping pipes, behind the toilet, and on or under bath mats that stay damp between uses. Exhaust fans that vent improperly or are too weak to clear steam quickly can make the entire room a mold risk. To keep the space dry, run the fan during and for at least 15 to 20 minutes after every shower.

Credit: © 99.films/Unsplash.com
Advertisement

7. Under the Kitchen Sink

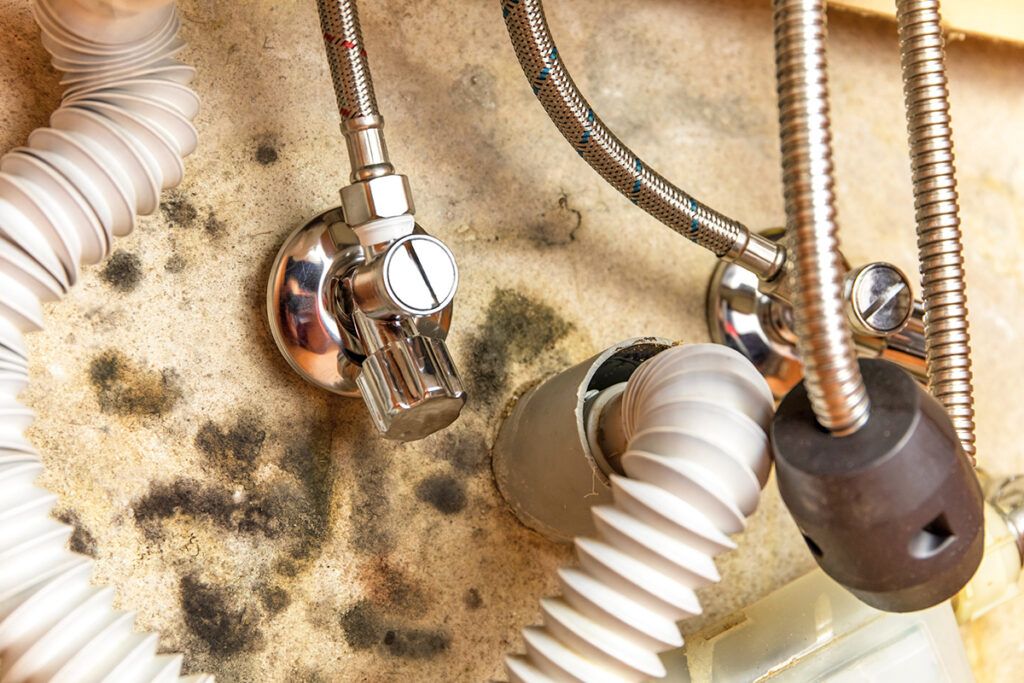
A slow leak from a drainpipe or water supply line can go unnoticed for months, soaking into the cabinet floor and the wall behind it. By the time you notice a musty odor, mold has often already taken hold. It’s worth peeking into this area regularly, even if everything seems fine. Catching a small leak early can prevent a much larger, more expensive remediation project.

If you find a small patch of mold (less than 10 square feet), you can tackle the project yourself with the proper protective gear and a microbial cleaner. However, if the damage is widespread or permeates the subflooring, you’ll need to hire a professional remediation team to prevent the mold from spreading through the rest of the house.

Credit: © MartinFredy/iStock

The Common Thread

The root cause across all of these areas is moisture. Your best defense is to cut off the supply: Keep indoor humidity below 50%, fix leaks promptly, and improve ventilation wherever possible. Because mold needs water to survive, keeping things dry is the only permanent fix.

Advertisement
Featured Image Credit:  © agenturfotografin/stockadobe.com | Updated  May 5, 2026 |
Jill Layton
Writer
Jill Layton started writing professionally when she realized her emails and texts were kinda funny. She’s an affiliate shopping writer and lifestyle contributor for Scary Mommy, Bustle, Mic, and Best Products. She’s the mom of two alarmingly witty kids and the world’s most perfect dog.
This article is for general informational purposes only.
Featured Image Credit:  © agenturfotografin/stockadobe.com | Updated  May 5, 2026 |
Advertisement
Cleaning 2m read
267

You’re Cleaning Your Toilet Wrong

There’s no sugarcoating it: Toilets are among the germiest places in any home. Regular cleaning is essential, but far too many of us are doing it wrong. It’s not so much a matter of frequency or the specific cleaning supplies you use, but rather the overlooked areas that can be even dirtier than the bowl itself. So, are you cleaning your toilet the wrong way? Let’s find out.

All featured products and deals are selected independently and objectively by the author. House Outlook may receive a share of sales via affiliate links in content.

There’s no sugarcoating it: Toilets are among the germiest places in any home. Regular cleaning is essential, but far too many of us are doing it wrong. It’s not so much a matter of frequency or the specific cleaning supplies you use, but rather the overlooked areas that can be even dirtier than the bowl…

It All Hinges on This

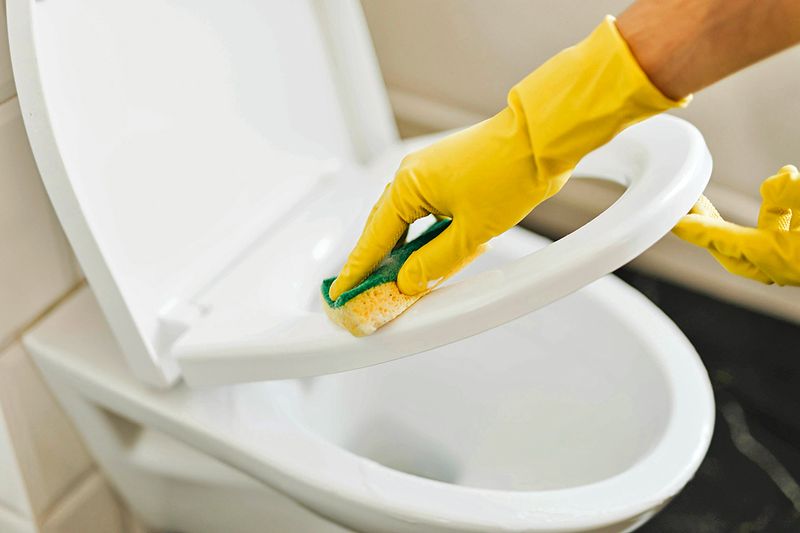
Given that the bowl comes into direct contact with waste, you might assume it’s the dirtiest part of the toilet. But there’s another area that’s neglected during most cleans, leaving it riddled with grime and hidden bacteria. We’re referring to the toilet seat hinges, whose tight crevices trap gunk that routine cleanings miss.

Related: How To Keep Your Toilet Brush Germ-Free

This isn’t just a case of “out of sight, out of mind” — letting bacteria sit unabated can lead to unsanitary buildup. To stay ahead of it, you should completely remove the toilet seat twice a month for a more thorough cleaning. While removing the seat may sound cumbersome, it’s a breeze if you install a model designed for quick removal. Once it’s off, you can easily tackle that hidden gunk.

Advertisement

Additional Tips

Cleaning a toilet involves more than just throwing disinfectant into the bowl and hoping for the best. You must also wipe down the entire exterior, including the base, the tank, and the surrounding floor, where bacteria often hide in plain sight.

Before reaching for a spray, use a dry paper towel to remove any hair or debris. This prevents a sticky mess once cleaning solutions are applied. Lastly, always clean from top to bottom. If you start at the base, gravity will just pull grime onto your freshly cleaned surfaces, and you’ll have to start all over again.

Advertisement
Featured Image Credit:  | Updated  May 5, 2026 |
Bennett Kleinman
Staff Writer
Bennett Kleinman is a New York City-based staff writer for Inbox Studio, covering topics for several brands including House Outlook and Better Report. He previously contributed to television programs such as "Late Show With David Letterman" and "Impractical Jokers," and digital publications like The Onion. Bennett is also a devoted New York Yankees and New Jersey Devils fan, and thinks plain seltzer is the best drink ever invented.
This article is for general informational purposes only.
Featured Image Credit:  | Updated  May 5, 2026 |
Advertisement
Food & Drink 2m read
140

This Clever Trick Hides Appliance Cords in Plain Sight

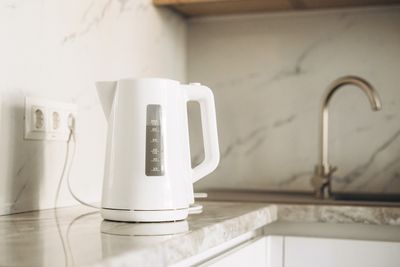
We all know how precious kitchen counter space can be. This coveted area is used daily for everything from brewing your morning coffee to chopping up ingredients for dinner, so keeping things orderly is essential. But once you add small appliances to the mix, it’s easy for the space to become cluttered. One way to manage a messy-looking counter is to keep appliance cords in check — and we have a hack to help.

All featured products and deals are selected independently and objectively by the author. House Outlook may receive a share of sales via affiliate links in content.

We all know how precious kitchen counter space can be. This coveted area is used daily for everything from brewing your morning coffee to chopping up ingredients for dinner, so keeping things orderly is essential. But once you add small appliances to the mix, it’s easy for the space to become cluttered. One way to…

Combat Counter Clutter

Many things can clutter a kitchen counter, but appliance cords are one of the biggest culprits. While they’re unavoidable for most small appliances, they don’t have to stay in disarray when not in use. All you need to get them under control is a set of self-adhesive hooks

Self-adhesive hooks are typically used for decor or hanging storage, but they also offer a clever way to manage appliance cords. First, grab two hooks and find a clear spot on the back of your appliance. Attach one hook facing upward, then place the second hook a few inches below it, facing downward. By lining the hooks up vertically and pointing them in opposite directions, you’re giving the cord something to grab onto so it stays snug and doesn’t unravel.

Be sure to follow application instructions carefully to ensure the adhesive lasts. Once the hooks are secure, wrap the cord around them — think of the mechanism that secures the cord on a vacuum.

Advertisement

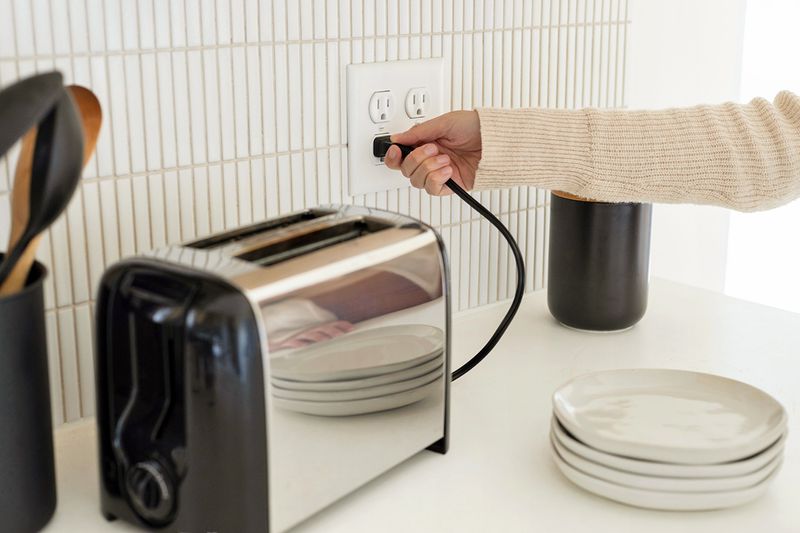
This cord organizer setup allows you to keep cables wrapped and concealed, leaving your counters looking clutter-free. When you’re ready to use the appliance, simply unravel the cord and plug it in.

Related: Kitchen Items Professional Chefs Say You’re Storing Wrong

This hack is an efficient way to manage small appliance cords. Plus, since adhesive hooks typically come in bulk packs, you’ll have plenty of pairs to tackle every appliance on your counter.

Advertisement
Advertisement
Gardening 3m read
2,296

Your Backyard Needs a ‘Mosquito Bucket of Doom’

Few things are as universally reviled as mosquitoes. These pesky little critters can ruin a beautiful evening, leaving you covered in itchy red bumps that can plague you for weeks. If the infestation is serious enough, you might even feel like a prisoner in your own home, afraid to go out into the yard and suffer the consequences.

All featured products and deals are selected independently and objectively by the author. House Outlook may receive a share of sales via affiliate links in content.

Few things are as universally reviled as mosquitoes. These pesky little critters can ruin a beautiful evening, leaving you covered in itchy red bumps that can plague you for weeks. If the infestation is serious enough, you might even feel like a prisoner in your own home, afraid to go out into the yard and…

While there are ways to keep the bugs at bay, professional treatments are often expensive and can harm other living creatures. However, there’s a DIY method that’s both safe and effective — it’s called the “mosquito bucket of doom.”

It’s a Trap!

The “mosquito bucket of doom” is a trap that takes advantage of the fact that pregnant female mosquitoes are drawn to standing water. It’s their ideal environment for laying eggs, which is why you’ll often find them near puddles, ponds, birdbaths, and other stagnant water sources. While adding more water to your yard may seem counterintuitive, this hack comes with a twist that eliminates the pests rather than breeding them.

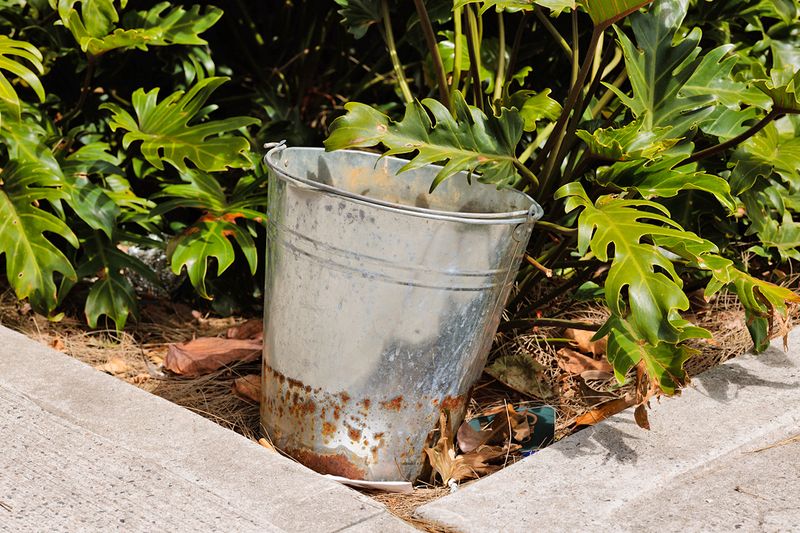
Fill a dark, 5-gallon bucket with water and organic materials — such as weeds or grass clippings — to attract mosquitoes. Then add a mosquito dunk, a pest-fighting product containing Bacillus thuringiensis israelensis (Bti), a bacterium that kills mosquito larvae. Even better, Bti poses no risk to pets, pollinators, or the other creatures you actually want in your yard.

Advertisement

Place the bucket in a shady spot where mosquitoes will be drawn to lay their eggs. While Bti won’t kill existing adults, it eliminates their offspring, preventing future generations. You should notice the population diminish within a week or two as the adults die off and their babies fail to reach maturity. Since mosquito dunks are effective for only 30 days, be sure to swap in a fresh one once a month. There’s no need to replace the water — the older, the better, as far as mosquitoes are concerned — or fish out the old dunk, as it will slowly dissolve on its own.

Related: This Outdoor Lighting Swap Keeps Insects Away

Waiting a week or two may seem difficult, especially since traditional pest treatments offer immediate results. However, those chemical sprays don’t just kill mosquitoes — they also harm bees, butterflies, and pets. The bucket is a much safer alternative that will leave your backyard virtually mosquito-free in just a few weeks.

Advertisement
Featured Image Credit:  SteveLuker/istock | Updated  May 5, 2026 |
Bennett Kleinman
Staff Writer
Bennett Kleinman is a New York City-based staff writer for Inbox Studio, covering topics for several brands including House Outlook and Better Report. He previously contributed to television programs such as "Late Show With David Letterman" and "Impractical Jokers," and digital publications like The Onion. Bennett is also a devoted New York Yankees and New Jersey Devils fan, and thinks plain seltzer is the best drink ever invented.
This article is for general informational purposes only.
Featured Image Credit:  SteveLuker/istock | Updated  May 5, 2026 |
Advertisement
Food & Drink 3m read
123

You Should Be Adding Water to Your Air Fryer

In just a few short years, the air fryer has earned a permanent place on many kitchen counters. It’s fast, user-friendly, and — unlike a microwave — it crisps and browns food beautifully. One of its few flaws is that it can occasionally provide too much of a good thing, leaving food (especially roasted vegetables) overly browned and dry. Here’s a simple, chef-inspired hack that uses just a bit of water to balance out the air fryer’s intense heat, ensuring tender, rather than tough, results.

All featured products and deals are selected independently and objectively by the author. House Outlook may receive a share of sales via affiliate links in content.

In just a few short years, the air fryer has earned a permanent place on many kitchen counters. It’s fast, user-friendly, and — unlike a microwave — it crisps and browns food beautifully. One of its few flaws is that it can occasionally provide too much of a good thing, leaving food (especially roasted vegetables) overly…

Steam and Convection Are Better Together

Fundamentally, an air fryer is a small, powerful convection oven. It uses a fan to circulate hot air and, because the basket is so compact, your food cooks quickly. Convection ovens have been around for a long time, and top-tier commercial convection ovens often combine convection with steam capability. This is a powerful combination because moist air conducts heat better than dry air, speeding up cook times while preventing your food from becoming dried out and leathery.

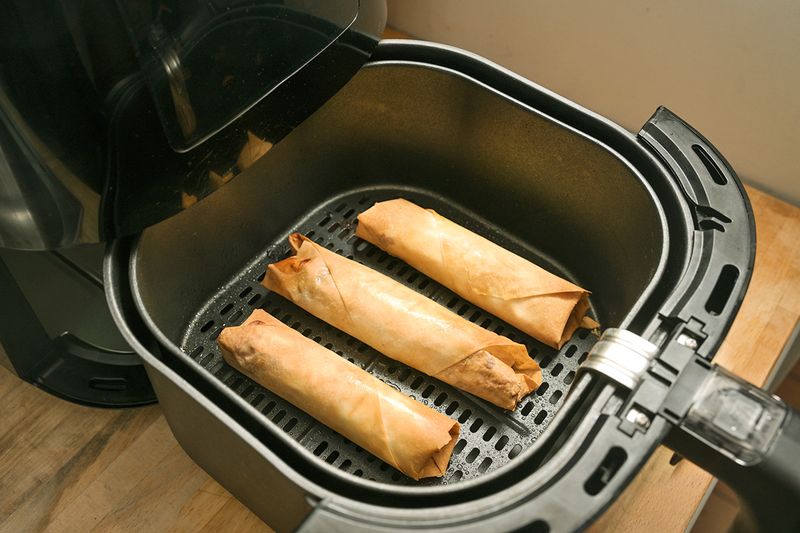
So, what does this have to do with your air fryer? Well, it turns out you can harness those same advantages at home. Before cooking items prone to drying out — such as roasted vegetables or breaded fish — lift the grate from the bottom of your air fryer and add 2 tablespoons of water. It’s best to do this after the preheat cycle is finished and before adding your food.

Replace the grate, fill your basket with food, and cook as usual. The water will evaporate during the first few minutes, leaving plenty of time for browning and crisping. Not only does this prevent your dish from becoming leathery and overcooked, but you may also find that your vegetables stay a lot brighter and more colorful.

Advertisement

Other Ways To Steam

Not all air fryers are built the same. If you find a heating element or a drain under the grate, do not pour water into it. Instead, try a few alternatives. If your basket is large enough, put the water in a small, heatproof bowl or ramekin. You can also mist vegetables with a spray bottle or add a splash of water to the bowl when tossing your food with oil. Enough moisture will cling to the food to get the job done.

Related: 10 Air Fryer Mistakes That Ruin Your Food

If you’re shopping for your first air fryer or looking to upgrade, some new models — like this one from Nutrichef — even have a built-in reservoir you can fill with water to give you that steam-roasting effect with less effort.

Advertisement
Featured Image Credit:  © fermate/iStock | Updated  May 4, 2026 |
Fred Decker
Writer
Fred Decker is a trained chef and former restaurateur. Since closing his restaurants over a decade ago he has been a prolific freelance writer, publishing several thousand articles on dozens of high-volume websites including Taste Of Home, Hunker, Tasting Table, Week&, eHow, and GOBankingRates. He lives on a rural acreage shared with a big garden, chickens, rabbits, and grandkids.
This article is for general informational purposes only.
Featured Image Credit:  © fermate/iStock | Updated  May 4, 2026 |
Advertisement
Cleaning 2m read
80

The Chef Secret to Cleaning Stuck-On Food

Many of us scour the internet for quick and easy recipes to save time, yet we often forget about the cleanup. It’s common for the scrubbing to take longer than the cooking, and — even worse — it often happens later in the evening when you’re already tired and would desperately love to be doing anything else. To help you get out of the kitchen faster, here’s a chef-inspired cleaning hack to shorten your time at the sink.

All featured products and deals are selected independently and objectively by the author. House Outlook may receive a share of sales via affiliate links in content.

Many of us scour the internet for quick and easy recipes to save time, yet we often forget about the cleanup. It’s common for the scrubbing to take longer than the cooking, and — even worse — it often happens later in the evening when you’re already tired and would desperately love to be doing…

Take Your Cue From TV Chefs

If you’re a fan of TV cooking shows, you’ve probably seen chefs deglaze a pan. Essentially, after searing meat or vegetables, they add a splash of liquid — such as wine, water, or stock — and stir it around to loosen the flavorful bits stuck to the bottom, incorporating them into a sauce. As long as the food is merely browned-on (meaning it looks like a thin, glazed coating rather than a black char), this is a great technique to add to your cooking repertoire.

Related: Let Your Slow Cooker Clean Itself

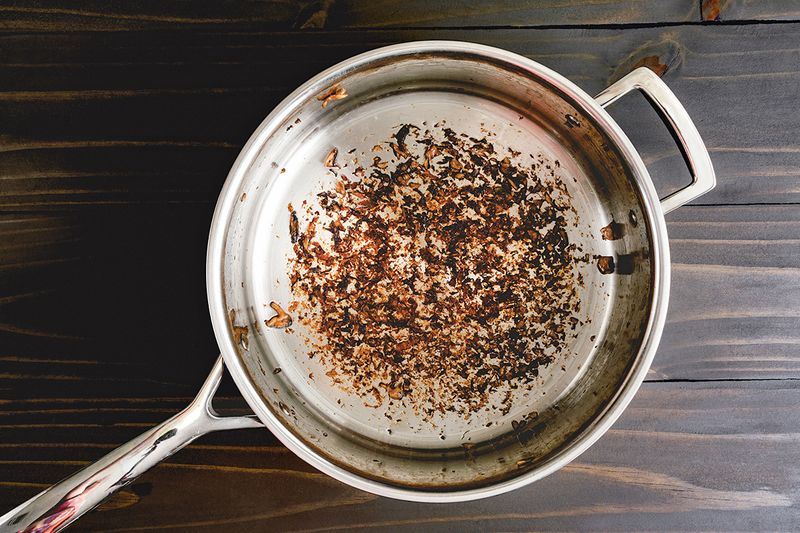
However, if the meal is over or the food is genuinely burnt — leaving behind a scorched, bitter-smelling crust — you can use that same technique for cleanup instead. While the pan is still hot, add a splash or two of water and let it come to a boil. Use a stiff nylon or wooden spatula to scrape the surface. Most of the residue will lift as the boiling water creates a layer of steam between the food and the metal. This assault breaks the bond with the pan’s surface, allowing you to easily rinse away the loosened debris after just a few moments.

Advertisement

The Job Won’t Be Finished Yet

To be clear, the pan won’t be completely clean at this point. You’ll still need to give it a hand-wash or run it through the dishwasher, depending on the finish. But this method is far gentler on your cookware than scouring pads or abrasive cleansers, saving both your arm strength and your evening.

Advertisement
Featured Image Credit:  © Candice Bell/stock.adobe.com | Updated  May 4, 2026 |
Fred Decker
Writer
Fred Decker is a trained chef and former restaurateur. Since closing his restaurants over a decade ago he has been a prolific freelance writer, publishing several thousand articles on dozens of high-volume websites including Taste Of Home, Hunker, Tasting Table, Week&, eHow, and GOBankingRates. He lives on a rural acreage shared with a big garden, chickens, rabbits, and grandkids.
This article is for general informational purposes only.
Featured Image Credit:  © Candice Bell/stock.adobe.com | Updated  May 4, 2026 |
Advertisement
Home Improvement 3m read
49

Stop Doors From Creeping Open With This 5-Minute Fix

The only place a door should randomly creep open is inside a well-designed haunted house. In any normal home, however, doors that open or shut on their own are a big nuisance. They can lead to noise issues, privacy concerns, and uneven heating or cooling between rooms. Fortunately, there’s an easy DIY solution for doors with minds of their own. Let’s look at how simple this fix truly is.

The only place a door should randomly creep open is inside a well-designed haunted house. In any normal home, however, doors that open or shut on their own are a big nuisance. They can lead to noise issues, privacy concerns, and uneven heating or cooling between rooms. Fortunately, there’s an easy DIY solution for doors…

An Open-and-Shut Solution

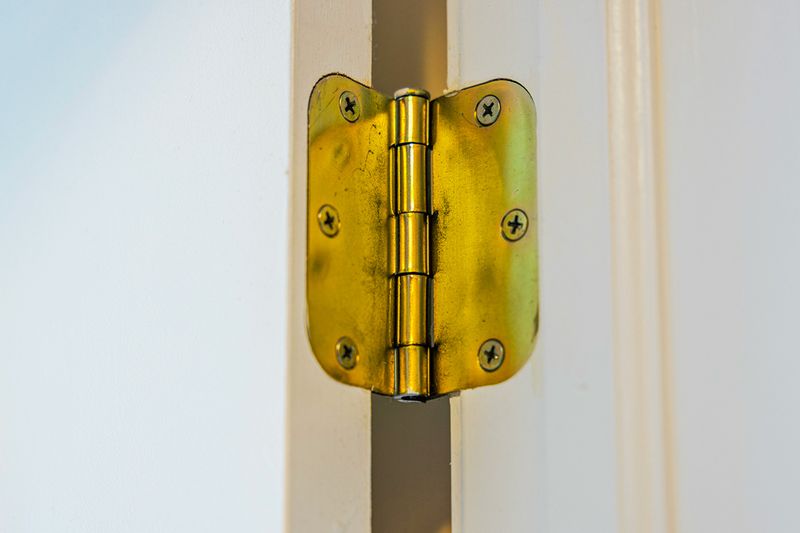
First, grab a hammer and a flathead screwdriver. Head over to the door in question and remove one of the hinge pins. (We recommend removing one pin at a time to keep the door in place; in many cases, adjusting just a single pin will solve the problem.)

Related: How To Silence a Squeaky Door Hinge

To remove a pin from the door hinge, place the screwdriver tip against the bottom of the pin and tap the handle with the hammer. This pushes the pin upward, exposing the head so you can pull it out.

Advertisement

Next, you’ll create a slight bend in the pin. This adds just enough friction to prevent the door from drifting while keeping it in working order. Lay the pin on a durable surface and tap the center with a hammer until a slight bend forms. Be careful not to overdo it, as a sharp bend will make the pin impossible to reinsert. If the bend is slightly too sharp, you may be able to tap it straight with a hammer. But if the pin is severely kinked, you’re better off replacing it. Remember: A subtle curve is all you need.

Finally, return the pin to the hinge. Place it into the top of the hinge and lightly tap it down with your hammer until it’s flush. Just like that, the door should stop drifting. If it’s still giving you issues, repeat the process with one of the other pins — most interior doors have three, so it may take a bit of trial and error.

Advertisement
Featured Image Credit:  © Alexander Shapovalov/iStock | Updated  May 4, 2026 |
Bennett Kleinman
Staff Writer
Bennett Kleinman is a New York City-based staff writer for Inbox Studio, covering topics for several brands including House Outlook and Better Report. He previously contributed to television programs such as "Late Show With David Letterman" and "Impractical Jokers," and digital publications like The Onion. Bennett is also a devoted New York Yankees and New Jersey Devils fan, and thinks plain seltzer is the best drink ever invented.
This article is for general informational purposes only.
Featured Image Credit:  © Alexander Shapovalov/iStock | Updated  May 4, 2026 |
Advertisement
Food & Drink 7m read
100

A Chef’s Best-Kept Secrets for Restaurant-Quality Pasta at Home

Pasta is one of the greatest meal options for home cooks because it’s quick, versatile, and inexpensive. I leaned on it heavily when I was a young parent and even taught myself how to make it from scratch.

All featured products and deals are selected independently and objectively by the author. House Outlook may receive a share of sales via affiliate links in content.

Pasta is one of the greatest meal options for home cooks because it’s quick, versatile, and inexpensive. I leaned on it heavily when I was a young parent and even taught myself how to make it from scratch.

After a career change, I went to culinary school, worked in fine-dining and high-volume outlets, and eventually owned and operated two restaurants. Those years taught me there was still plenty to learn — namely, that the difference between good pasta and the best pasta hinges on attention to detail. Here are eight things I’ve learned along the way to help you take your own pasta dishes to the next level.

1. Match the Shape to the Sauce

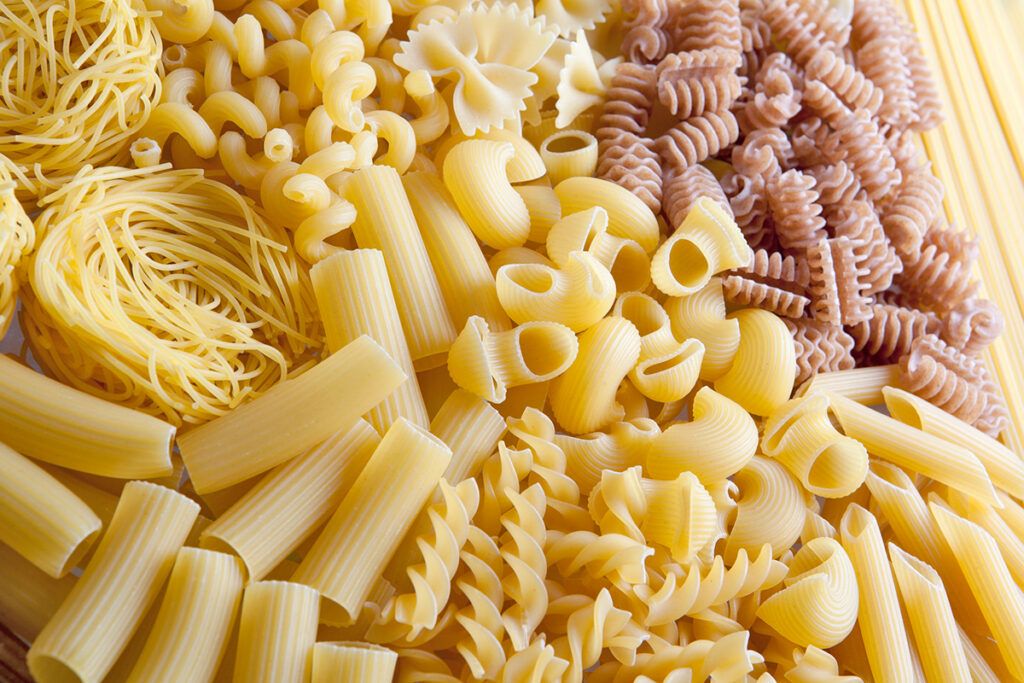
Before the pot even hits the stove, consider which sauce belongs with which pasta. As a rule of thumb, use bigger, thicker, and chunkier shapes for hearty sauces, and longer, thinner noodles for lighter ones.

The logic in classic pairings is clear. Large shells or tubes are the natural partners for thick, creamy, or chunky sauces. Conversely, delicate angel hair or spaghettini are better suited for seafood and light, wine-based sauces. Twisty, ridged shapes are designed to capture sauces that cling, such as pesto or a light tomato sauce. And while you can certainly improvise — there’s no law against spaghetti with a heavy meat sauce — you’ll find that these traditional pairings truly do work best.

Credit: © AngiePhotos/iStock

2. Cook to Not-Quite Al Dente

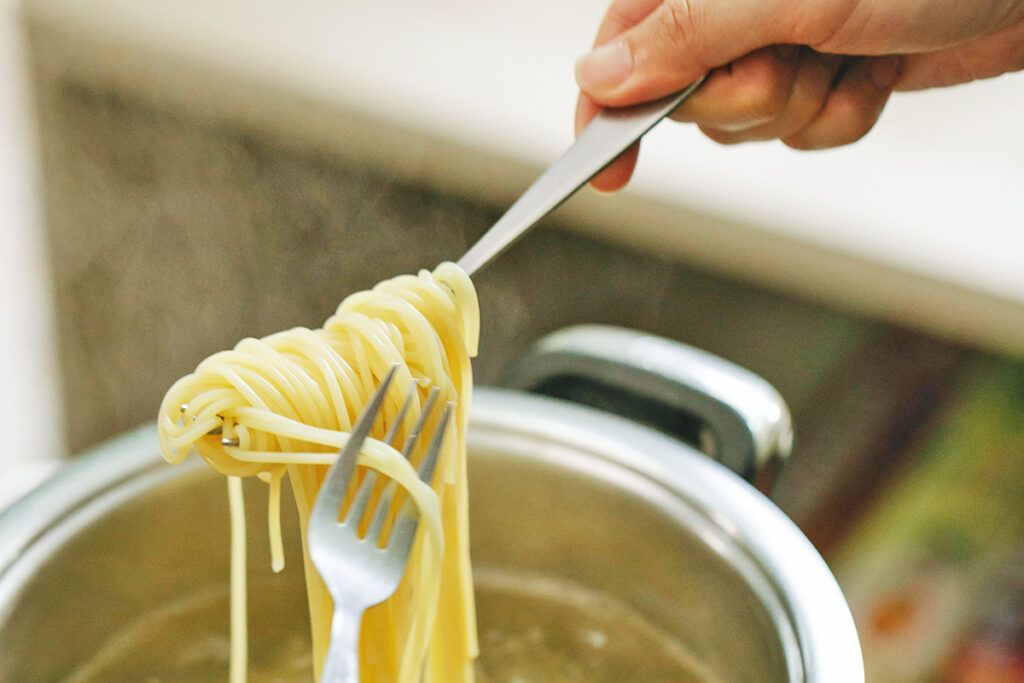
This tip often surprises people because nearly every box of pasta suggests cooking until al dente — tender, but with a bit of chewiness. However, I have a good reason for pulling it earlier, a lesson I learned early in my professional career.

The issue is carryover cooking. Like many foods, pasta continues to cook as it sits in the colander after draining. If it’s perfectly al dente when you stop cooking, it will be overdone by the time it reaches your plate. Most professionals also take an additional step before plating that adds a minute or two of cooking time, which I’ll explain in a moment.

Credit: © Klaus Nielsen/Pexels
Advertisement

3. Keep Stirring

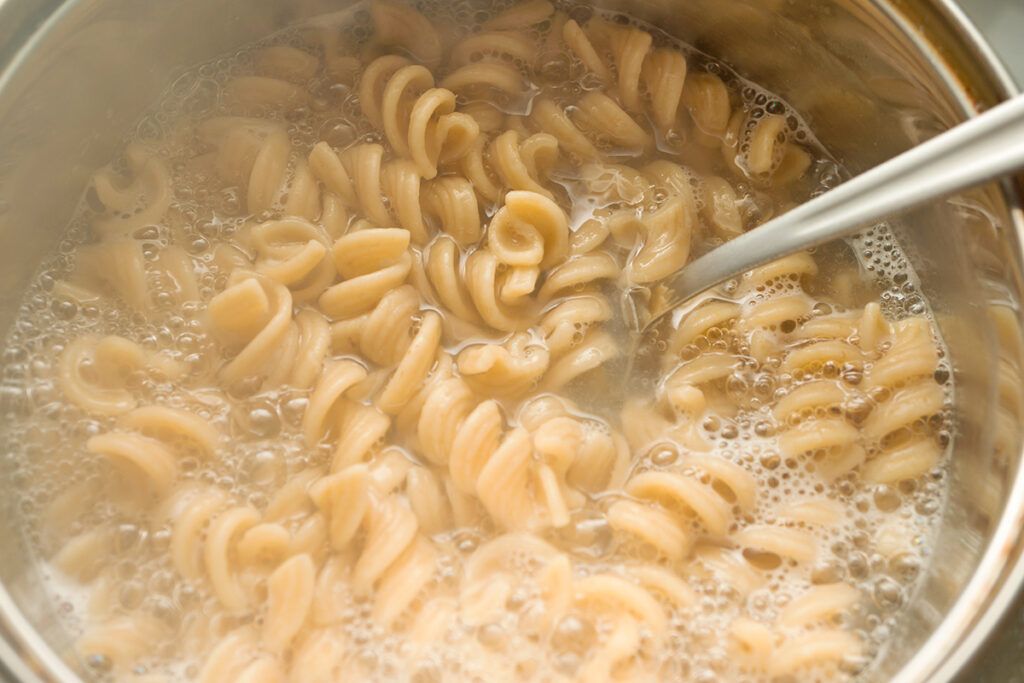
Traditional wisdom says to cook pasta in a large pot of well-salted water, as most packaging suggests. While science-minded food writers have discovered you can effectively use much less water, my advice remains the same regardless of the route you choose: Keep stirring.

If you depend solely on the boiling water to keep the pasta moving, you’re in for an unpleasant surprise at the colander. Pasta that sticks together or to the bottom of the pot tears and cooks unevenly, taking away from the overall quality of your dish. To ensure the best results, stir frequently from start to finish so individual noodles or shapes stay separated.

Credit: © Iri-s/iStock
Related: What To Do With Leftover Tomato Paste

4. Never Rinse the Pasta

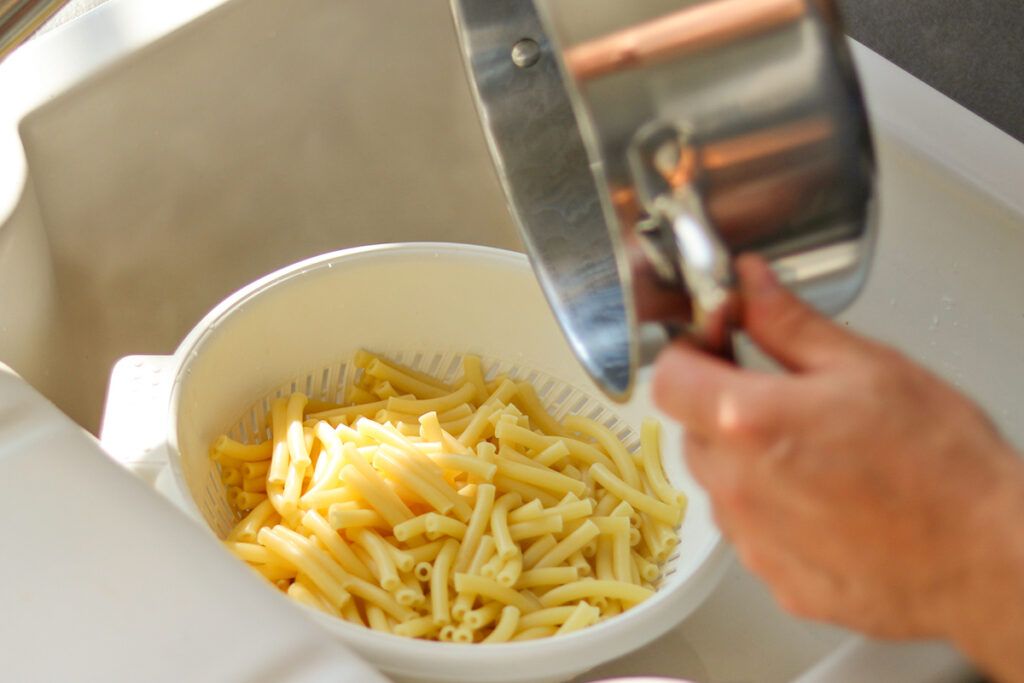
When I mentioned that pasta continues to cook after it’s drained, you might have thought, “If I rinse it with cold water, that will stop the cooking.” You’d be right — but you’d also be ruining the dish. I’ve seen many students in my cooking classes rinse or oil their pasta to keep it from clumping, but it’s a mistake.

Here’s why: Freshly cooked pasta is coated in a thin, starchy layer. This starch helps the sauce cling to the pasta. Rinsing it away — or slicking it with oil — prevents that bond. The only time I rinse or oil my pasta is for a cold pasta salad or a casserole. In the latter case, I also undercook the noodles a little more to account for the oven time.

Credit: © Tatjana Meininger/iStock
Advertisement

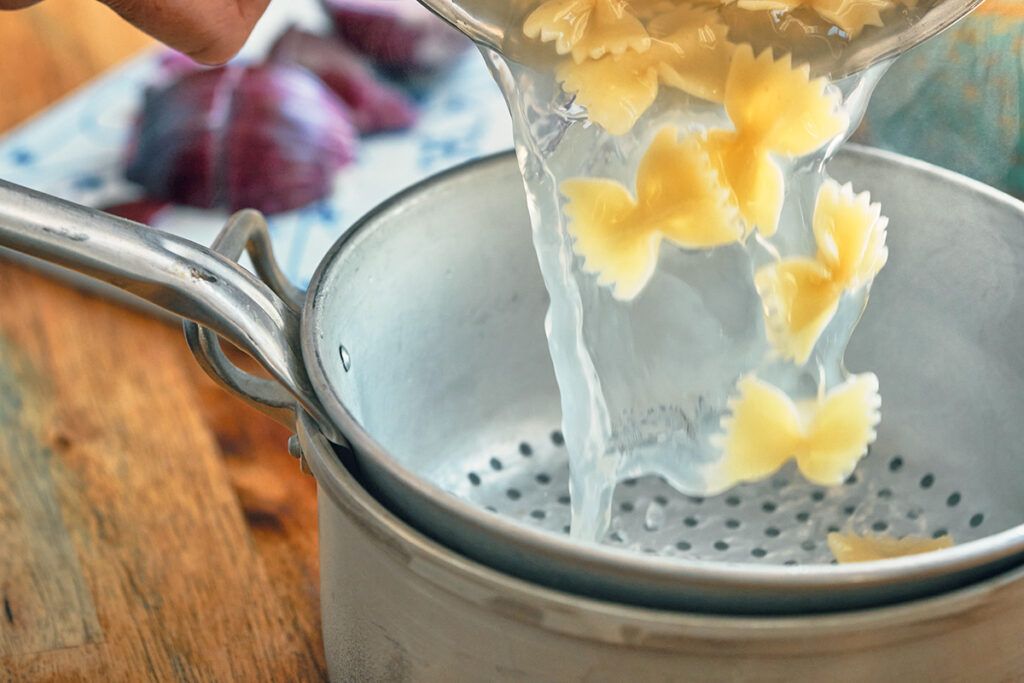
5. Don’t Discard Your Pasta Water

This tip is closely related to the last. That starchy layer on the pasta is also present in the cooking water — that’s why it looks cloudy. Adding a splash of the cooking water to your sauce helps it adhere to the noodles and creates a smoother, silkier texture. Classic Italian dishes like carbonara lean on this heavily, which is why some cooks use less water for their pasta to ensure the starch is concentrated.

If you salt your pasta water heavily, be cautious about using too much. It’s a good idea to taste the sauce first. Use only a small splash of pasta water if your sauce is already well seasoned, or cut it with a bit of plain tap water to avoid an oversalted final product.

Credit: © GMVozd/iStock

6. Try Making Your Own Fresh Pasta

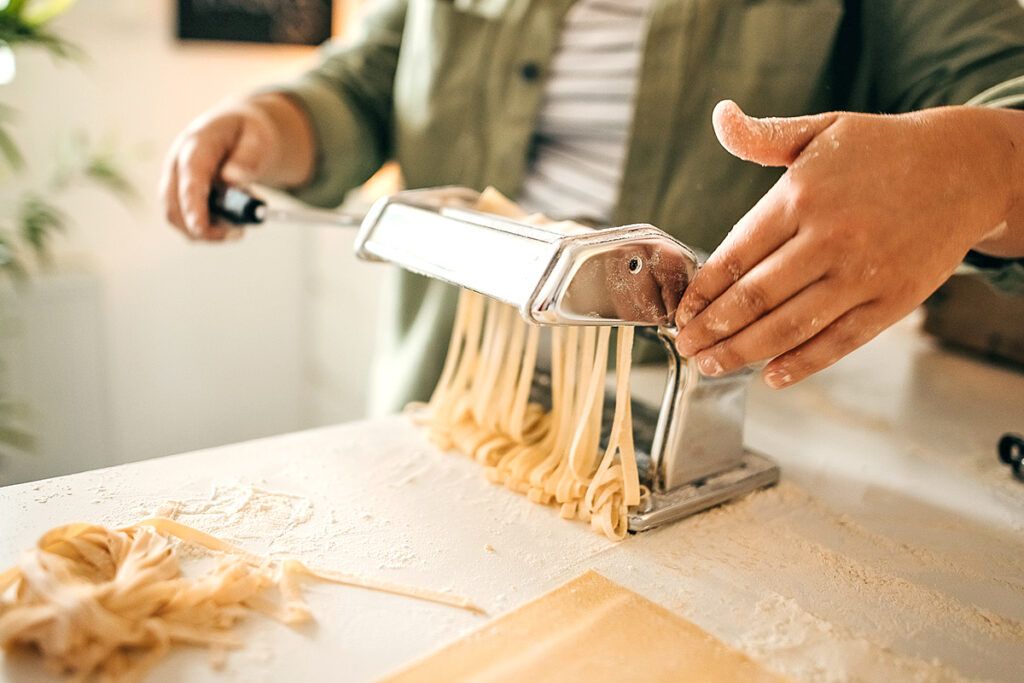
Back in the 1980s, I lived in Vancouver, British Columbia, where a popular neighborhood restaurant had a pasta-making station right in the middle of the dining room. You could see the pasta being made as you walked past. Fresh pasta has a silkiness all its own and cooks in just two to three minutes — a major benefit for time-stressed home cooks and restaurant chefs alike.

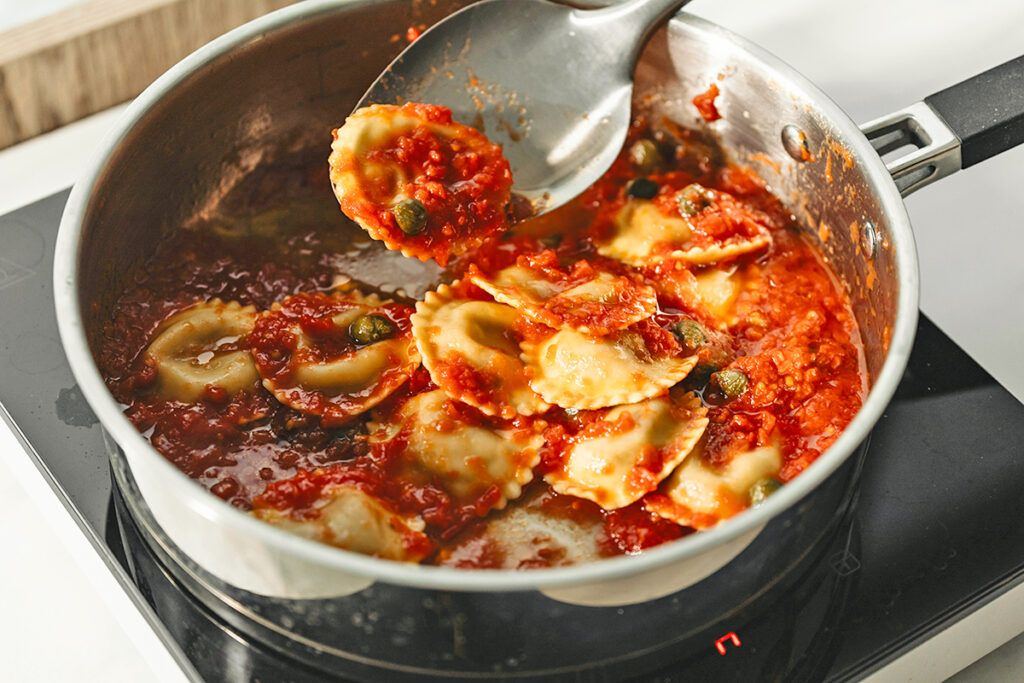
Beyond the flavor, it’s simply fun to make. While a full tutorial is beyond the scope of this article, you really only need flour and eggs. I’ve made dough using everything from a traditional rolling pin to a hand-cranked roller and a KitchenAid attachment. All three methods work just fine. And it’s always satisfying to tell your guests that the pappardelle, fettuccine, or ravioli they’re eating is homemade.

Credit: © StefaNikolic/iStock
Advertisement

7. Don’t Just Plop Your Sauce on Top

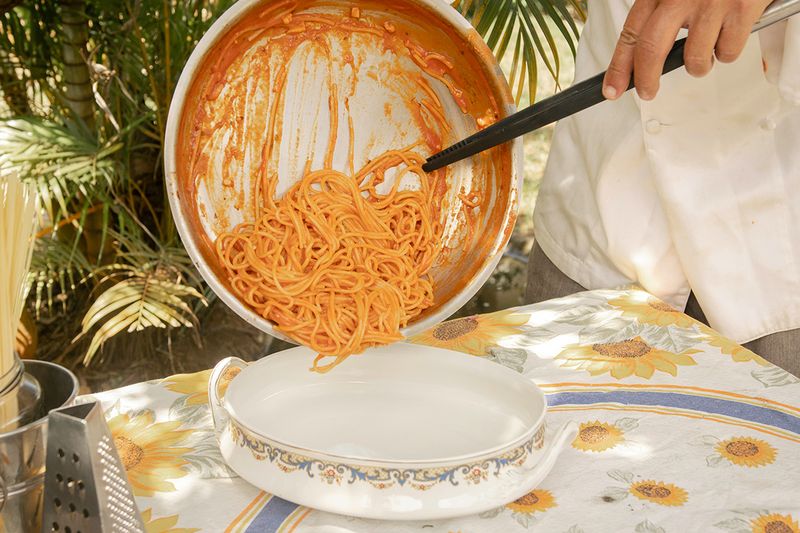
If there’s one thing that bothers an Italian about North American pasta habits, it’s the tendency to mound up noodles and ladle sauce over the top. For most classic pasta dishes, the better alternative is to toss the pasta and sauce together in a skillet for a minute before plating. (This is the additional step I mentioned before.)

Heating and tossing the two together — usually with a splash of that starchy pasta water — helps the sauce emulsify and cling to every surface. This gives the pasta just enough time to become fully al dente. When you finally plate the dish, you’ll find it beautifully sauced with no dry spots and perfectly distributed flavors.

Credit: © Karolina Grabowska/Unsplash.com
Related: 6 Cooking Basics Almost Everyone Gets Wrong

8. Taste Before You Serve, and Make Adjustments

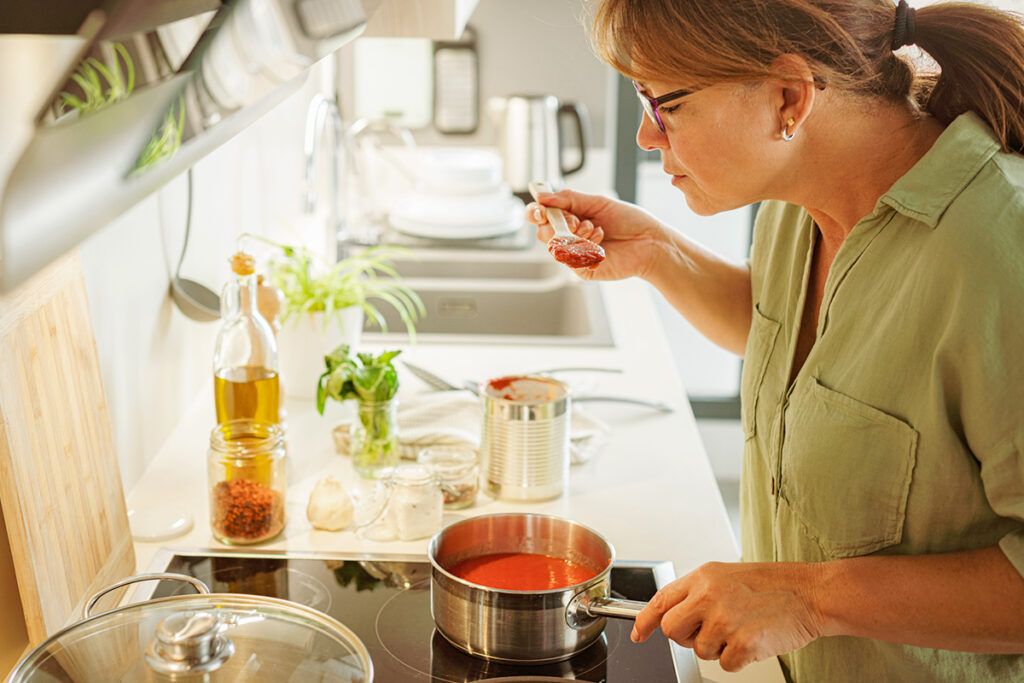
This is good advice for any dish, and pasta is no exception. If your sauce is underwhelming or overbearing, it’s best to find out before you call everyone to the table. Taste the sauce alone or with a piece of pasta and evaluate the seasoning. Is it too rich? Not salty enough? Does it need a hint of brightness or something to dampen the acidity?

You have plenty of options to adjust the balance. If a sauce is too acidic, stirring in a pat of butter or a splash of oil will enrich the flavor and take the edge off. On the other hand, adding acidity to rich sauces can help pick them up. I often use a few drops of lemon juice or a light dusting of zest to make cream-based sauces shine. In a meat sauce, a dash of Worcestershire adds tang and depth. When in doubt, fresh herbs are an excellent garnish to lift almost any pasta dish. Don’t overthink it — be creative and trust your palate.

Credit: © fcafotodigital/iStock
Advertisement
Featured Image Credit:  © Fellipe Ditadi/Unsplash.com | Updated  Apr 28, 2026 |
Fred Decker
Writer
Fred Decker is a trained chef and former restaurateur. Since closing his restaurants over a decade ago he has been a prolific freelance writer, publishing several thousand articles on dozens of high-volume websites including Taste Of Home, Hunker, Tasting Table, Week&, eHow, and GOBankingRates. He lives on a rural acreage shared with a big garden, chickens, rabbits, and grandkids.
This article is for general informational purposes only.
Featured Image Credit:  © Fellipe Ditadi/Unsplash.com | Updated  Apr 28, 2026 |