Advertisement
Home Improvement 5m read
32,121

The Appliances You Should Never Leave Plugged In

There’s something most of us do multiple times a day that could be secretly running up our electric bill and, in some cases, putting our homes at risk. The good news is that it isn’t a difficult habit to break, and it doesn’t require any new purchases. One simple change in how you use your appliances can make all the difference. And once you know which appliances are the culprits, you’ll never look at your countertops the same way again.

There’s something most of us do multiple times a day that could be secretly running up our electric bill and, in some cases, putting our homes at risk. The good news is that it isn’t a difficult habit to break, and it doesn’t require any new purchases. One simple change in how you use your…

The real offenders aren’t your refrigerator and dishwasher. Rather, they’re the small appliances you use for a few minutes, set aside, and forget. Even when you think they’re off, they remain plugged in, quietly drawing power and waiting for the next use.

Many appliances don’t fully power down when turned off. Instead, they slip into standby mode and continue pulling electricity around the clock — a phenomenon known as “phantom power.” According to the Department of Energy’s Lawrence Berkeley National Laboratory, this standby draw can cost households between $100 and $200 per year. But wasted electricity is only part of the story.

Unattended, plugged-in appliances can create an unnecessary fire risk. In 2021, an estimated 24,200 residential electrical fires caused nearly 300 deaths and over $1.2 billion in property damage, according to FEMA.

The fix is simple. Here’s where to start.

Advertisement

Toaster and Toaster Oven

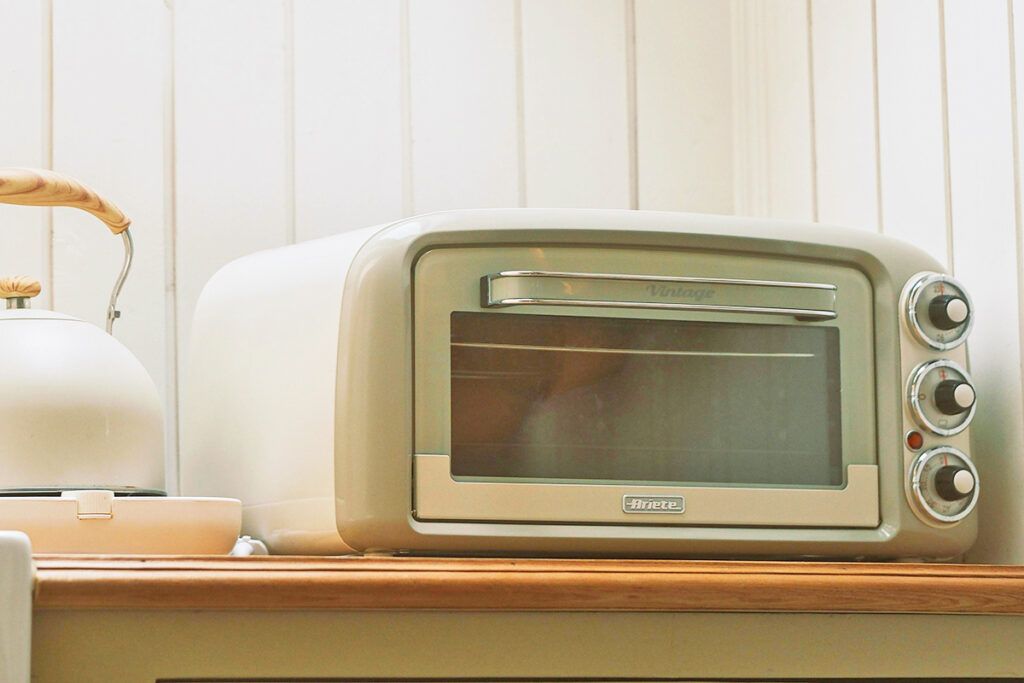
Your toaster and toaster oven are probably the most important appliances to unplug after every use. Over time, crumbs and grease collect near the heating elements, and all it takes is a stray electrical fault for them to ignite. Because these appliances are often placed under cabinetry, a small fire can quickly spread to the rest of the kitchen.

High-tech models also act as “energy vampires,” drawing power for clocks and digital displays even when they aren’t cooking. Make it a household rule: Once the toast is made, pull the cord.
Credit: © tu nguyen/Pexels.com

Coffee Maker

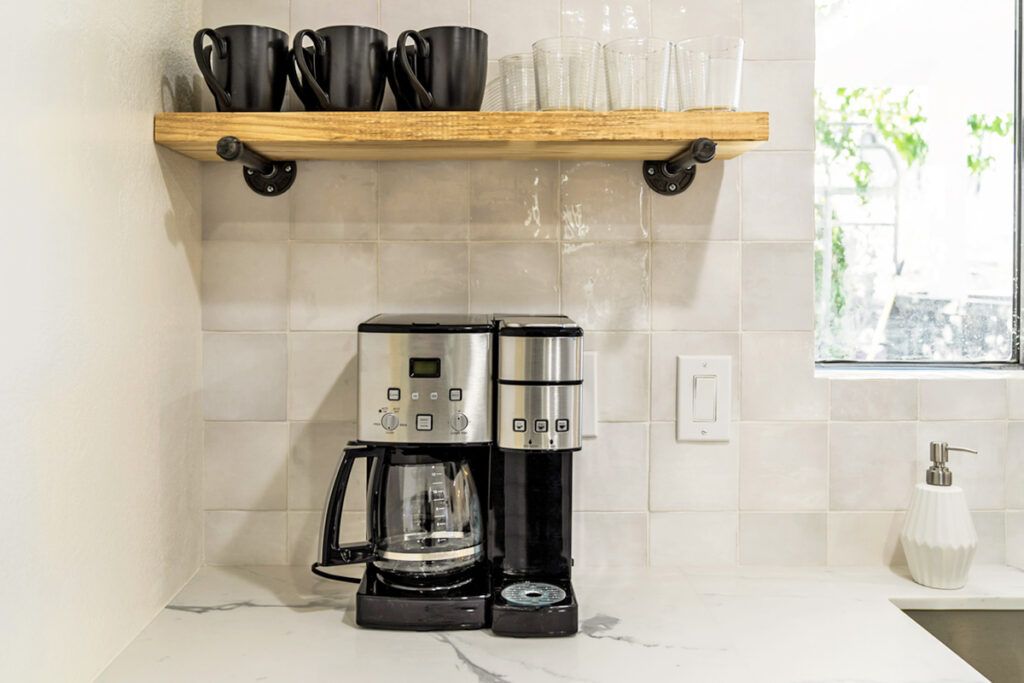
Many modern coffee makers have digital displays and internal clocks that draw continuous power. Once you’re done making coffee, unplug the machine. Unless you rely on a programmable brew timer, there’s no reason to leave it connected.
Credit: © Tom Windeknecht/iStock
Related: 10 Air Fryer Mistakes That Ruin Your Food

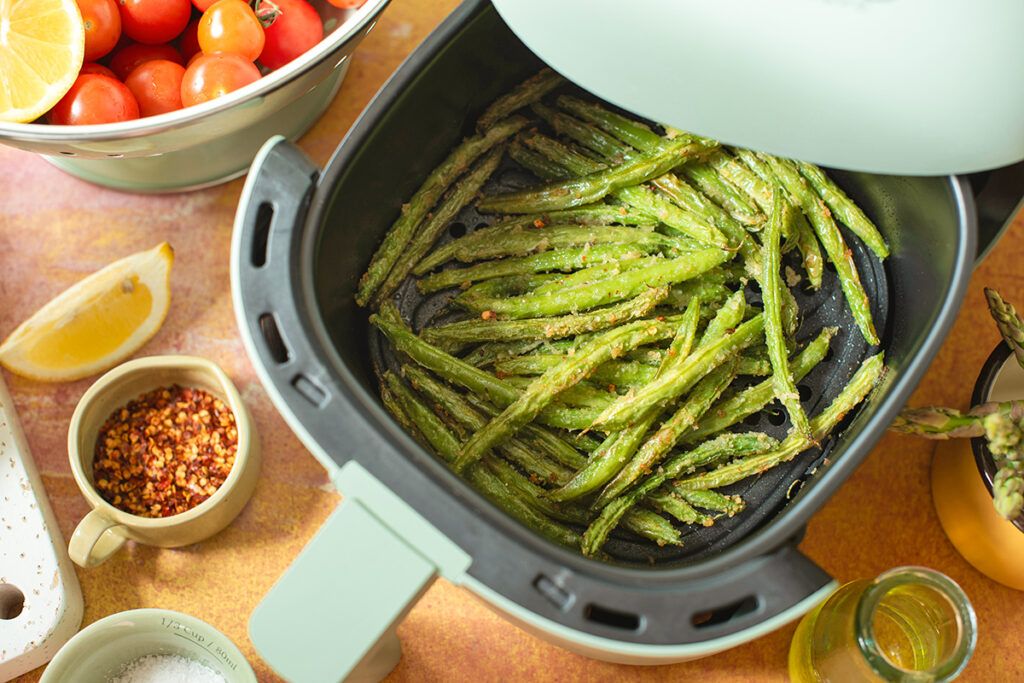
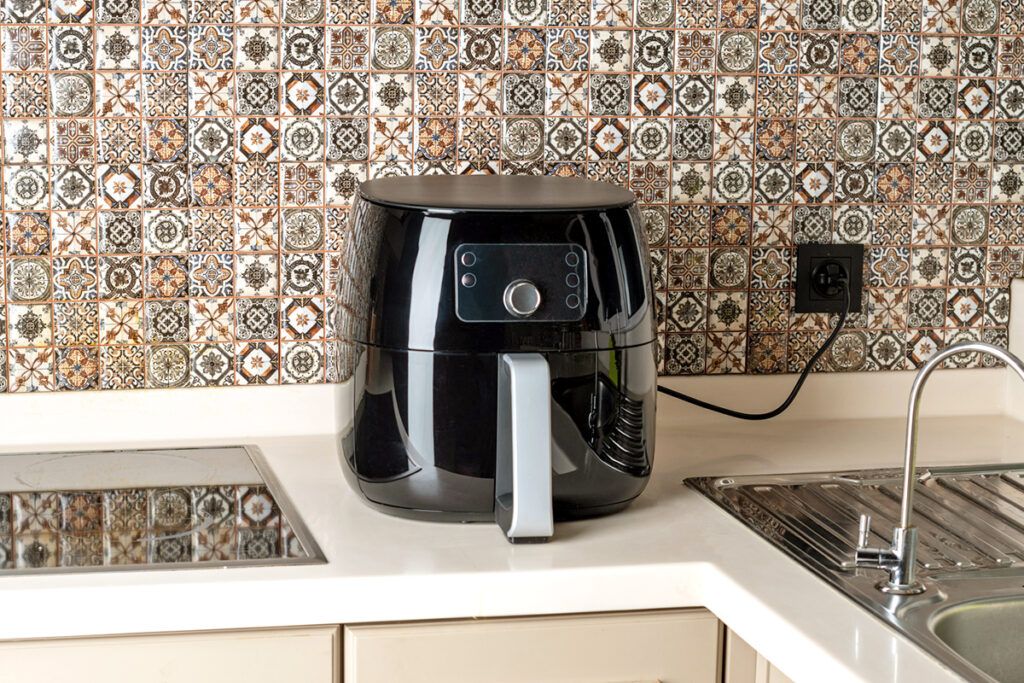
Air Fryer

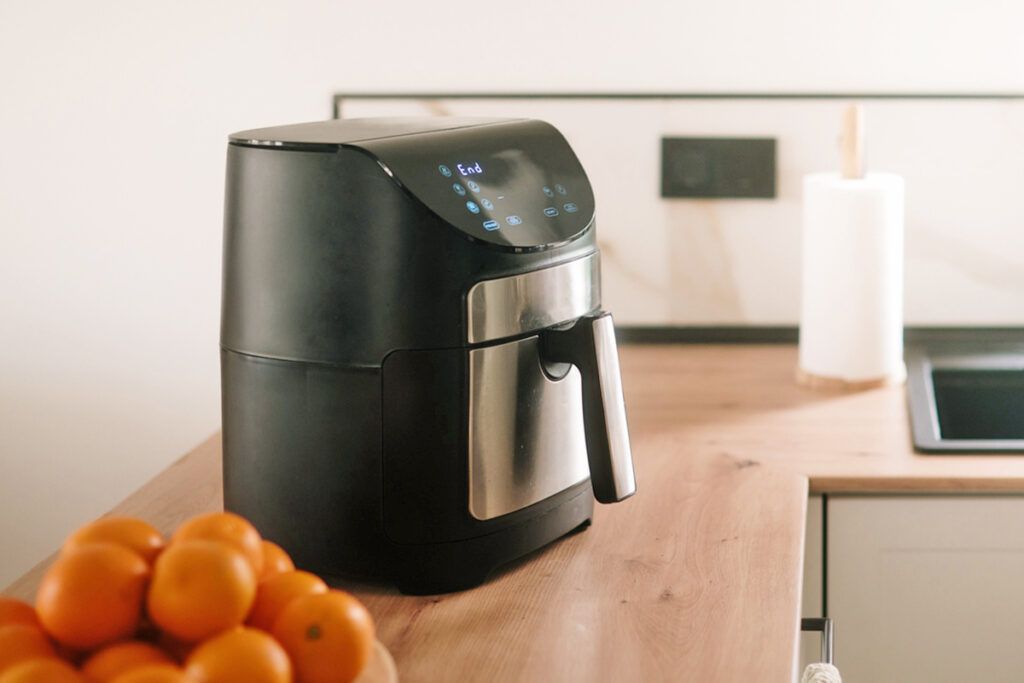
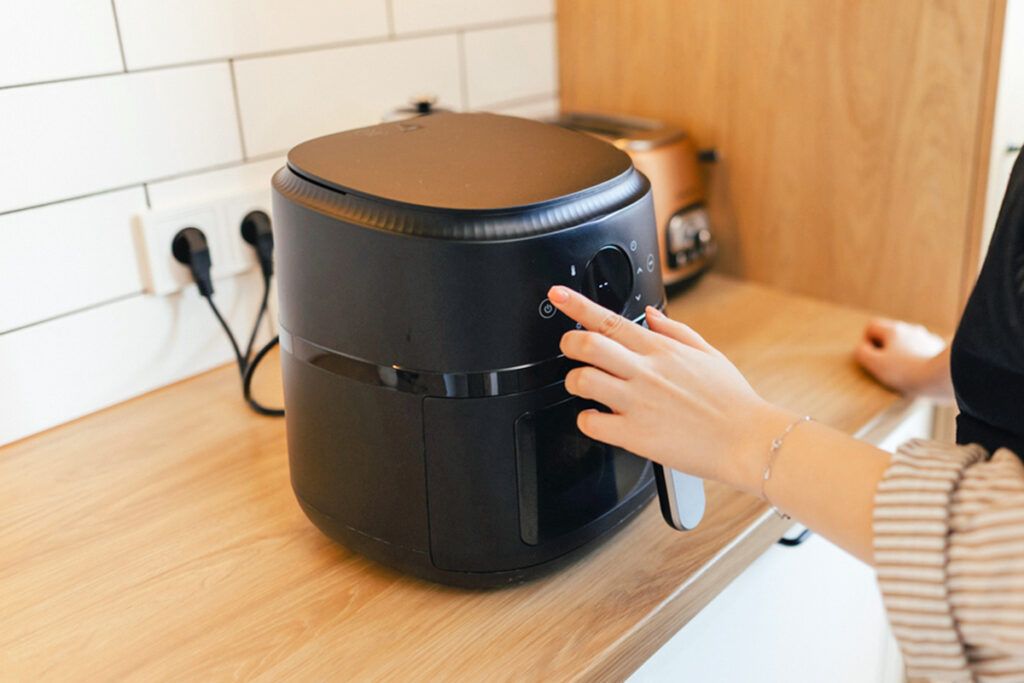
Air fryers draw a large amount of current and generate significant heat. Even a well-functioning air fryer can pose a risk if left plugged in with grease residue inside,  should anything go wrong electrically.
Credit: © LeventKonuk/iStock
Advertisement

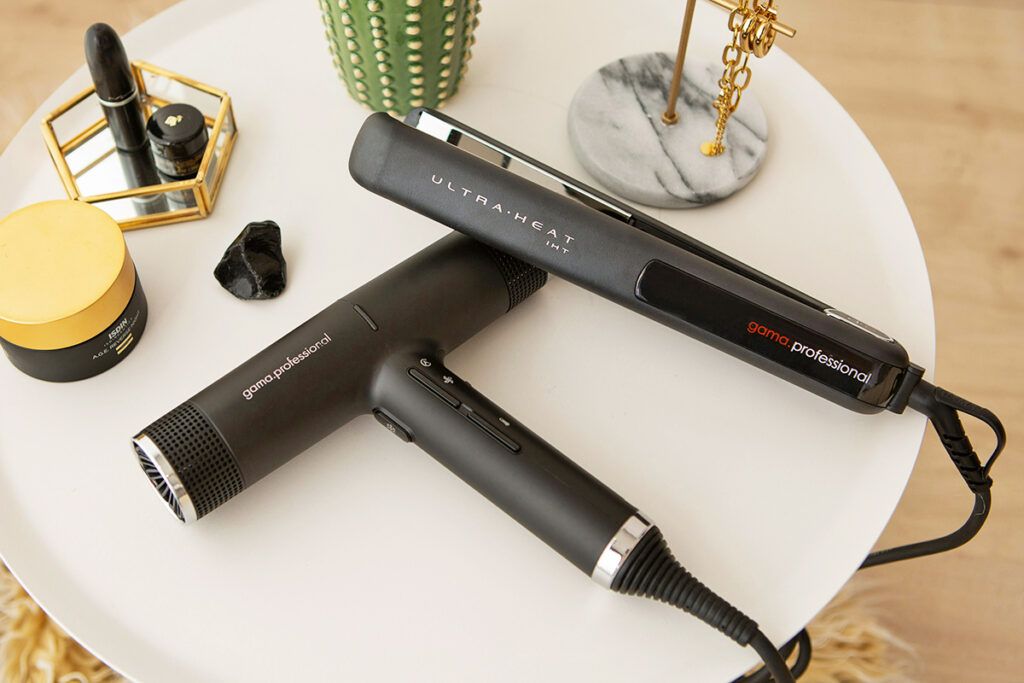
Hairstyling Tools

Curling irons, flat irons, and hair dryers are among the most common causes of misuse-related house fires and burn injuries. They reach extremely high temperatures quickly, which is exactly what makes them dangerous when forgotten. Many flat irons hit temperatures as high as 450 degrees Fahrenheit, providing more than enough heat to ignite common household materials. Unplug your hot tools immediately after use, especially before leaving the house.
Credit: © Andrea Donato/Unsplash.com

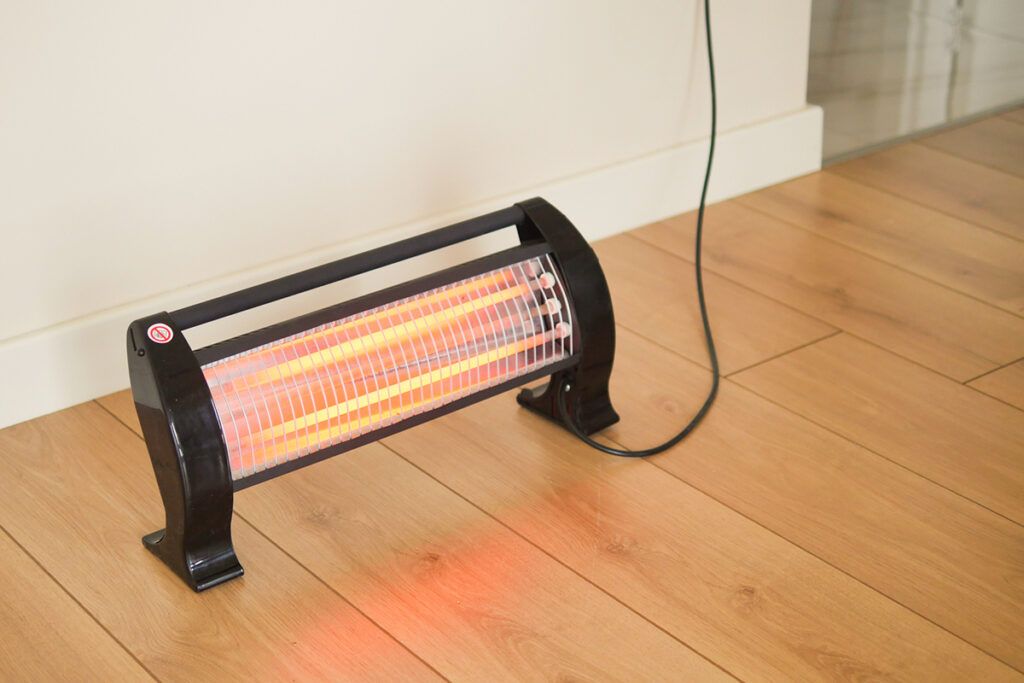
Space Heater

Space heaters are another one of the leading causes of home fires in the U.S., and the danger doesn’t disappear when you switch them off. A faulty cord or nearby flammable material can still pose a risk as long as the unit is connected to power. Always unplug and store your space heater when not in use.
Credit: © towfiqu ahamed/iStock

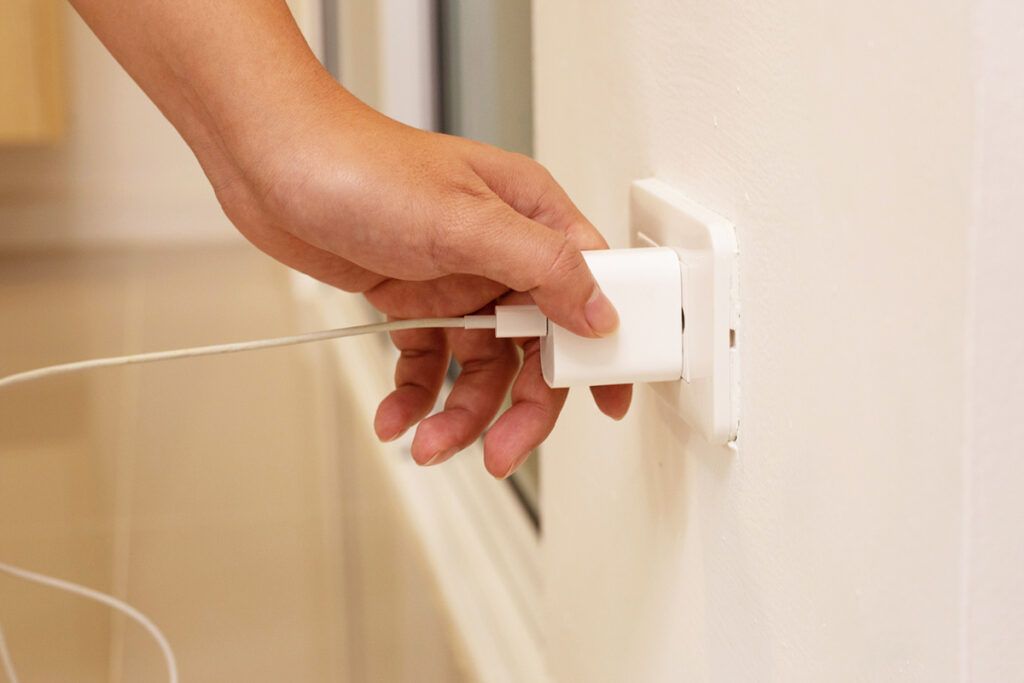
Phone and Laptop Chargers

Even after your device is fully charged, its charger continues to draw power from the wall. Multiply that across every charger in your home — including those for phones, tablets, laptops, and smartwatches — and the phantom load adds up quickly. The solution is simple: Once you unplug the device, unplug the charger, too.
Credit: © Bowonpat Sakaew/iStock
Advertisement

Electric Kettle

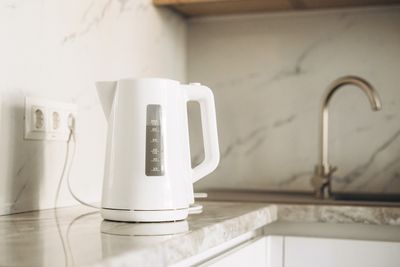
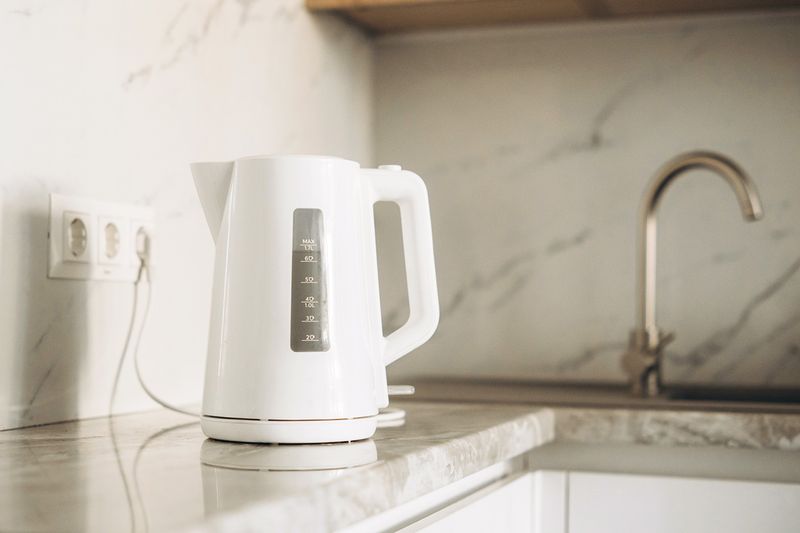
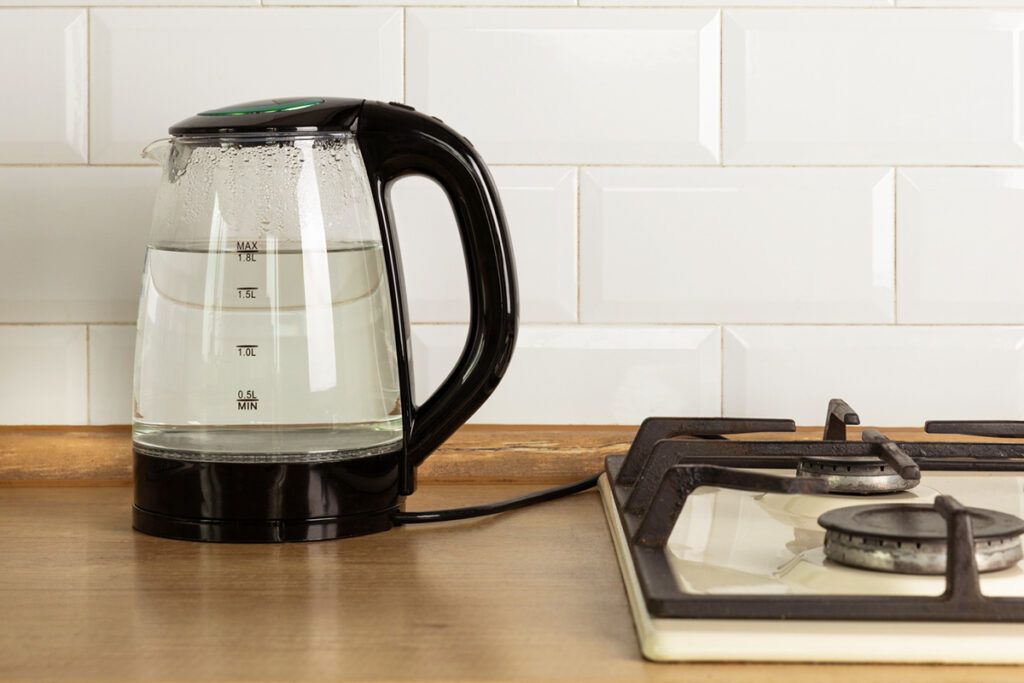
Kettles are often overlooked because they’re used so briefly. However, as with any appliance that has a heating element, leaving one plugged in creates an ongoing risk from electrical faults or power surges. To keep your kitchen safe, establish a simple routine: Boil, pour, and unplug.
Credit: © Valentyna Yeltsova/iStock
Related: 12 Things Silently Draining Your Wallet Every Month

Slow Cooker

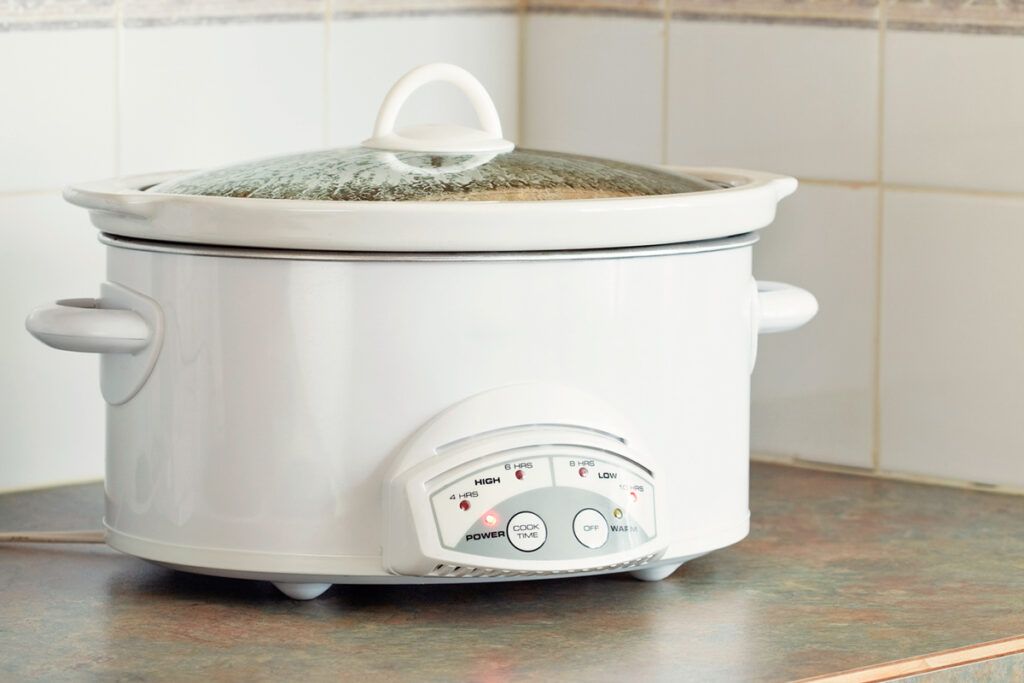
Grease and food residue around a heating element, combined with prolonged connection to power, can create the perfect conditions for a malfunction. Once your meal is finished and the unit is turned off, be sure to unplug it.
Credit: © powerofforever/iStock

A Simple Rule

You don’t need to unplug everything. Refrigerators, stoves, and dishwashers are designed to stay connected. But for smaller appliances — especially anything that generates heat — the rule is straightforward: If you aren’t using it, it doesn’t need to be plugged in. In return, you get lower energy bills, reduced fire risk, and a home that’s safer even when you’re not paying attention.
Advertisement
Featured Image Credit:  © Oleg Podiuk/iStock | Updated  Apr 27, 2026 |
Jill Layton
Writer
Jill Layton started writing professionally when she realized her emails and texts were kinda funny. She’s an affiliate shopping writer and lifestyle contributor for Scary Mommy, Bustle, Mic, and Best Products. She’s the mom of two alarmingly witty kids and the world’s most perfect dog.
This article is for general informational purposes only.
Featured Image Credit:  © Oleg Podiuk/iStock | Updated  Apr 27, 2026 |
Advertisement
Gardening 3m read
65

The Recycling Bin Item That Waters Your Plants for You

Caring for plants is one of the most rewarding hobbies you can pick up. Beyond adding a pop of color and texture to a room, greenery is known to boost oxygen levels and alleviate stress. However, if you have a small jungle on your hands or need to head out of town for a week, keeping your collection hydrated can be a challenge. Luckily, the perfect DIY irrigation solution is likely sitting right in your recycling bin.

All featured products and deals are selected independently and objectively by the author. House Outlook may receive a share of sales via affiliate links in content.

Caring for plants is one of the most rewarding hobbies you can pick up. Beyond adding a pop of color and texture to a room, greenery is known to boost oxygen levels and alleviate stress. However, if you have a small jungle on your hands or need to head out of town for a week,…

Reusing Wine Bottles for Watering

If you need help watering your plants, look no further than your next empty bottle of pinot noir. You can create a self-watering system using nothing more than a standard wine bottle. Simply rinse the bottle and fill it with clean water. While holding the opening shut with your thumb, flip it upside down and then plunge the neck into the plant’s soil, roughly 2 to 3 inches deep. Once the mouth of the bottle is buried, the soil will naturally “sip” the water as needed. After a few minutes, double-check that the water isn’t rushing out; if everything looks stable, just refill the bottle once it’s empty. This irrigation system typically lasts three to seven days, depending on the plant’s thirst, pot size, and soil density.

Why Does It Work?

This method works well because the narrow neck of the wine bottle creates a small vacuum as the soil blocks the water from rushing out. When the soil dries, tiny pockets of air enter the bottle through the neck, breaking the vacuum and releasing a bit of water. The vacuum then reseals, and the water stops dripping once the soil is adequately moist. It’s best to test this hack with damp soil, which makes it easy to insert the bottle and triggers an immediate vacuum seal, allowing you to confirm the water isn’t draining at an uncontrolled pace.

Advertisement
Related: 10 Easy Ways To Fix Common Houseplant Problems

Alcohol-Free Alternatives

Don’t have a wine bottle on hand? No problem. You can also use a thick plastic bottle, provided the mouth is narrower than the body of the container — for example, a 2-liter soda or mouthwash bottle. If you’d prefer something more decorative, you can find self-watering vessels online, such as these multicolor watering globes or these cute iridescent mushroom inserts.

Advertisement
Advertisement
Food & Drink 3m read
30

The Secret to Better-Tasting Pepper

If you love to cook or bake, you already know that making smart use of spices is one of the secrets to success. There are many well-known ways to maximize flavor, such as storing spices correctly and tossing them once they lose their potency. But for a lot of cooks, black pepper is the most-used, yet least-considered spice in the pantry. Here’s a technique — borrowed from some of the world’s most spice-forward cultures — that can utterly transform the flavor of this common spice.

All featured products and deals are selected independently and objectively by the author. House Outlook may receive a share of sales via affiliate links in content.

If you love to cook or bake, you already know that making smart use of spices is one of the secrets to success. There are many well-known ways to maximize flavor, such as storing spices correctly and tossing them once they lose their potency. But for a lot of cooks, black pepper is the most-used,…

Lessons From Spice-Forward Cultures

Black peppercorns are native to the southern provinces of India and have been an important crop there for thousands of years. During the Middle Ages, pepper was so prized in Europe, it was nicknamed “black gold” and was often worth its weight in the precious metal. Even now, gourmet shops stock peppercorns from renowned Indian regions such as Pondicherry and Tellicherry, each offering a distinct flavor profile. You don’t have to shell out for an expensive gourmet brand, however, because there’s an even better option.

Indian cuisine is famously spice-centric; a glance at an Indian cookbook reveals recipes that call for toasting spices in a dry pan or hot oil until they become aromatic. This technique is equally important in other spice-forward food cultures, from North Africa to Mexico.

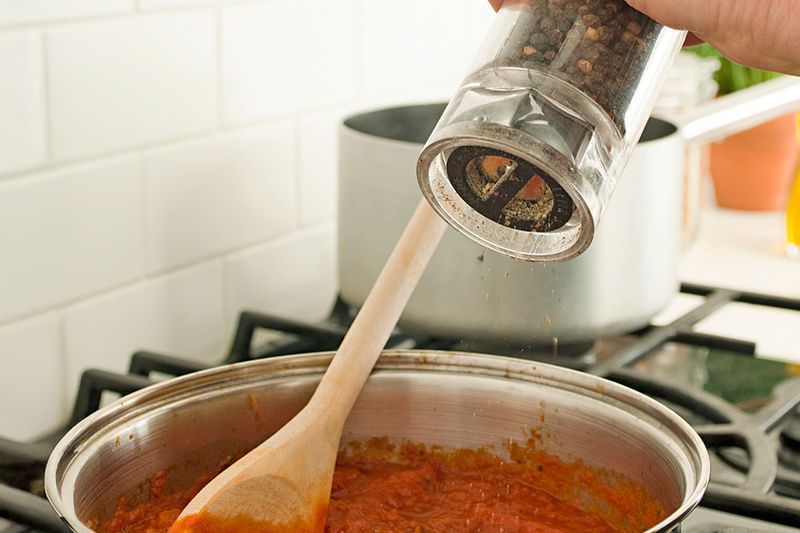
Here’s the trick: Before loading your grinder, toast your peppercorns in the oven at 300 degrees Fahrenheit for 30 minutes, using a dry stainless steel or cast-iron pan. Ensure the peppercorns are spread out in a single layer so they toast evenly. Instead of carrying the sharp, bitter, slightly astringent flavor you’re used to, they’ll emerge toasty, nutty, and even slightly sweet. They’ll still taste like pepper, of course, but the flavor will be mellower and layered with subtle nuances.

Advertisement

Branch Out a Little

Once you’ve used this technique with peppercorns, you may wonder if it applies to other spices. Generally, it does. You can toast cumin, coriander, mustard seeds, cloves, allspice, and many others. For ground spices, it’s best to toast them in a pan with a little oil; this allows you to monitor them closely and pull them off the heat once they become aromatic. You’ll know they’re ready when the scent shifts from sharp to mellow.

Related: Are You Cooking With the Right Kind of Salt?

Whole spices can be toasted on the stovetop or in the oven, with timing dependent on their size and thickness. Small seeds such as cumin, caraway, and coriander toast quickly, while denser spices like cloves and allspice berries take a bit longer. Start with just a few minutes and experiment until you find the sweet spot, then record the time for future batches.

Advertisement
Featured Image Credit:  © Image Source/iStock | Updated  Apr 27, 2026 |
Fred Decker
Writer
Fred Decker is a trained chef and former restaurateur. Since closing his restaurants over a decade ago he has been a prolific freelance writer, publishing several thousand articles on dozens of high-volume websites including Taste Of Home, Hunker, Tasting Table, Week&, eHow, and GOBankingRates. He lives on a rural acreage shared with a big garden, chickens, rabbits, and grandkids.
This article is for general informational purposes only.
Featured Image Credit:  © Image Source/iStock | Updated  Apr 27, 2026 |
Advertisement
Food & Drink 2m read
33

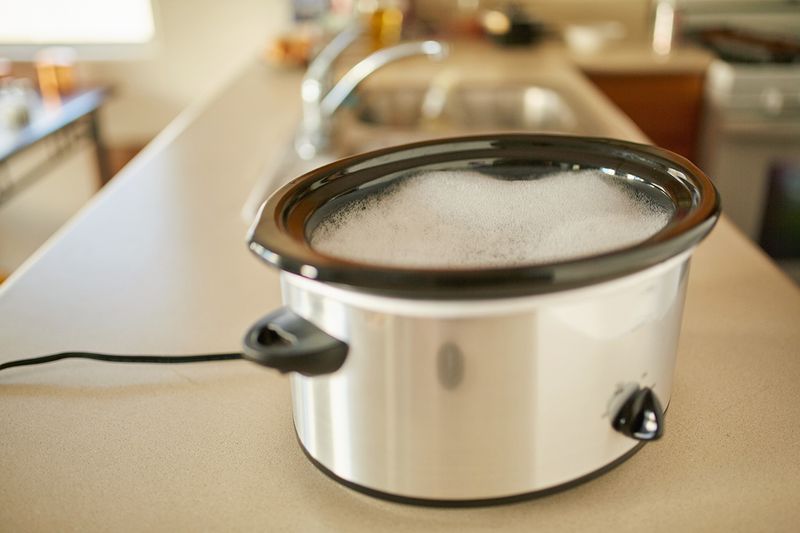
Let Your Slow Cooker Clean Itself

When it comes to hassle-free dinner preparation, there’s no better tool than the slow cooker. Patented by Irving Naxon in 1940, the device achieved massive mainstream success in the 1970s after being rebranded as the Crock-Pot. While its popularity waned slightly in the following decades, it has come back in full force as busy professionals seek quick and easy ways to prepare meals ahead of time.

All featured products and deals are selected independently and objectively by the author. House Outlook may receive a share of sales via affiliate links in content.

When it comes to hassle-free dinner preparation, there’s no better tool than the slow cooker. Patented by Irving Naxon in 1940, the device achieved massive mainstream success in the 1970s after being rebranded as the Crock-Pot. While its popularity waned slightly in the following decades, it has come back in full force as busy professionals…

The only downside to slow cookers is — or was — the cleanup. Because the food simmers for so long, it can become hardened and difficult to remove. Fortunately, there’s a much easier way to tackle the mess.

Related: 10 Air Fryer Mistakes That Ruin Your Food

A Clean Crock

It turns out your slow cooker can practically clean itself. Here’s what to do: First, remove any remaining food, then fill the crock roughly three-quarters full with water and a squeeze of liquid dish soap. Close the lid, set it to low, and let it “cook” for one to four hours. Start with a single hour and check the progress; longer periods are best for severely caked-on messes. The combination of steam and soap will loosen any stubborn food clinging to the sides. When the time is up, unplug the slow cooker and let it cool completely before dumping out the soapy water and rinsing the crock.

Advertisement

Tips and Cautions

For safety reasons, only use this method while you’re home. As with any device that uses electricity and produces heat, the best practice is to remain present at all times, just in case.

Let the slow cooker cool down for at least an hour before you touch the crock. The high temperatures required to loosen caked-on food can easily cause a burn if you go to rinse it too early.

Advertisement
Advertisement
Organizing 2m read
75

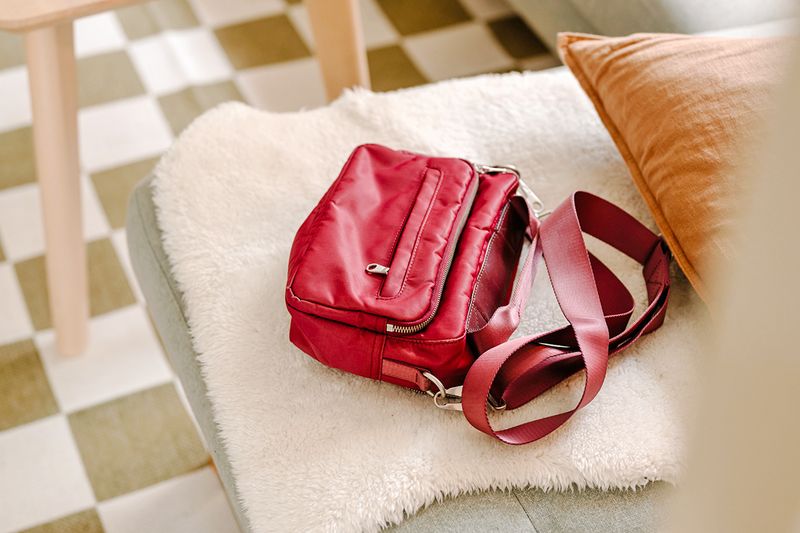
The Storage Habit That’s Destroying Your Handbags

Closet organization presents a few unique challenges — handbags being one of them. If you have a sizable collection, you might be inclined to use large, stackable bins to make the most of your space. Or, if closet space is tight, hanging crossbody purses and totes on wall hooks might seem like a smart move. While these methods keep things tidy and take advantage of vertical space, they’re actually wrecking your handbags.

All featured products and deals are selected independently and objectively by the author. House Outlook may receive a share of sales via affiliate links in content.

Closet organization presents a few unique challenges — handbags being one of them. If you have a sizable collection, you might be inclined to use large, stackable bins to make the most of your space. Or, if closet space is tight, hanging crossbody purses and totes on wall hooks might seem like a smart move.…

How To Properly Store Handbags

Storing handbags in bins can crush them and distort their shape over time. Even if you stuff them beforehand, stacking bags close together risks dents, friction marks, and even twisted handles. While hanging bags on hooks might seem like a better alternative — especially if you stagger them so they don’t touch — the hooks can cause permanent indentations in the shoulder straps and handles. While totes are generally safe to hang, those with knitted or crocheted construction can permanently stretch out over time. 

It might require extra storage space, but it’s best to stuff your handbags, purses, and crossbody bags with acid-free tissue paper, bubble wrap, or clean towels to preserve their shape. And instead of stashing them away in bins or hanging them from hooks, store your bags upright on shelves to maintain their structure.

Advertisement
Related: The Best Amazon Finds for a Neat and Organized Closet

If you’re dealing with limited closet space, consider installing floating shelves to turn a corner of your bedroom into an accessories display. Revolving tower shelves are another excellent way to maximize vertical space while giving every bag a designated spot. You can also store crossbody bags and clutches upright on standard shelves by using adjustable dividers for support. For those extra-special pieces, opt for individual cubbies — perhaps even accented with rechargeable puck lights for a boutique feel.

Advertisement
Featured Image Credit:  © knape/iStock | Updated  May 11, 2026 |
Jessie Quinn
Writer
Jessie Quinn is a Los Angeles-based lifestyle journalist with words published in PEOPLE, StyleCaster, Apartment Therapy, The Spruce, Byrdie, and more. She has a Bachelor's Degree in fashion journalism from Academy of Art University and her work spans across many categories, including style, beauty, home, health, crafts, and more.
This article is for general informational purposes only.
Featured Image Credit:  © knape/iStock | Updated  May 11, 2026 |
Advertisement
Home Improvement 3m read
382

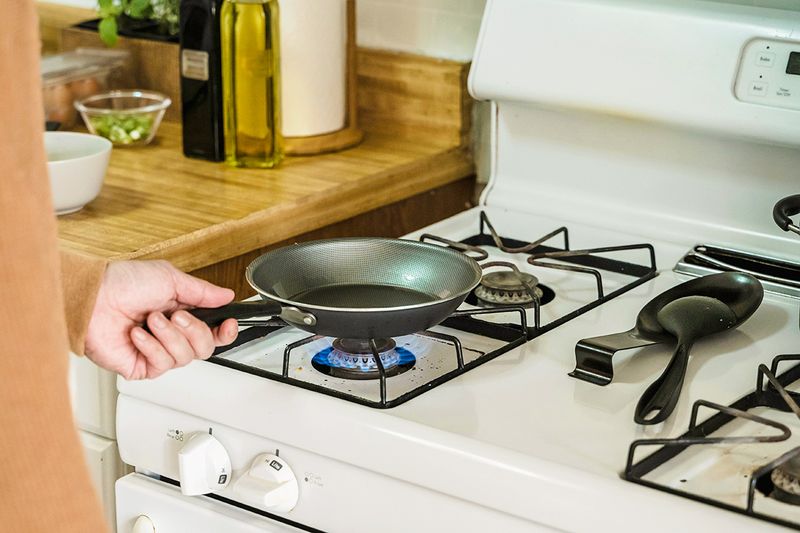
The One Thing You Should Always Do When Using a Gas Stove

When it comes to cooking, there are two types of gas to watch out for. One is the kind that forms in your stomach after eating a big bowl of chili or a batch of deviled eggs. But the more serious concern is the gas that emanates from the stove, which can be dangerous or even fatal if inhaled in high concentrations. To lessen the risk of that worst-case scenario, there’s one simple thing you should always do when using a gas stove.

All featured products and deals are selected independently and objectively by the author. House Outlook may receive a share of sales via affiliate links in content.

When it comes to cooking, there are two types of gas to watch out for. One is the kind that forms in your stomach after eating a big bowl of chili or a batch of deviled eggs. But the more serious concern is the gas that emanates from the stove, which can be dangerous or…

An Exhausting Solution

Many chefs prefer gas stovetops because they allow for precise temperature control. But despite their reputation, gas stoves pose their fair share of risks; they emit noxious gases including carbon monoxide, carbon dioxide, and nitrogen dioxide. Each can lead to serious physical ailments. Carbon monoxide acts as a silent killer, carbon dioxide buildup can cause headaches and nausea, and nitrogen dioxide exposure is linked to childhood asthma and respiratory issues.

The good news is there’s an easy way to prevent gases from reaching perilous levels: Simply turn on the exhaust fan above the stove. These fans pull in gas and vent it outdoors, maintaining safe, breathable air inside the home. All you need to do is turn on the fan each time you fire up a burner — no matter how long you’ll be cooking for — to keep gas levels from becoming dangerously high.

It is true that some fans are limited to recirculating air within the kitchen rather than venting it outside, but using a recirculating fan is still better than leaving it off. It will filter the air before blowing it back into the room — provided you regularly maintain and replace the filtration system. To maximize the fan’s effectiveness, use the burners positioned directly under the widest part of your exhaust fan. On many stoves, the back burners are more centered under the fan’s intake, making it easier to capture gases before they escape into the rest of the house. If you use the burners near the edge of the range, you increase the risk of fumes spilling out into the room.

Advertisement
Related: 7 Air Purifier Tips That Actually Make a Difference

Capture What Fans Miss

Even if your kitchen already has an exhaust or recirculating fan, adding a portable air purifier can help remove harmful gases and cooking odors. Choose a unit that’s equipped with a heavy activated charcoal filter, as these are designed to trap gases that standard HEPA filters miss. The BLUEAIR Blue Pure 511i Max smart air purifier is a solid option when paired with the SmokeBlock specialty filter. Place the air purifier in the kitchen — away from direct heat — and run it on its highest setting while you cook and for 30 minutes to two hours afterward.

Advertisement
Featured Image Credit:  © Annushka Ahuja/Pexels.com | Updated  Apr 27, 2026 |
Bennett Kleinman
Staff Writer
Bennett Kleinman is a New York City-based staff writer for Inbox Studio, covering topics for several brands including House Outlook and Better Report. He previously contributed to television programs such as "Late Show With David Letterman" and "Impractical Jokers," and digital publications like The Onion. Bennett is also a devoted New York Yankees and New Jersey Devils fan, and thinks plain seltzer is the best drink ever invented.
This article is for general informational purposes only.
Featured Image Credit:  © Annushka Ahuja/Pexels.com | Updated  Apr 27, 2026 |
Advertisement
Gardening 3m read
820

This $0 Hack Keeps Your Garden Beds Weed-Free

Gardening is a genuinely enjoyable pastime. Whether your beds are filled with herbs, vegetables, flowers, or a mix of all three, there is deep satisfaction in working the soil and seeing the literal fruits of your labor. Of course, the weeding part is a different story.

Gardening is a genuinely enjoyable pastime. Whether your beds are filled with herbs, vegetables, flowers, or a mix of all three, there is deep satisfaction in working the soil and seeing the literal fruits of your labor. Of course, the weeding part is a different story.

Between hoeing, grubbing them out by hand, and applying toxic herbicides, the traditional methods all have obvious downsides. Mulching is a much more promising form of weed control, but buying it by the bag adds up quickly. Fortunately, there’s a low- to no-cost alternative that’s just as effective at keeping your beds weed-free.

A Versatile, Effective, and Mostly Free Mulch

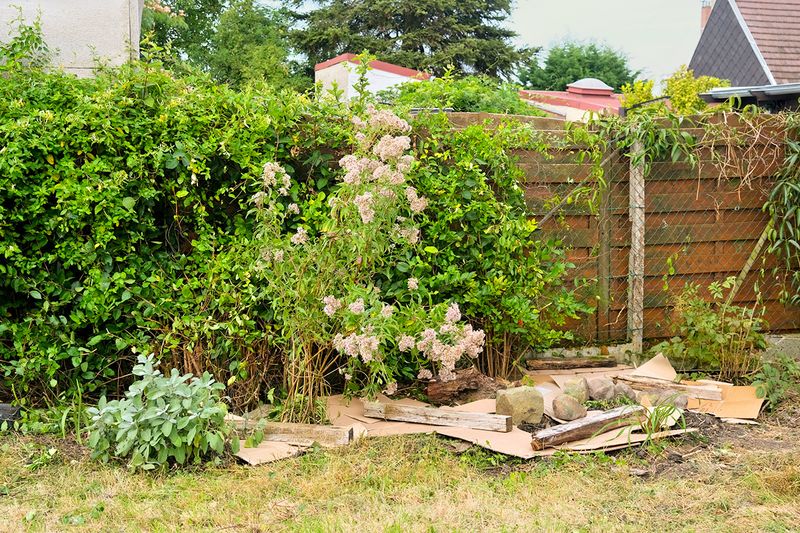
We’re talking about plain, brown corrugated cardboard. Surprised? Those boxes that seem to accumulate so rapidly are actually a great tool for fighting weeds. Think of them as your ounce of prevention.
Related: Why You Should Keep a Bucket in Your Shower

Here’s how it works: In the fall, while preparing your garden for next year, lay flattened cardboard over any existing beds where weeds have been problematic, or any new beds you have planned. Once the cardboard is down, water it well to start the decomposition process, then add a layer of organic mulch to hold it in place and deter slugs. (Your autumn leaves make a great, free mulch for this, by the way.) Over the winter, the cardboard smothers the weeds as it decomposes. By spring, it will be soft enough for your plants’ roots to penetrate easily.

Advertisement

Tips and Cautions

Look for freebies: If you don’t have enough plain brown boxes, check local ads for free supplies left over from moves or spring cleaning. Many stores will also happily give boxes away for free.

Avoid full-color printed boxes: These inks may contain unwanted chemicals. White cardboard is acceptable but is typically bleached; while it’s fine for flower beds, you may want to avoid it in vegetable gardens.

Protect your plants: Don’t put cardboard over beds containing perennials or biennials, or they will be smothered along with the weeds.

Spring is an option: If you miss the autumn window, you can still use this technique in the spring. Lay the cardboard down first, then soak it well for a day or two. After removing any slugs that have taken up residence underneath, cover it with a suitable mulch. You can often punch through the softened cardboard with a trowel to plant your transplants or seeds.

Advertisement
Featured Image Credit:  © Igor Paszkiewicz/iStock | Updated  Apr 24, 2026 |
Fred Decker
Writer
Fred Decker is a trained chef and former restaurateur. Since closing his restaurants over a decade ago he has been a prolific freelance writer, publishing several thousand articles on dozens of high-volume websites including Taste Of Home, Hunker, Tasting Table, Week&, eHow, and GOBankingRates. He lives on a rural acreage shared with a big garden, chickens, rabbits, and grandkids.
This article is for general informational purposes only.
Featured Image Credit:  © Igor Paszkiewicz/iStock | Updated  Apr 24, 2026 |
Advertisement
Food & Drink 7m read
0

10 Air Fryer Mistakes That Ruin Your Food

Air fryers have become one of the most popular countertop cooking appliances for several reasons. They’re relatively compact, easy to operate, and good for turning out quick weeknight meals. Better yet, unlike a microwave oven, they crisp and brown food just like a traditional oven — only faster.

All featured products and deals are selected independently and objectively by the author. House Outlook may receive a share of sales via affiliate links in content.

Air fryers have become one of the most popular countertop cooking appliances for several reasons. They’re relatively compact, easy to operate, and good for turning out quick weeknight meals. Better yet, unlike a microwave oven, they crisp and brown food just like a traditional oven — only faster.

Despite these advantages, mastering the air fryer still takes a little practice. A few common mistakes can prevent your meals from being as delicious as they should be. To help you get the most out of your appliance, here’s a quick rundown of the most frequent problems you’ll face and how to solve them.

1. Picking the Wrong Location for Your Air Fryer

This is a tricky one, as most of us have limited counter space for new appliances. However, placement matters. First, your air fryer needs proper circulation around it because it functions by forcing hot air across the food in the basket. If it’s tucked into a corner or pushed up against a wall, it won’t have enough airflow to cook effectively. If a cramped spot is your only option, simply pull the air fryer away from the wall while it’s in use.

Second, some models release a lot of heat — often more than a toaster oven — which can damage the surfaces above or below. Some countertops and cabinetry can handle the heat just fine, but others may discolor, scorch, or melt. To protect your kitchen, place the air fryer on a heat-resistant surface, such as a stone cutting board or a silicone mat, and move it out from under low-hanging cabinets during operation.
Credit: © MarioGuti/iStock

2. Not Preheating Your Air Fryer

An air fryer heats much faster than a conventional oven — usually in just a few minutes — making it easy to assume preheating is optional. In reality, skipping this step can ruin your results. Most recipes (and heating instructions for frozen foods) assume you’re starting with a preheated unit. Furthermore, a cold basket increases the likelihood of food sticking. When the grate is properly heated, it sears food immediately, preventing it from getting stuck to the bottom. Taking those few extra minutes to heat things up will save you both time and frustration.
Credit: © Nazar Rybak/iStock
Advertisement

3. Crowding the Basket

Crowding a pan on the stovetop is a common cooking mistake, and the air fryer equivalent is no different. Yes, the basket sizes are small, and we totally understand the urge to get dinner on the table quickly. However, air frying works only when there’s unobstructed airflow around the food; a crowded basket isn’t going to yield optimal results. You’re better off cooking in smaller batches, giving your food the space it needs to brown and crisp to perfection.
Credit: © Hazal Ak/iStock
Related: 6 Cooking Basics Almost Everyone Gets Wrong

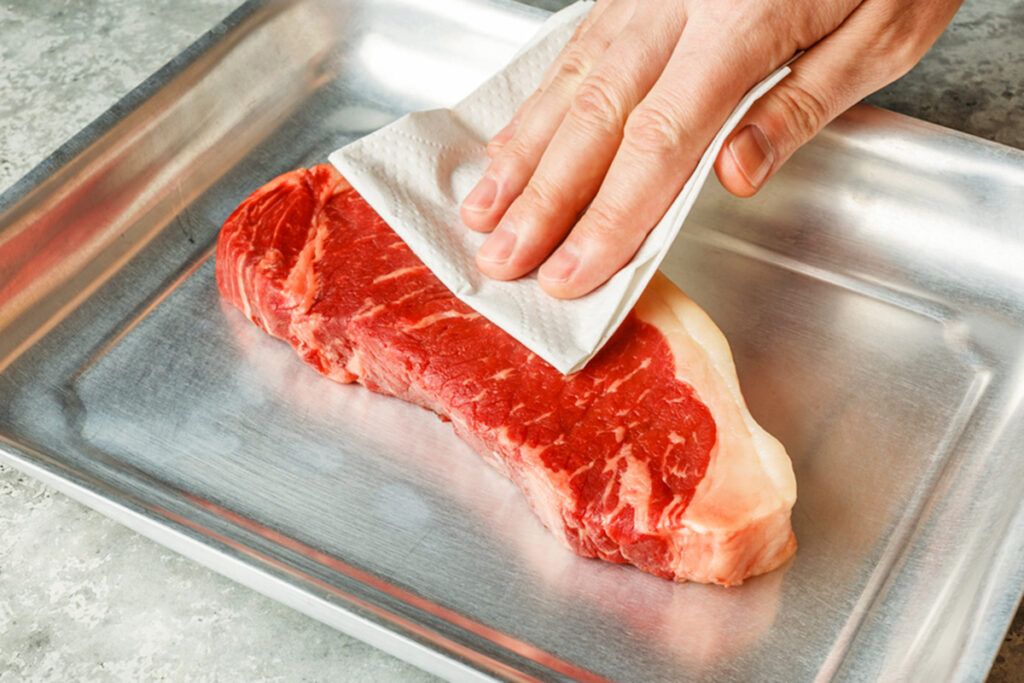
4. Not Drying the Food

If you’re using your air fryer for meat, fish, or poultry, don’t transfer them straight from the packaging to the basket. They’ll usually have a bit of surface moisture, which the appliance has to steam away before it can actually  start “frying.” It’s an easy fix: Blot your food with a paper towel first. You’ll notice a significant difference in how quickly — and evenly — things brown.

Credit: © Lisovskaya/iStock
Advertisement

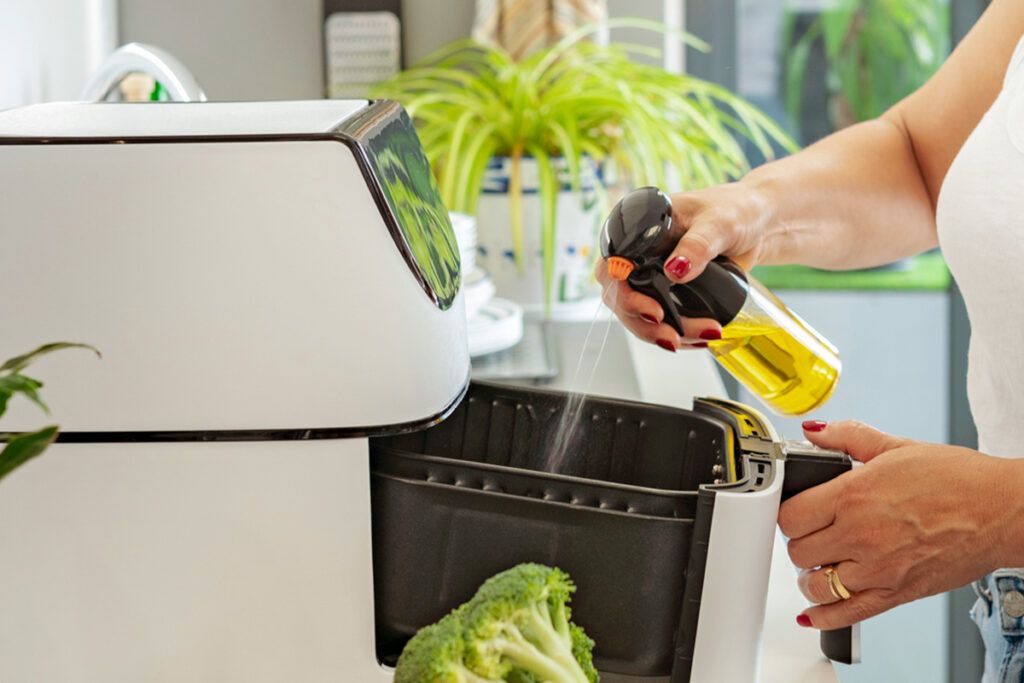
5. Not Using the Right Amount of Oil

Oil is essential for traditional frying, and it’s a must for air frying as well. If you use too little, food often sticks to the grate and leaves your meal without the color and texture you expect from fried food. On the other hand, too much oil leads to greasy results, a messier appliance, and — in extreme cases — a fire hazard.

For frozen, prepared foods, a quick mist of your favorite cooking spray usually does the trick. Always choose a cooking oil with a high smoke point to prevent smoking and keep the kitchen air clear.

Credit: © fcafotodigital/iStock

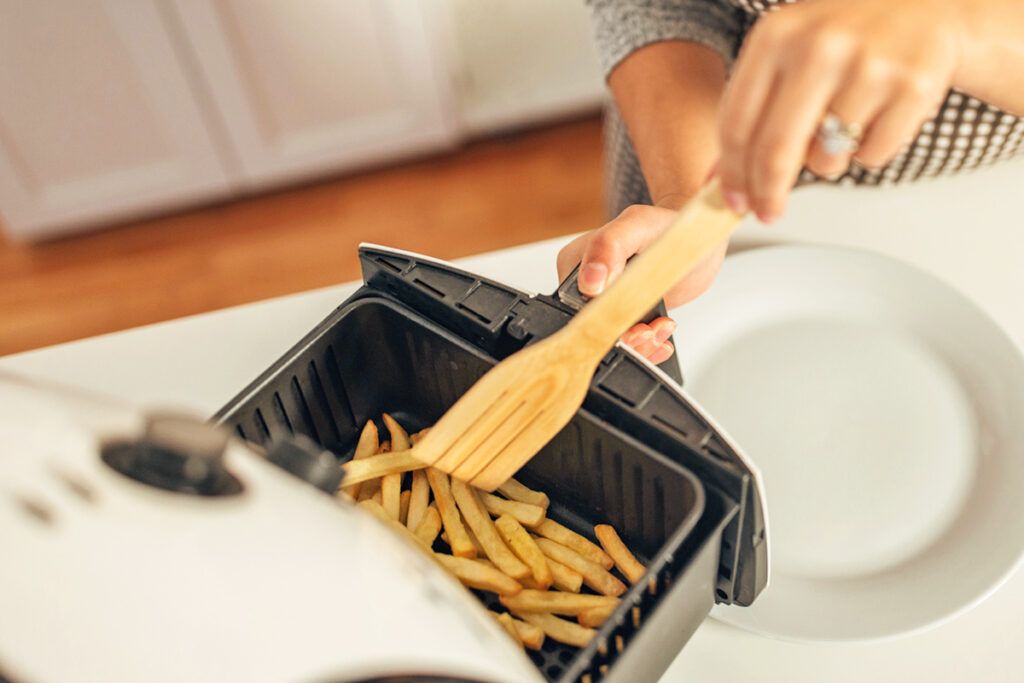
6. Not Shaking or Tossing the Food

Just as you would toss food in a pan or on a baking sheet, you must move the items in your air fryer to ensure they cook evenly. Although the air is meant to flow everywhere, the shape of the basket and the position of the food can get in the way. Periodically shaking or tossing the basket helps the hot air reach every surface.

Credit: © South_agency/iStock
Advertisement

7. Not Mastering Air Fryer Cooking Times

Air fryers generally cook faster than conventional ovens, and while recipes often reflect this, not all machines are created equal. Wattage and airflow vary by brand, meaning the same dish might take 15 minutes in one unit but only 12 in another.

When a recipe conflicts with your manual, it’s best to follow the manufacturer’s guidance. Since air fryers recover heat almost instantly, you can check for doneness a bit early without slowing things down. If it’s a recipe you plan to make again, jot down the timing that worked for your specific air fryer.

Credit: © Natalie Behn/Unsplash.com

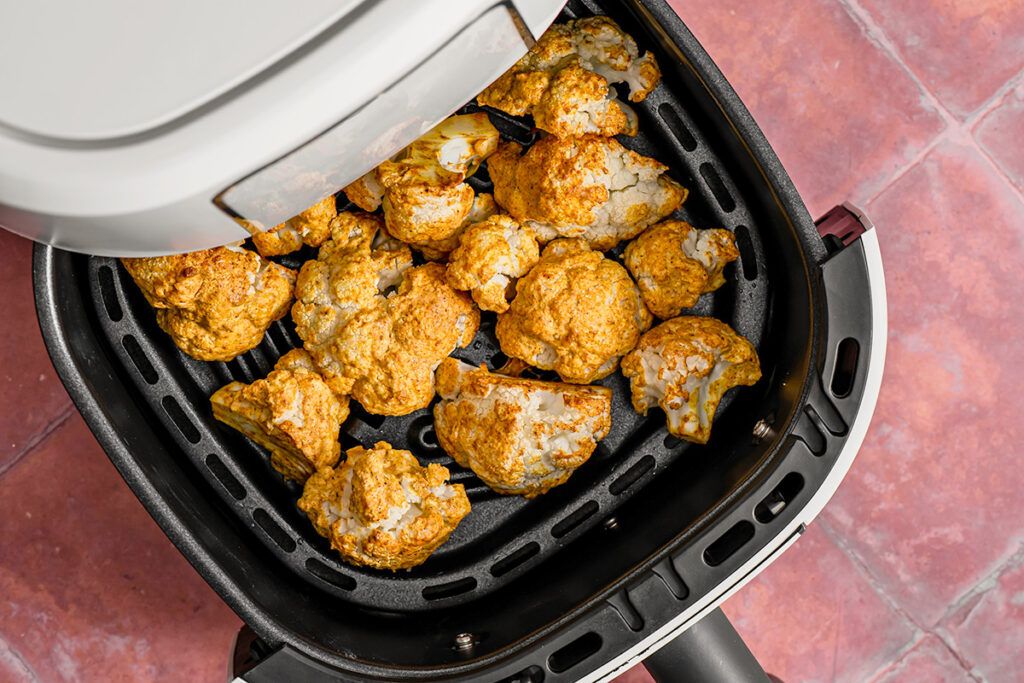
8. Using Dry Rubs and Seasonings

Many dishes are improved by adding ground spices and dried herbs (you replace those regularly, right?). While these work great in a conventional oven, air fryers present a unique challenge: The powerful fan that circulates the heat can blow your herbs and spices right off the food. To get around this, follow our earlier advice and toss your food in a little bit of oil first. The oil acts as a binder, holding seasonings in place.

Credit: © Olimpia Davies/Unsplash.com
Advertisement

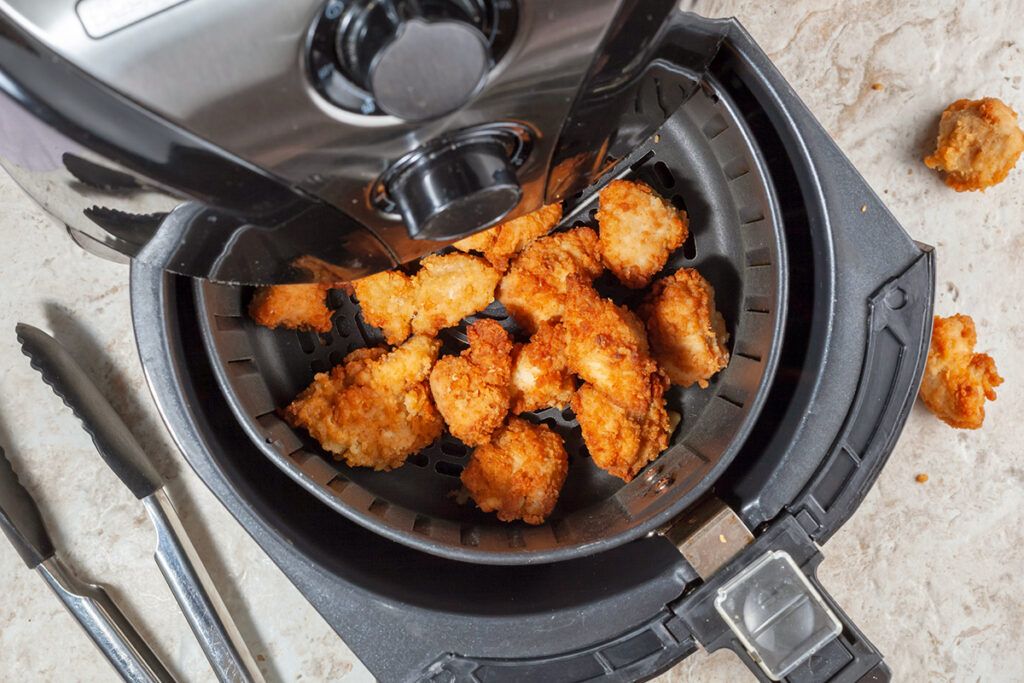
9. Trying To Air Fry Battered Food

Sometimes, no matter how much you want something to work, it simply won’t. Such is the case with wet-battered foods. In conventional frying, hot oil immediately “sets” the batter into a crisp shell, but air fryers just aren’t built for that.

Your best bet is to go with a breaded version instead — think flour, egg wash, breadcrumbs. If you are determined to use wet batter, ensure it’s thick, oil the basket generously, and preheat the unit well. The hot metal will sear the batter on contact, helping it set before it can drip through the grate.

Credit: © Grandbrothers/iStock
Related: 10 Foods You Should Never Microwave

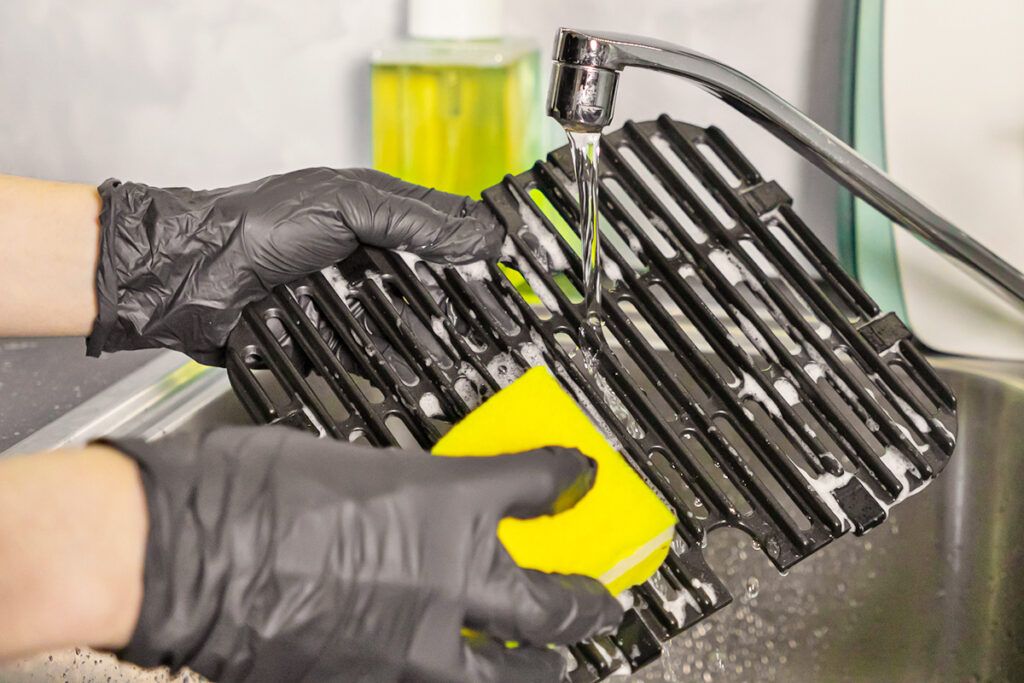
10. Not Cleaning Your Air Fryer Diligently

One of the most common air fryer mistakes is failing to clean the unit regularly. If you mainly use yours to crisp up frozen snacks, it’s easy to assume the basket is “clean enough.”

In truth, allowing oil to build up will eventually compromise both your machine and your meals. As residue is repeatedly heated, its smoke point degrades. It’ll start smoking as the air fryer heats up, and may even ignite. It also ruins the flavor of your dishes; rancidity is a side effect of oil breakdown that gives everything an “off” taste. Do yourself a favor and wash the basket regularly so your next batch of food tastes exactly as it should.

Credit: © Alina Vytiuk/iStock
Advertisement
Featured Image Credit:  © FOX ^.ᆽ.^= ∫/Pexels.com | Updated  Apr 20, 2026 |
Fred Decker
Writer
Fred Decker is a trained chef and former restaurateur. Since closing his restaurants over a decade ago he has been a prolific freelance writer, publishing several thousand articles on dozens of high-volume websites including Taste Of Home, Hunker, Tasting Table, Week&, eHow, and GOBankingRates. He lives on a rural acreage shared with a big garden, chickens, rabbits, and grandkids.
This article is for general informational purposes only.
Featured Image Credit:  © FOX ^.ᆽ.^= ∫/Pexels.com | Updated  Apr 20, 2026 |
Advertisement
Home Improvement 6m read
0

8 Renovation Decisions People End Up Regretting

Whether you’re gutting a kitchen, refreshing a bathroom, or tackling a down-to-the-studs whole-home redo, renovations have a way of snowballing — in cost, scope, and stress. There are ways to avoid at least some of the common headaches, however. Contractors, architects, and designers agree: Many of the biggest pitfalls are avoidable if you know what to watch for. Read on for the renovation mistakes they see most often — their answers might just save you thousands.

Whether you’re gutting a kitchen, refreshing a bathroom, or tackling a down-to-the-studs whole-home redo, renovations have a way of snowballing — in cost, scope, and stress. There are ways to avoid at least some of the common headaches, however. Contractors, architects, and designers agree: Many of the biggest pitfalls are avoidable if you know what…

1. Not Having a Vision Before Starting Renovations

Knocking down walls without a clear, finalized plan is one of the most expensive moves you can make. “Many times, when people start a renovation, they’re excited to ‘go, go, go’ and don’t take the time to finalize their vision and design,” says Miles Smith, architect and senior industry growth and strategy manager at Graphisoft, a software company that provides specialized tools for architects and design professionals. The result? You might replace flooring right after moving in, only to decide a few months later that you want to redo the kitchen or remove a wall — forcing you to rip up or patch that brand-new floor.

Interior designer Jeannine Bogart of Epic Interiors has witnessed the same pattern play out with finishes. Homeowners pick paint, wallpaper, and materials before the layout is truly resolved. “Once everything is installed, the space doesn’t look the way they expected,” she says.

The fix is straightforward: Work with a designer or contractor from the start to lock in your floor-to-ceiling vision — materials, layout, finishes — before anything is ordered or built.

Credit: © MarioGuti/iStock

2. Choosing Materials in Isolation

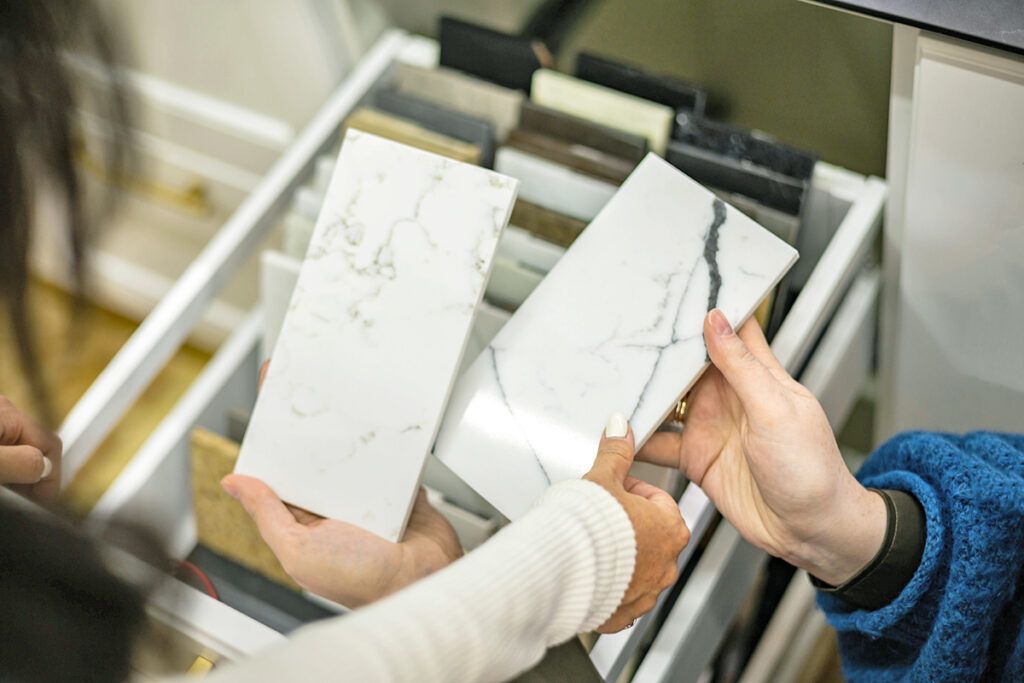
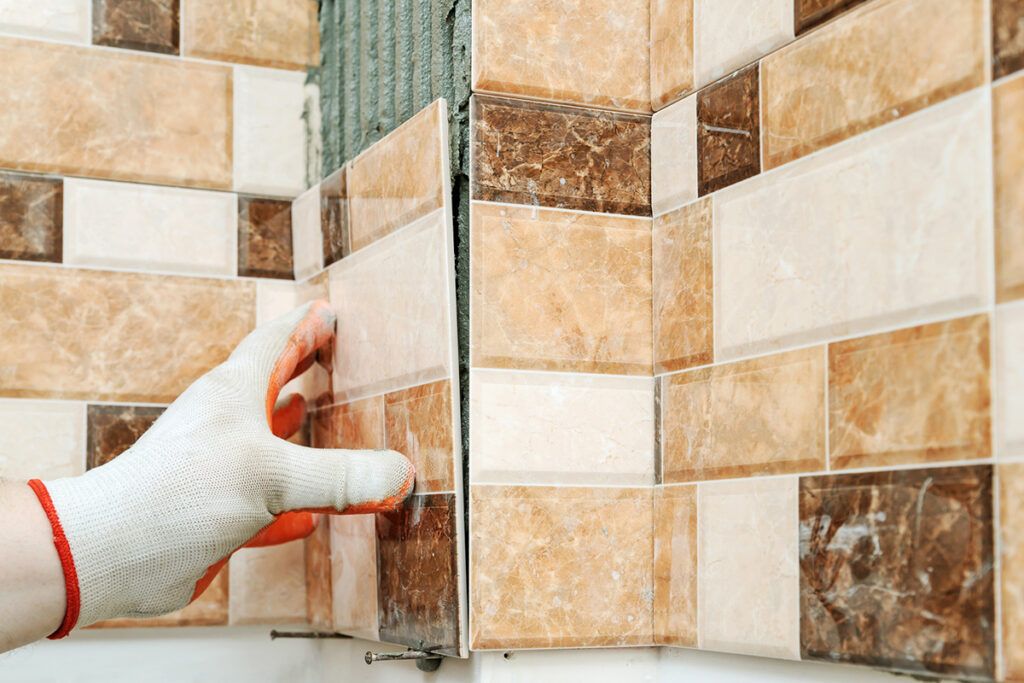
If you don’t consider the big picture, a tile that wowed you in a showroom can fall flat once installed. “A tile or cabinet color might look great individually, but if it doesn’t fit well and looks unrelated to the rest of the house, the room can feel off,” Bogart says. By the time you notice, it’s often too late.

This is why professionals increasingly use 3D renders and even virtual reality walk-throughs before construction begins. That level of preview can prevent expensive do-overs driven purely by an aesthetic mismatch.

Credit: © Kostikova/iStock
Advertisement

3. Underestimating What’s Hiding Behind the Walls

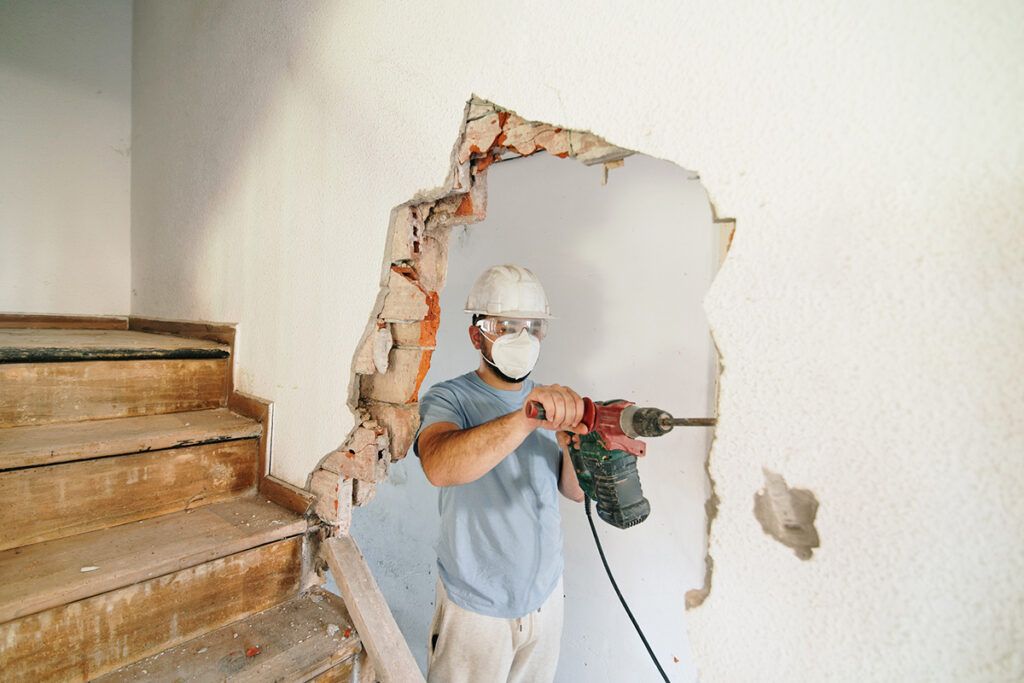
What you intend to be a simple remodel can turn into something far bigger once the walls open up. “On older homes especially, what looks like a straightforward remodel can turn into plumbing updates, electrical corrections, framing repairs, or water damage that no one could see at the start,” says Maksim Sauchanka, owner of BMR Belmax Remodeling.

Rees Brodersen and Jonathan Cisnero of LA Handy Construction echo the warning, noting that hidden conditions — rot, mold, water damage, outdated wiring — must be addressed before finishing work can even begin. “It’s not an option,” Cisnero says.

The safest approach is to budget a 10% to 20% contingency from the start and mentally prepare yourself for the unexpected. If nothing goes wrong, you have a pleasant cushion; if it does, your project isn’t entirely derailed.

Credit: © Anna Solovei/iStock
Related: 10 Affordable Upgrades Realtors Say Increase the Value of Your Home

4. Focusing on Aesthetics Over Function

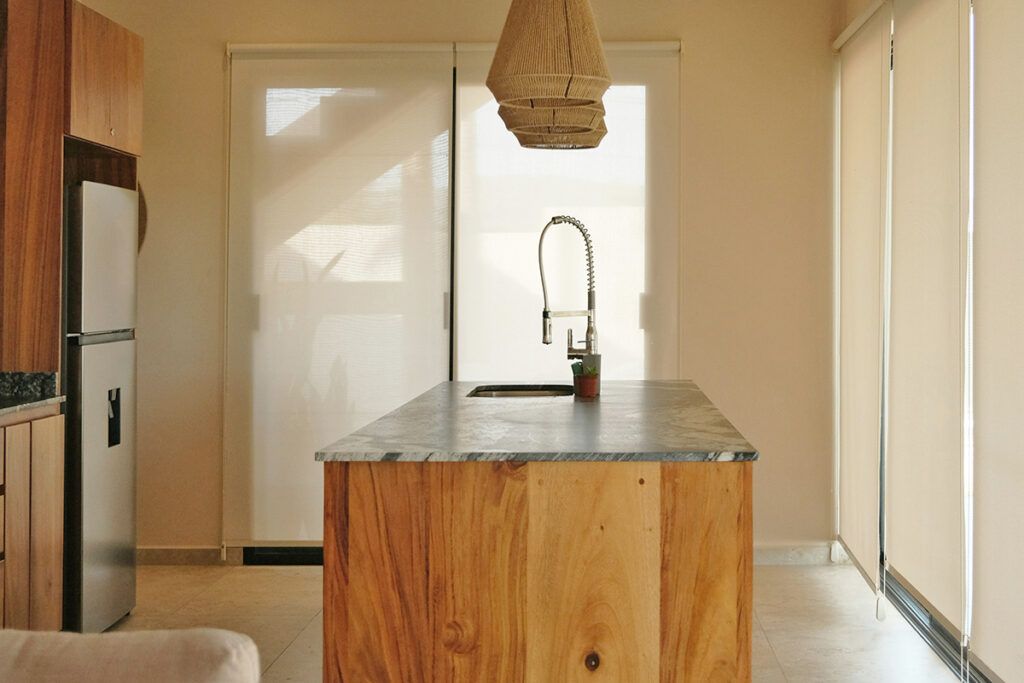
Remember: function first. If a room is beautiful but doesn’t work for how you actually live, it’s a costly renovation mistake. “A homeowner may approve a layout, choose all the right-looking materials, and still end up frustrated later because the kitchen workflow feels off, the island clearance is too tight, or the bathroom doesn’t move comfortably once everything is installed,” Sauchanka says.

Smith warns against renovating halfway. Installing a new countertop on 20-year-old cabinets may sound like a quick, budget-friendly refresh, but the space will likely still look dated. If you decide to replace the cabinets later, you’ll have to replace the countertop again too. Addressing form and function together from the start is nearly always the more economical path.

Credit: © Jordan González/Unsplash.com
Advertisement

5. Trying To Save Money in the Wrong Places

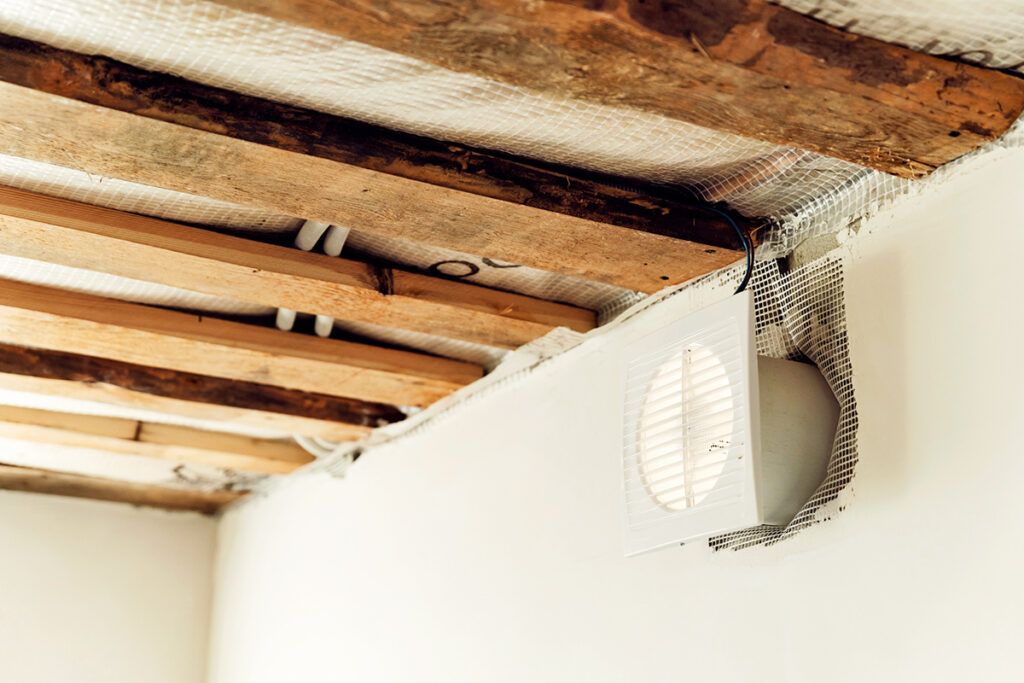
Cutting costs is smart; cutting them in the wrong places is expensive. Sauchanka warns that the problem isn’t splurging on luxury finishes, but skimping on the invisible stuff, such as waterproofing, ventilation, and installation quality. “Those are exactly the things that determine whether the renovation still feels good five years later,” he says.

Brodersen adds that small jobs carry baseline costs regardless of size: Setup, mobilization, protection, demolition, cleanup, and trade coordination all add up. Expecting a small task to come cheap — and budgeting accordingly — is a recipe for being caught off guard.

Credit: © Vadim Gunko/iStock

6. Making Changes Midproject

Once a renovation is underway, even small changes can cascade in ways that feel disproportionate. “A change that sounds small — shifting plumbing, changing tile layout, upgrading a material late, moving a wall a little — can affect labor, schedule, and other trades faster than people expect,” Sauchanka says.

Brodersen and Cisnero call these midproject alterations “change orders,” noting that they pile up and are always more expensive than doing it the correct way the first time. The moral: Finalize every decision you possibly can before work begins.

Credit: © yunava1/iStock
Advertisement

7. Forgetting the Costs You Can’t See on the Estimate

There are certain expenses that reliably blindside homeowners, even on well-planned projects. According to Brodersen and Cisnero, the list includes disposal and dump fees, delivery and freight charges, and the labor involved in matching existing finishes — which typically requires more work than expected. Permit requirements and related code upgrades are another consistent surprise.

Smith adds that even material prices can shift significantly between the time you get a quote and when work actually begins. Some contractors specify that estimates are valid for only 30 days for exactly this reason.

Credit: © ruizluquepaz/iStock
Related: 10 Home Projects That Can Sink Your Resale Value

8. Not Communicating With Your Contractor

Finally, a mistake that has nothing to do with materials or money: not speaking up when you don’t like something. “If something doesn’t look right, don’t let the frustration build,” Smith says. Addressing an issue midproject, even if it feels uncomfortable or inconvenient in the moment, is far better than finishing a renovation and living in a space you’re unhappy with.

The best renovations, nearly every pro agrees, come down to a combination of preparation and communication — a clear plan from the start, realistic expectations about what might come up, and an open channel with your contractor throughout. Get those right, and most of the costly mistakes on this list become avoidable.

Credit: © skynesher/iStock
Advertisement
Featured Image Credit:  © AleksandarNakic/iStock | Updated  Apr 20, 2026 |
Megan McCarty
Writer
Megan McCarty is a Los Angeles-based writer who covers the fun stuff: design, travel, wellness, beauty, and fashion. She has written for publications including Domino, The Spruce, MyDomaine, Bustle, and Rue Magazine. Her life rules include, but are not limited to, zipper when merging, contribute to your IRA, and do the nice thing.
This article is for general informational purposes only.
Featured Image Credit:  © AleksandarNakic/iStock | Updated  Apr 20, 2026 |
Advertisement
Decorating 2m read
0

Use the 70/30 Split To Make Your Space Look Expensive

Ever admired a friend’s home, a hotel lobby, or a celebrity’s sprawling mansion in a design magazine because it just felt right — cohesive but not cookie-cutter, layered but not chaotic? There’s a good chance a single, surprisingly simple design principle was at work: the 70/30 split. Interior designers have relied on this rule for years, but you don’t need a design degree to use it effectively. Here’s what you need to know about the 70/30 split and why it might be exactly what you need to elevate your space.

Ever admired a friend’s home, a hotel lobby, or a celebrity’s sprawling mansion in a design magazine because it just felt right — cohesive but not cookie-cutter, layered but not chaotic? There’s a good chance a single, surprisingly simple design principle was at work: the 70/30 split. Interior designers have relied on this rule for…

What Is the 70/30 Split?

The concept is straightforward: Divide a room into a ratio of 70/30, decorating 70% of the space with your anchor scheme and the other 30% with a contrasting style (or styles). This uneven ratio guarantees a room that’s visually interesting. “The 70/30 rule works because it naturally creates a sense of balance without feeling forced,” says Carol Alda, interior design coordinator at Z Gallerie.

Think of the 70% as your foundation — the main color palette, significant furniture pieces, and flooring. The 30% is where personality gets to play, whether through a bold accent chair, contrasting textures, or a few eye-catching accessories and pieces of artwork.

Related: 25 Hacks Only Interior Designers Know

Why It Works

The 70/30 split is more than just a visual trick; it offers a clear distinction between dominant and accent elements, gently guiding the eye through a space.

Advertisement

“When most of the space — 70% — is grounded in a cohesive palette and consistent materials, everything feels calm and pulled together. Layering in a smaller portion of contrast — 30% — through texture, shape, or a few standout pieces adds just enough interest to keep the space from feeling flat,” Alda says. “It’s that mix of restraint and variation that makes a room feel polished, but still personal and lived-in.”

Start With Color

Not sure where to begin? The easiest entry point is color. Use a consistent palette on walls, ceilings, and large furniture pieces. Then, bring in a bolder secondary color through accent rugs, throw pillows, and decor. Trust your eye and let the ratio guide you.

Advertisement
Featured Image Credit:  © Clay Banks/Unsplash.com | Updated  Apr 27, 2026 |
Megan McCarty
Writer
Megan McCarty is a Los Angeles-based writer who covers the fun stuff: design, travel, wellness, beauty, and fashion. She has written for publications including Domino, The Spruce, MyDomaine, Bustle, and Rue Magazine. Her life rules include, but are not limited to, zipper when merging, contribute to your IRA, and do the nice thing.
This article is for general informational purposes only.
Featured Image Credit:  © Clay Banks/Unsplash.com | Updated  Apr 27, 2026 |