If the thought of decorating your home feels overwhelming, step away from your online cart, leave the vintage store, and don’t even glance toward the paint chips. The problem isn’t you; it’s your process — or lack of one. According to interior designer and TikTok creator Lily Walters, most people approach decorating completely backward. That’s…
1. Start With Layout and Function
Before a single item is purchased, Walters suggests figuring out “where furniture actually needs to live, how the room flows, and what scale makes sense.” This step isn’t glamorous, but it’s load-bearing. Skip it, and every decision that follows becomes harder to course-correct.
2. Choose Your Surfaces
Paint colors, flooring, and large area rugs come next. These elements act as the room’s backdrop, anchoring the entire space and setting the tone for everything you bring into it. Once these large surfaces are locked in, they will naturally inform every other design decision you make.
3. Now Buy Your Furniture
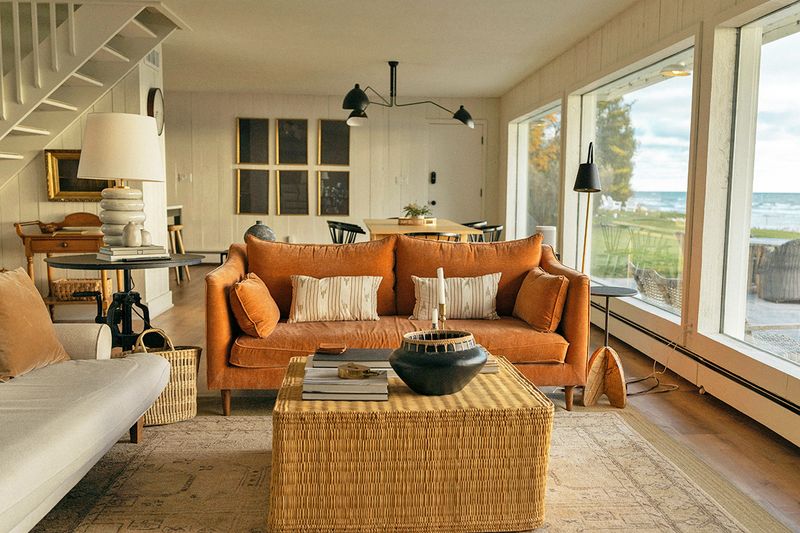
Furniture is the most exciting part, which is why it’s so tempting to jump straight to this step. However, without a layout and a surface palette already established, it’s easy to fall in love with a sofa that’s too big, the wrong tone, or a silhouette that disrupts the room’s natural flow. Choosing furniture third means you’re selecting pieces that fit the parameters you’ve already defined, not crossing your fingers that the space will magically accommodate the coffee table you’ve been coveting.
More from our network
House Outlook is part of Inbox Studio, which publishes content that uplifts, informs, and inspires.


4. Layer Light Sources
Next, focus on lamps, sconces, and overhead fixtures. “Lighting is what makes a room feel finished,” Walters says. Beyond brightening, the right combination of fixtures shapes the overall mood, highlights architectural details, and ties your entire design concept together. It’s also a great opportunity to add character through vintage pieces.
5. Decor Comes Last
Only after everything else is in place should you shop for decorative objects, artwork, and accessories. This is also the stage where you can experiment the most, so use decor to introduce pops of unexpected color, interesting texture, or patterns that the room might be missing. At this stage, you’re layering personality — your personality — into a room that already fundamentally works.