)


All home ovens have a few things in common, whether they run on gas or electricity: They feature multiple rack positions, include two or three racks, and have notoriously shaky temperature accuracy. While it’s obvious that an oven’s temperature affects your cooking and baking, you may not realize just how much rack placement influences your…
Why You Should Use Your Home Oven’s Bottom Rack
If you’re like most people, you probably lean heavily on the middle position for most roasting and baking, and a higher rack position when you want the tops of your biscuits or lasagna to brown quickly. That makes sense; the middle gives you even, all-around heat, while the upper rack puts the surface of your food at the top where heat concentrates.
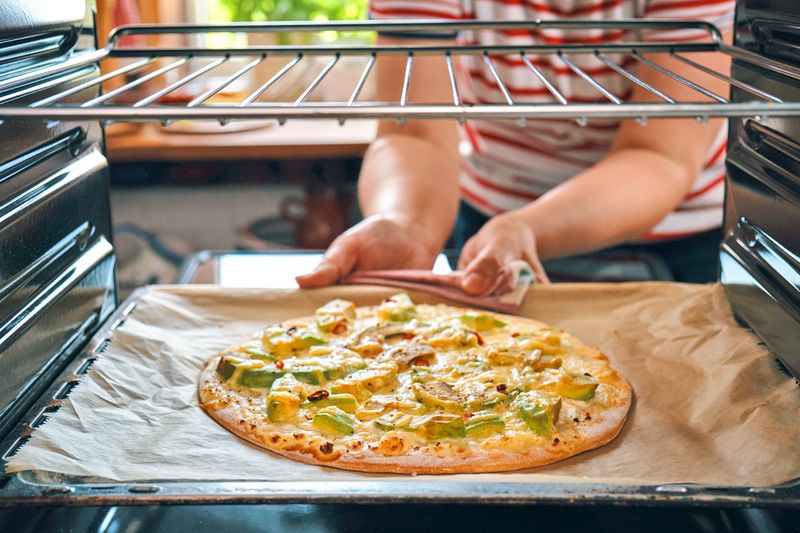
But the bottom rack position is also surprisingly useful. While heat collects at the top, it originates at the bottom — unless you’re using the broiler. This makes it the ideal spot for anything that needs concentrated heat at the base, and there are more of those dishes than you’d think. Consider pizza: If you’re tired of soggy, flabby crusts, start your pie at the very bottom to crisp the dough, then move it to the top rack for the last few minutes to brown the cheese.
More from our network
House Outlook is part of Inbox Studio, which publishes content that uplifts, informs, and inspires.


Other Foods That Love the Bottom Rack
Do you struggle with soggy bottom crusts on your pies? Well, pie crusts crisp a lot better if you start them on the bottom rack, then move them to the upper half of the oven to let the top brown. Empty, blind-baked crusts should go on the bottom for the same reason, and wet-filling pies like pumpkin or pecan set better with that direct, bottom-up heat. You can use the same trick for a cheesecake in a water bath: The water keeps the underside from overbaking, while the low position minimizes undesirable browning on top of the filling.
Savory foods work great on the bottom rack as well. Use the lowest position for roasted vegetables, oven-cooked french fries, and sheet-pan meals — or anything else you would ordinarily flip or stir midway through cooking. If you’re making skin-on fish fillets or oven pancakes, sliding a preheated, lightly oiled sheet pan onto the bottom rack delivers a crispiness that rivals pan-frying, but it lets you cook more servings at one time with less fuss.