None of us deliberately sets out to make ourselves sick, but according to the Food and Drug Administration (FDA), there are 48 million cases of foodborne illness each year in the United States. That equates to about one in six Americans, suggesting that many people are making dangerous food safety mistakes without realizing it. As…
1. Starting Off on the Wrong Foot
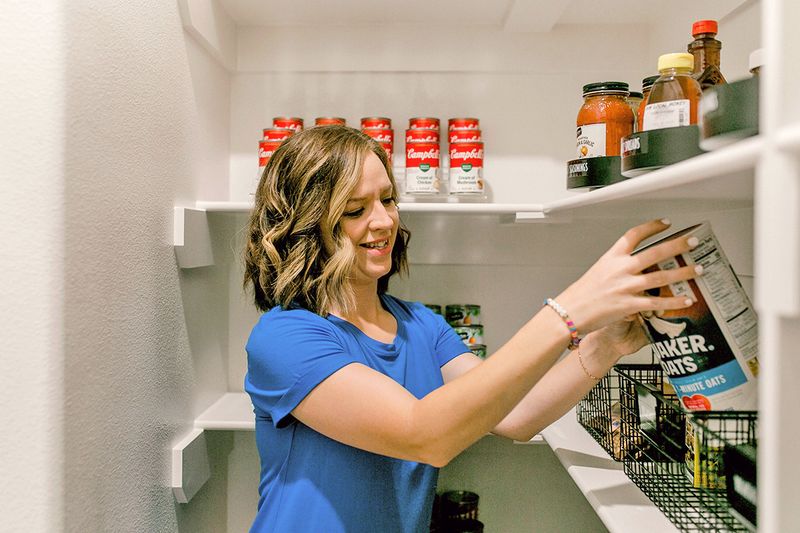
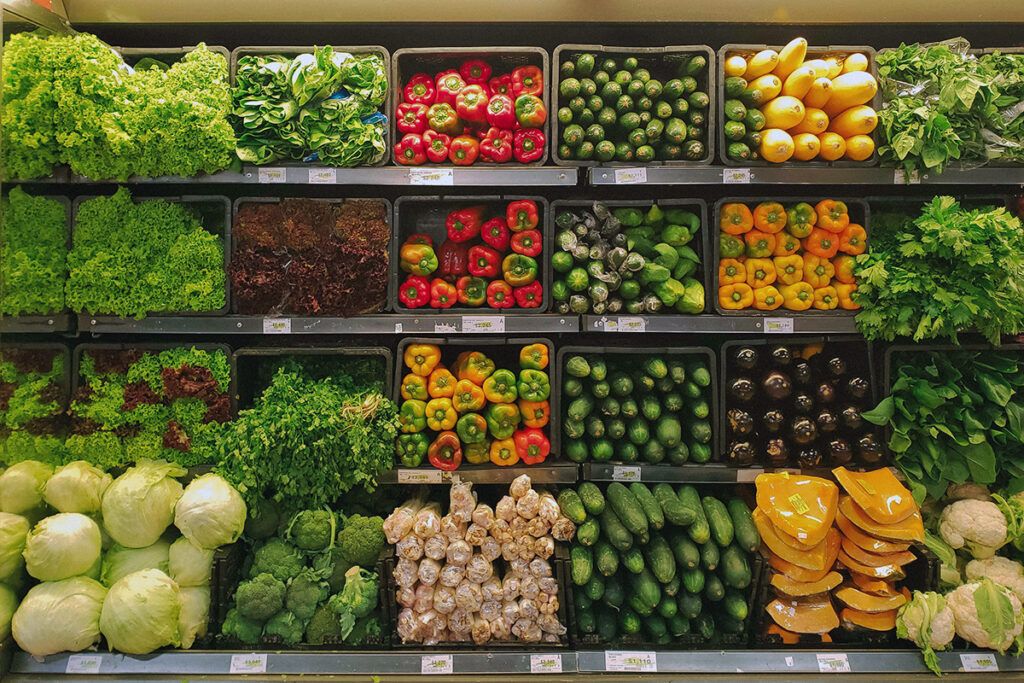
Food safety starts at the grocery store. Store layouts don’t always encourage this, but it’s best to finish your shopping with frozen and refrigerated items. In your shopping cart, and later when you’re bagging items, take care to separate foods you plan to eat uncooked — such as fruit or salad greens — from raw meat, poultry, or fish that might drip onto them. You should also have a cooler or insulated grocery bag in your car to keep cold items cold (or hot items hot) until you get home.
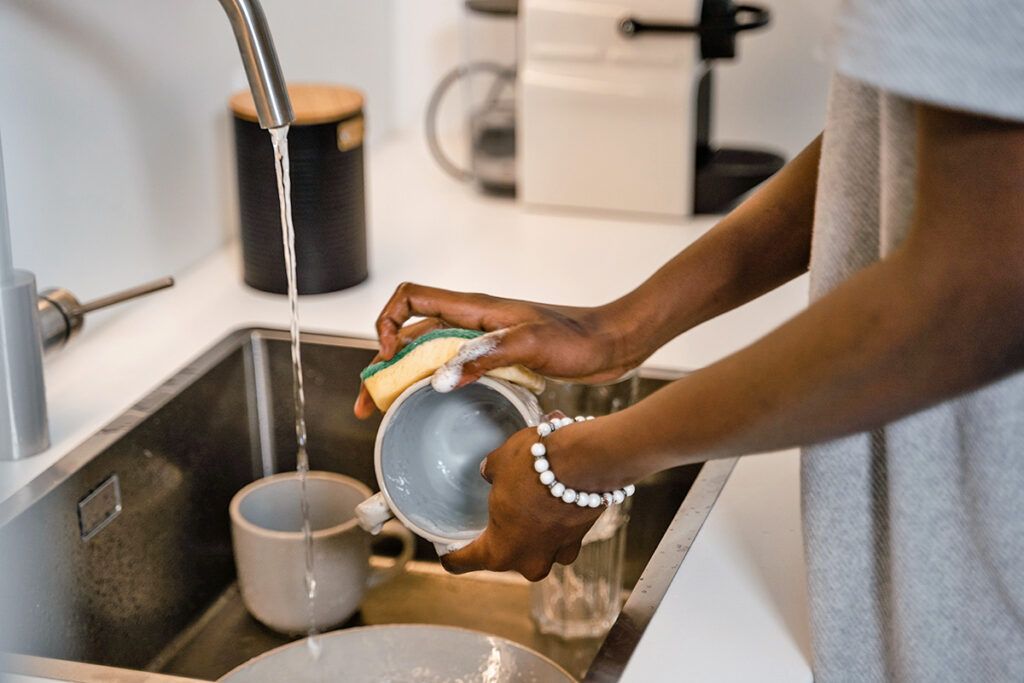
Another misstep involves not cleaning your food before you begin to prepare it. Most produce items, for example, should be rinsed well before you eat, cut, or peel them. Often, their outer surfaces have been exposed to pathogens (harmful microorganisms) in the fields or during handling, and they may also contain physical dirt as well as pesticide or fertilizer residues.
You don’t need commercial produce washes. In fact, the Food and Drug Administration (FDA) advises against them, and there’s little evidence that they’re any more effective than cold running water. Always rinse fruits or vegetables before peeling them, lest your knife or peeler carry germs from the surface to the edible portion. When it comes to rough-skinned produce, such as cantaloupes or root vegetables, scrubbing them with a vegetable brush helps get them cleaner.
One notable exception to the rinsing rule is raw poultry. Washing it can splatter bacteria — think salmonella and E. coli — around your sink or work area.
More from our network
House Outlook is part of Inbox Studio, which publishes content that uplifts, informs, and inspires.


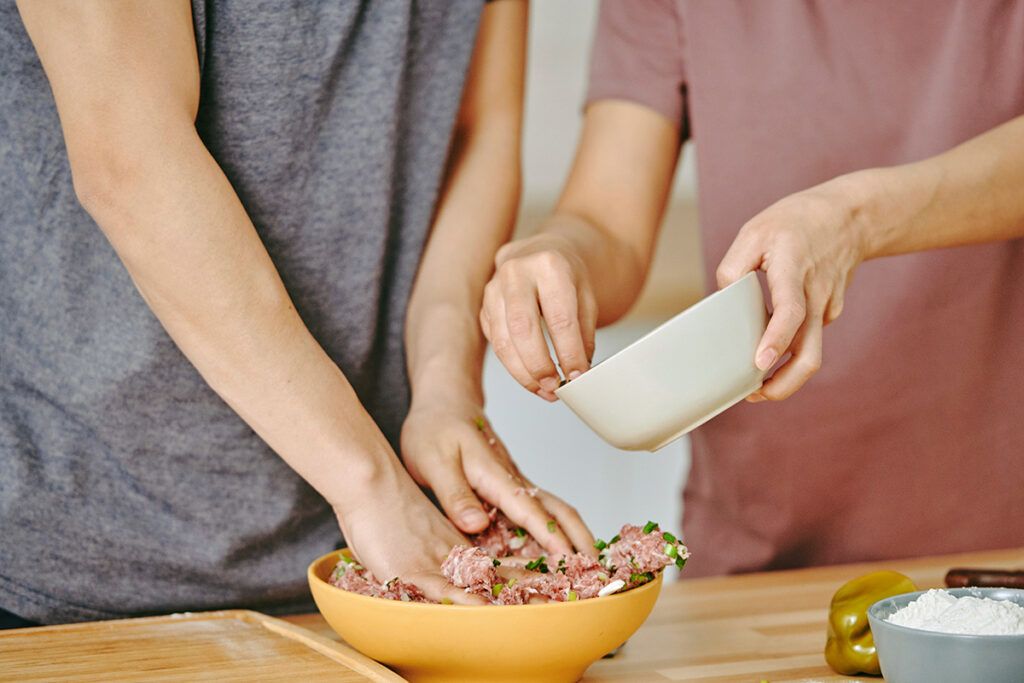
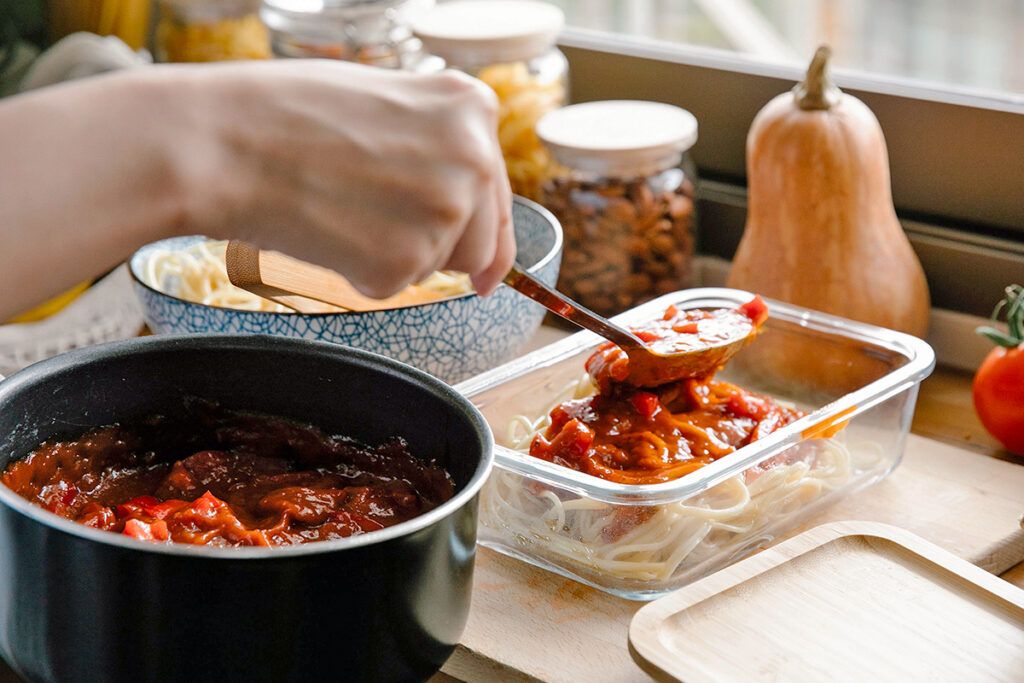
2. Setting Yourself Up for Cross-Contamination
Many food safety rules center around pathogens that may be present in a given ingredient, such as E. coli in ground beef or salmonella in eggs and poultry. But another serious threat is cross-contamination, which occurs when pathogens are accidentally transferred from one food to another.
There’s no single solution to this problem, but here’s a short list of best practices to follow:
• Clean countertops, cutting boards, and utensils before and after every use.
• Sanitize counters after they’ve been wiped down. You can either use a commercial disinfectant spray or make your own by combining 1 teaspoon of unscented liquid chlorine bleach and 1 quart of warm water in a spray bottle. Remember to rinse surfaces that come into direct contact with food afterward.
• Use separate knives and cutting boards for high-risk foods (e.g., raw meat, fish, and poultry) and anything else you cook at the same time.
• Wash your hands (or change your disposable food prep gloves) every time you handle a potentially hazardous ingredient. This includes raw meat, eggs, and unwashed produce.

3. Spending Too Much Time in the Danger Zone
It’s important to recognize that many foods may contain pathogens, but they are still safe to eat if handled correctly. Professionals invest considerable effort in making sure that foods don’t spend any more time than necessary in the so-called “danger zone,” which is the temperature range between 40 and 140 degrees Fahrenheit.
Home cooks can avoid the danger zone by bringing cold perishables home from the grocery store in an insulated bag or cooler, as mentioned above. You should also get those items into the fridge as quickly as possible once you’re home. The danger zone comes into play when you begin cooking as well, so pull perishable ingredients from the fridge only once you’re ready to use them, instead of taking everything out at once and leaving it on the counter.
Once your food is ready, put the leftovers away immediately. Cooked foods drop back down into the danger zone pretty quickly, so make a point of getting them into the fridge ASAP. (Tip: Large batches of food cool faster when divided into smaller, wide, shallow containers.)
If you’re entertaining, plan ways to keep hot foods hot and cold foods cold. Consider serving party food in small batches, which helps ensure it gets eaten quickly. According to the USDA, perishable food should not be left in the danger zone for more than two hours, or one hour if the temperature is 90 degrees Fahrenheit or higher.
At temperatures below 40 degrees Fahrenheit, or above 140 degrees Fahrenheit, most pathogens reproduce very slowly, if at all. That’s important because every pathogen has an “infective dose,” which is the number of individual microbes it takes to make you sick. In some cases, that number is in the millions, but it can also be as low as 10 bacteria. The number of bacteria in your food can double in as little as 20 minutes. Therefore, the longer your food spends in the danger zone, the greater your risk of getting sick.
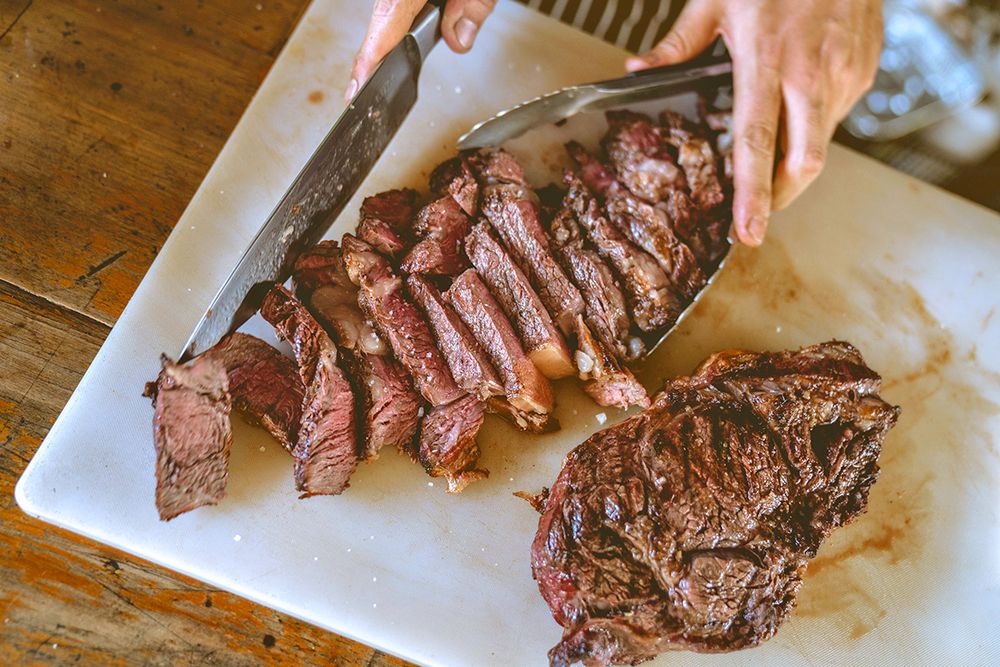
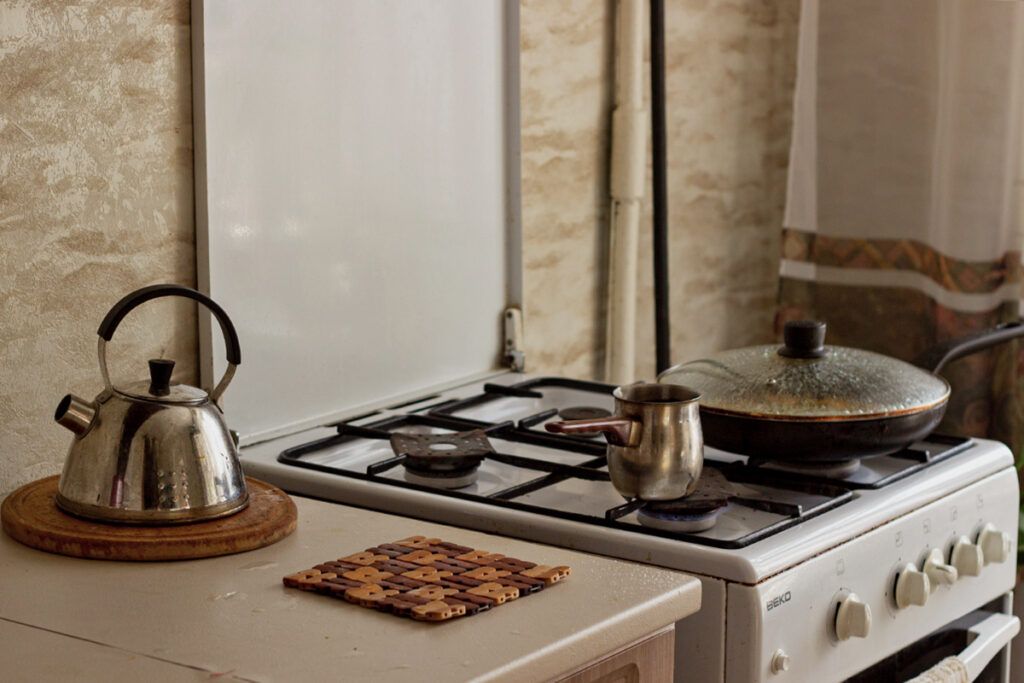
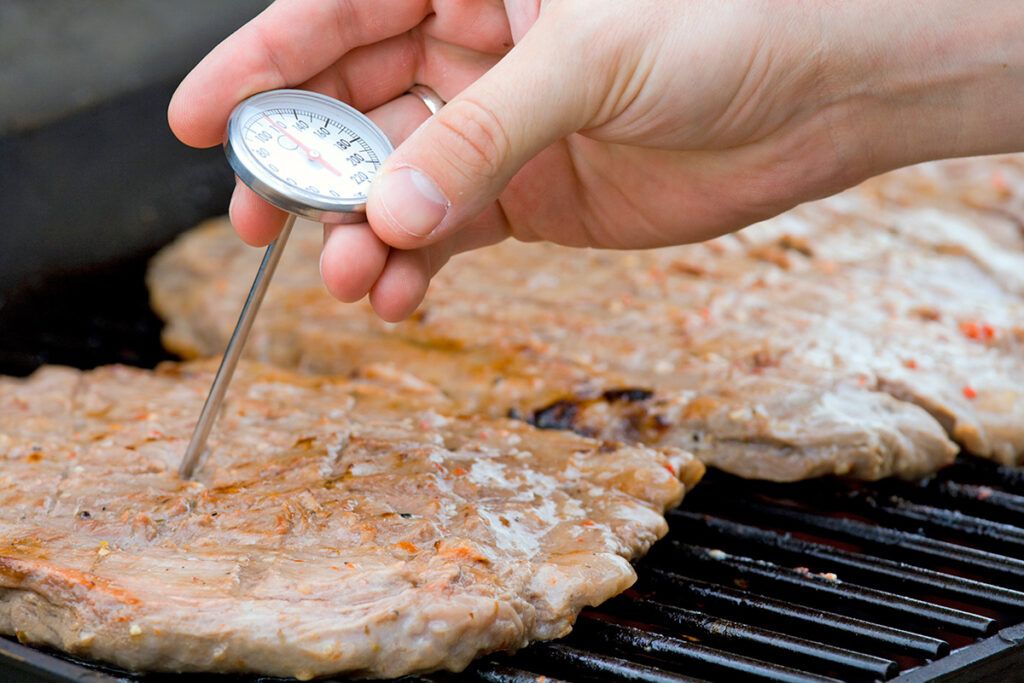
4. Not Cooking Food to the Right Temperature
Cooking is one of the biggest aids to food safety. Heating your food to the recommended temperatures — the USDA’s Food Safety and Inspection Service has a handy chart — kills the vast majority of pathogens, effectively pasteurizing the food and leaving it safe to eat.
To be clear, if you follow the USDA’s guidelines, there’s no such thing as a medium-rare steak or a jammy egg. The safe minimum internal temperatures are deliberately conservative because they’re meant to ensure food safety for home cooks without scientific training or test equipment.
If you stray from the guidelines, a) make an informed choice, and b) don’t make that choice for anyone in a high-risk group, which includes older adults, small children, pregnant people, new mothers, and anyone whose immune system is affected by medical issues or immune-suppressing medications.
While home cooks may not have the lab equipment USDA researchers use, a good-quality instant-read thermometer makes it easy to check for food-safe temperatures. ThermoWorks’ ThermoPop2 and OXO’s Good Grips Thermometer offer outstanding value at their price points. If you have the budget for it, ThermoWorks’ ThermaPen ONE is widely considered the best instant-read thermometer among chefs.
5. Storing Food Improperly in the Fridge
Professionals pay constant attention to the foods in their coolers. You can adopt some of their go-to strategies to keep your own perishables fresh and safe.
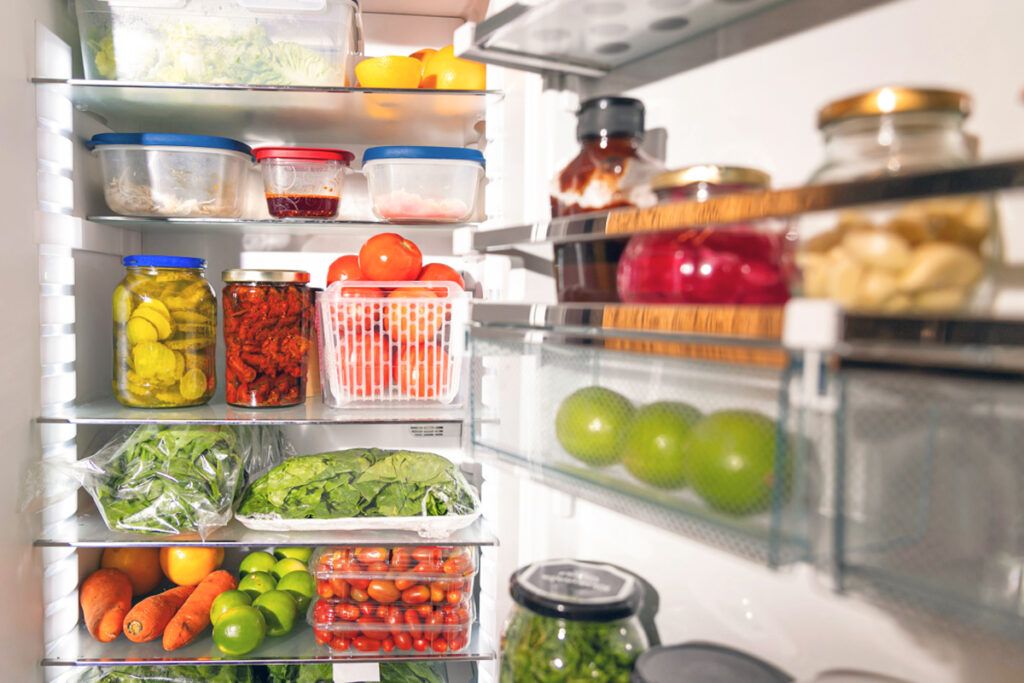
First and foremost, you need to know that your refrigerator is maintaining the proper temperature: It should be set between 32 and 40 degrees Fahrenheit in each zone. The best way to monitor the temperature is with a fridge thermometer. Newer refrigerators may have built-in temperature displays, and some will alert you if there’s a problem, but it’s still a good idea to periodically verify the temperature with a separate thermometer.
Another important consideration is how you organize your refrigerator. Raw meats, poultry, and fish should be stored on the bottom shelf, so they can’t drip on anything you might eat uncooked. They should also be kept in a leakproof container, in a separate bin, on a plate, or double-bagged to prevent juices from contaminating other foods. Highly perishable foods, meanwhile, shouldn’t be stored in the door, where the temperature fluctuates the most.
Finally, don’t overfill your refrigerator. Doing so can impair air circulation, leading to inconsistent temperatures. Cold air can get trapped in specific zones, causing food to freeze, or it can be blocked altogether, resulting in food spoilage. Aim to keep your fridge three-quarters full, taking care not to obstruct the air vents.
Overfilling also makes it hard to keep track of how long foods have been stored in the fridge. This often leads to wasted food, or — worse — eating something that’s well past its safe storage date. Most cooked leftovers last for three to four days, and the same holds true for opened packages of deli meats (three to five days) and breakfast meats (one to two days for breakfast sausages and seven days for bacon). That’s why restaurants label and date their ingredients and use the oldest ones first (first in, first out, aka FIFO).
6. Freezing and Thawing Incorrectly
Lastly, let’s take a look at what happens with your food after you’ve cooked it, specifically when it comes to freezing and thawing leftovers.
Ideally, you should freeze leftovers on the first day rather than waiting until they’re about to expire. That way, you have enough time to thaw your food the safest way, which is overnight (or longer, as needed) in the fridge. Remember that you have only three to four days total in the fridge — combining the time before freezing and after thawing. This means that if you leave leftovers in the fridge for two days before freezing them, you have only one to two days to use them once you take them out of the freezer. The clock doesn’t restart; freezing only pauses it. Your other options for thawing food are to keep it sealed in cold water or to quickly nuke it in the microwave. In either case, you’ll need to reheat or cook the food to its recommended temperature, which for leftovers is always 165 degrees Fahrenheit.
Never defrost food on the counter. It isn’t safe because the surface of the food will reach room temperature — aka the danger zone — well before the center is thawed. This means you’ll usually hit the two-hour limit before you start cooking, increasing your risk. In the case of raw meat, fish, or poultry, juices also often seep onto your work area, raising the chances of cross-contamination.

While some instances of foodborne illness are out of our control, there are steps you can take to protect yourself when preparing food at home. By avoiding these mistakes, you can help keep your household safe from the unpleasant — and sometimes even dangerous — symptoms of food poisoning.