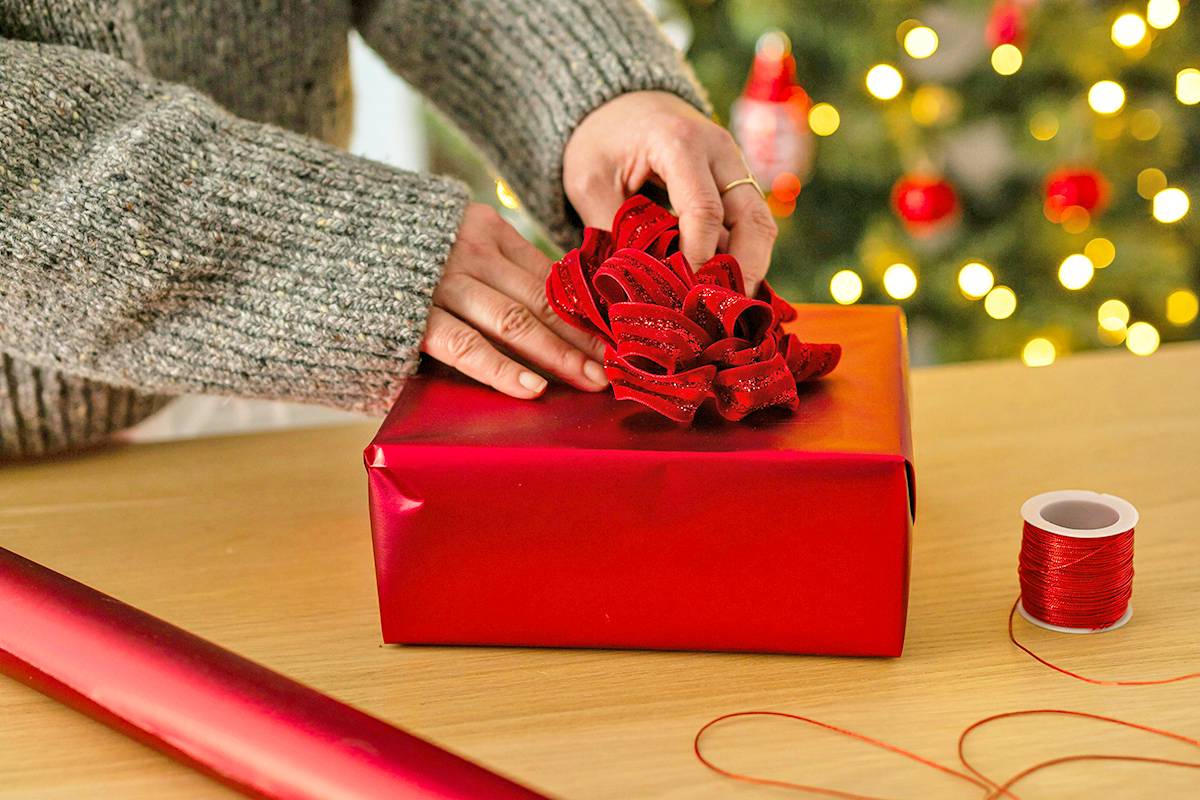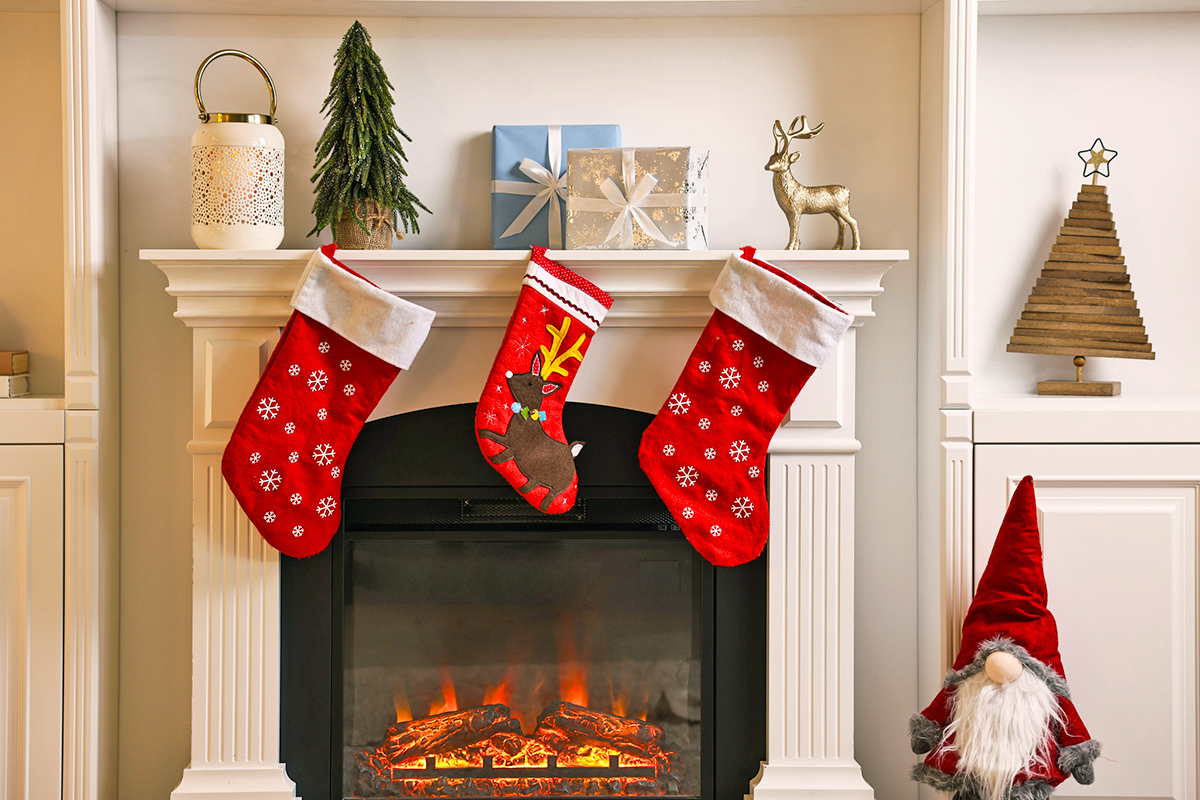
Sometimes the smallest gifts are the hardest to get right. Not to worry — we’ve picked out some clever, stylish, and genuinely useful stocking stuffers for everyone on your “nice” list. From a spicy pantry upgrade to smart cord organizers, read on for stocking gift ideas that every homebody will adore. Best of all? Each…
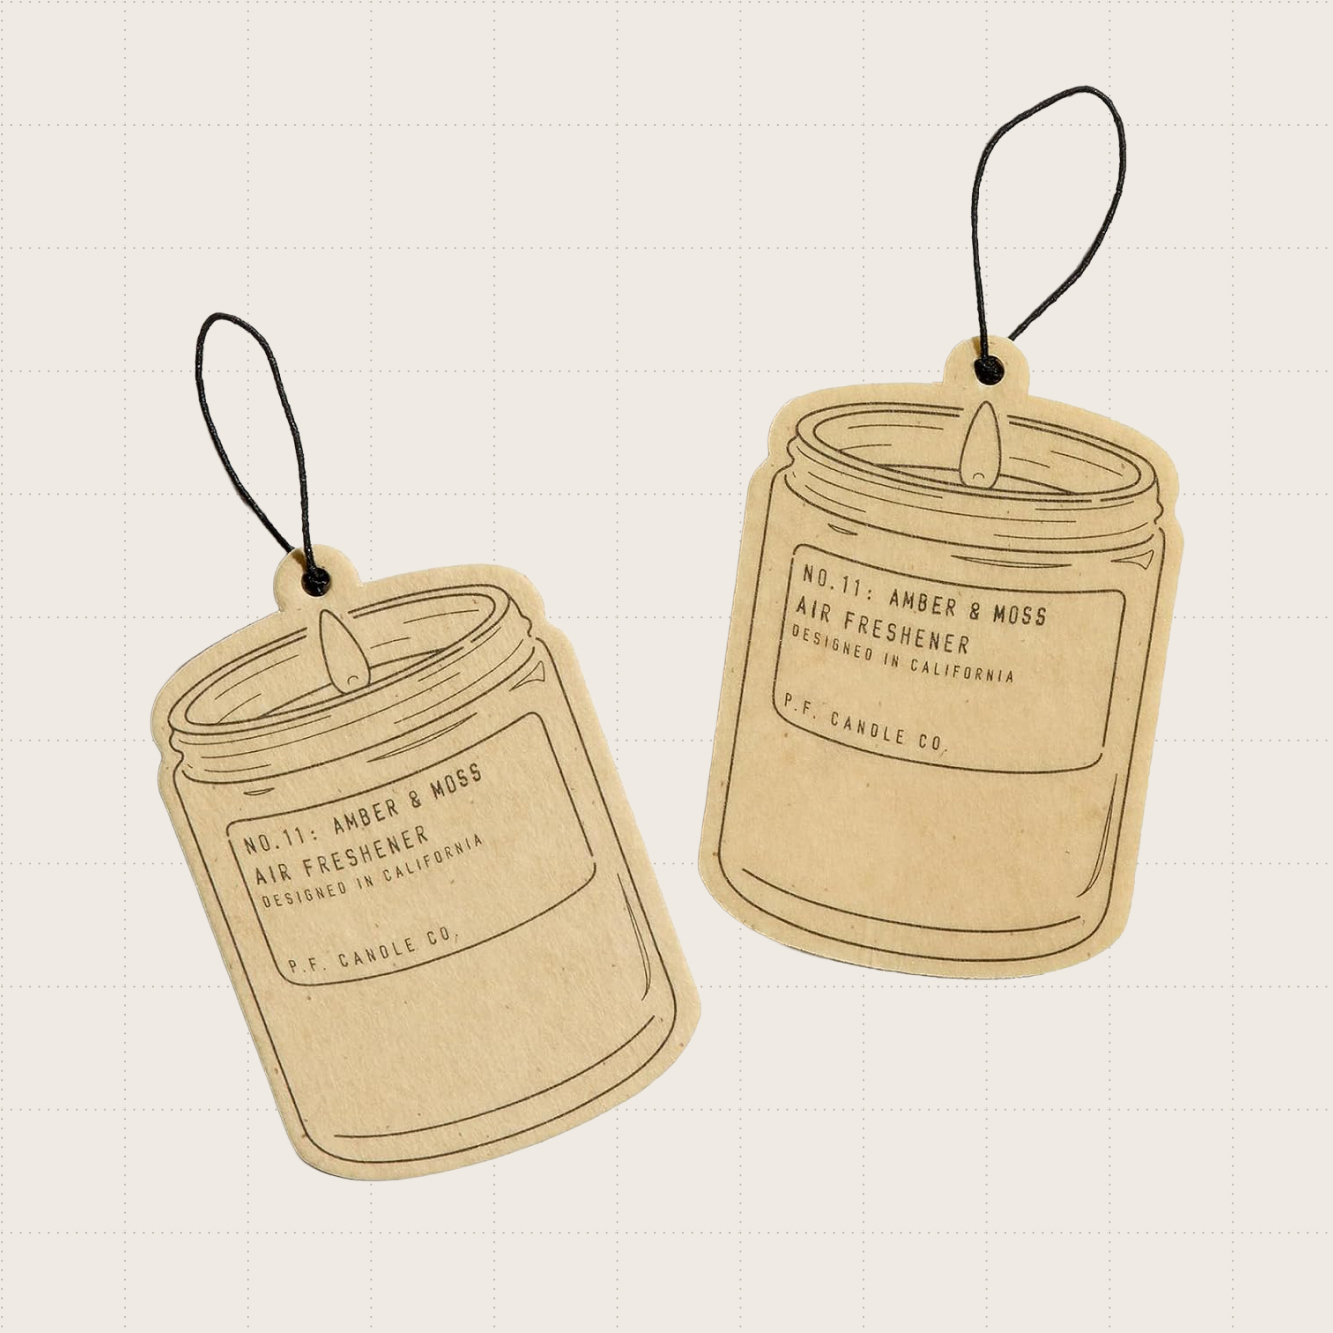
1. Amber & Moss Scented Air Fresheners, Two-Pack
Forget those overpowering, old-school pine tree air fresheners. This set from P.F. Candle Co. smells more like a boutique candle than a car accessory and can refresh anything from gym bags to musty cupboards. Because they’re slim and lightweight, these are especially great to stock up on if you’re traveling for the holidays.
More from our network
House Outlook is part of Inbox Studio, which publishes content that uplifts, informs, and inspires.


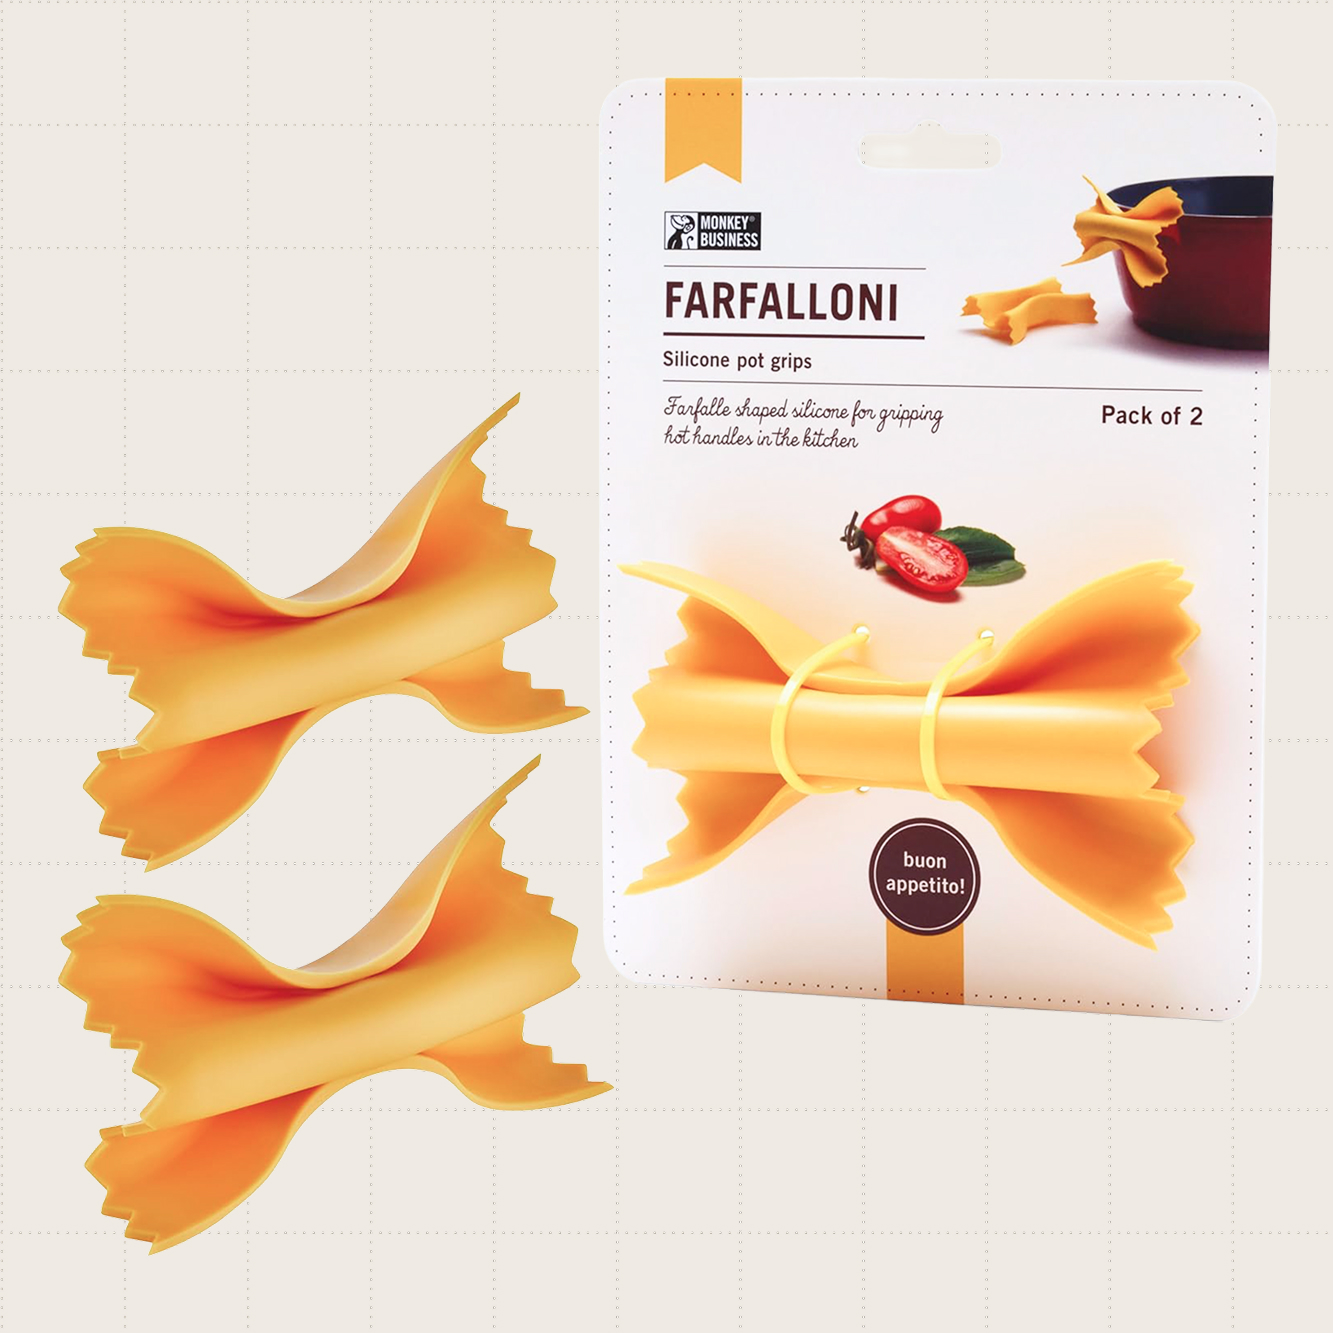
2. Monkey Business Farfalloni-Shaped Pot Holders
Who wouldn’t want a cute, conversation-sparking cooking accessory? These pasta-shaped pot holders are exactly that. They’re equally ingenious and pragmatic and will surely cheer up any stocking now, as well as many dinner parties in the new year.
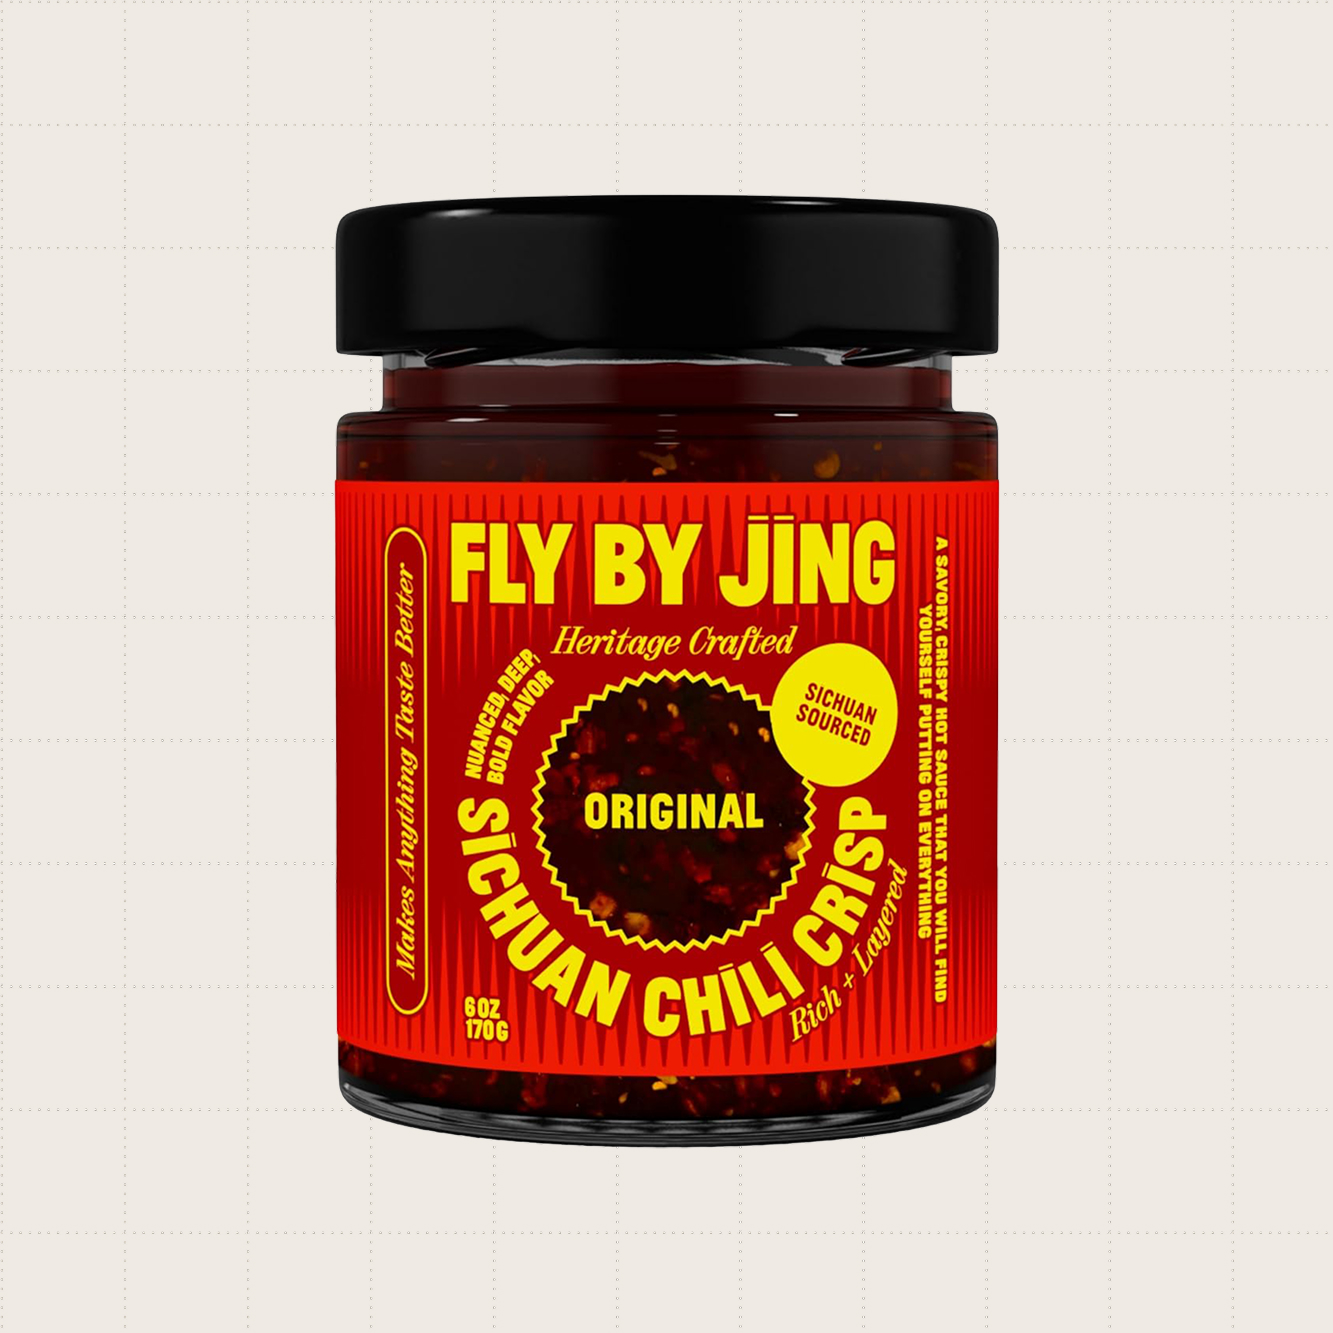
3. FLYBYJING Original Sichuan Chili Crisp
For the friend who adds red pepper flakes to everything, this FLYBYJING chili crisp is the ultimate upgrade. One small scoop turns everyday dishes — eggs, noodles, veggies, and even ice cream — into an extra special, tingly treat. The jar is small enough to slip into a stocking and bold enough to earn a permanent spot in their pantry.
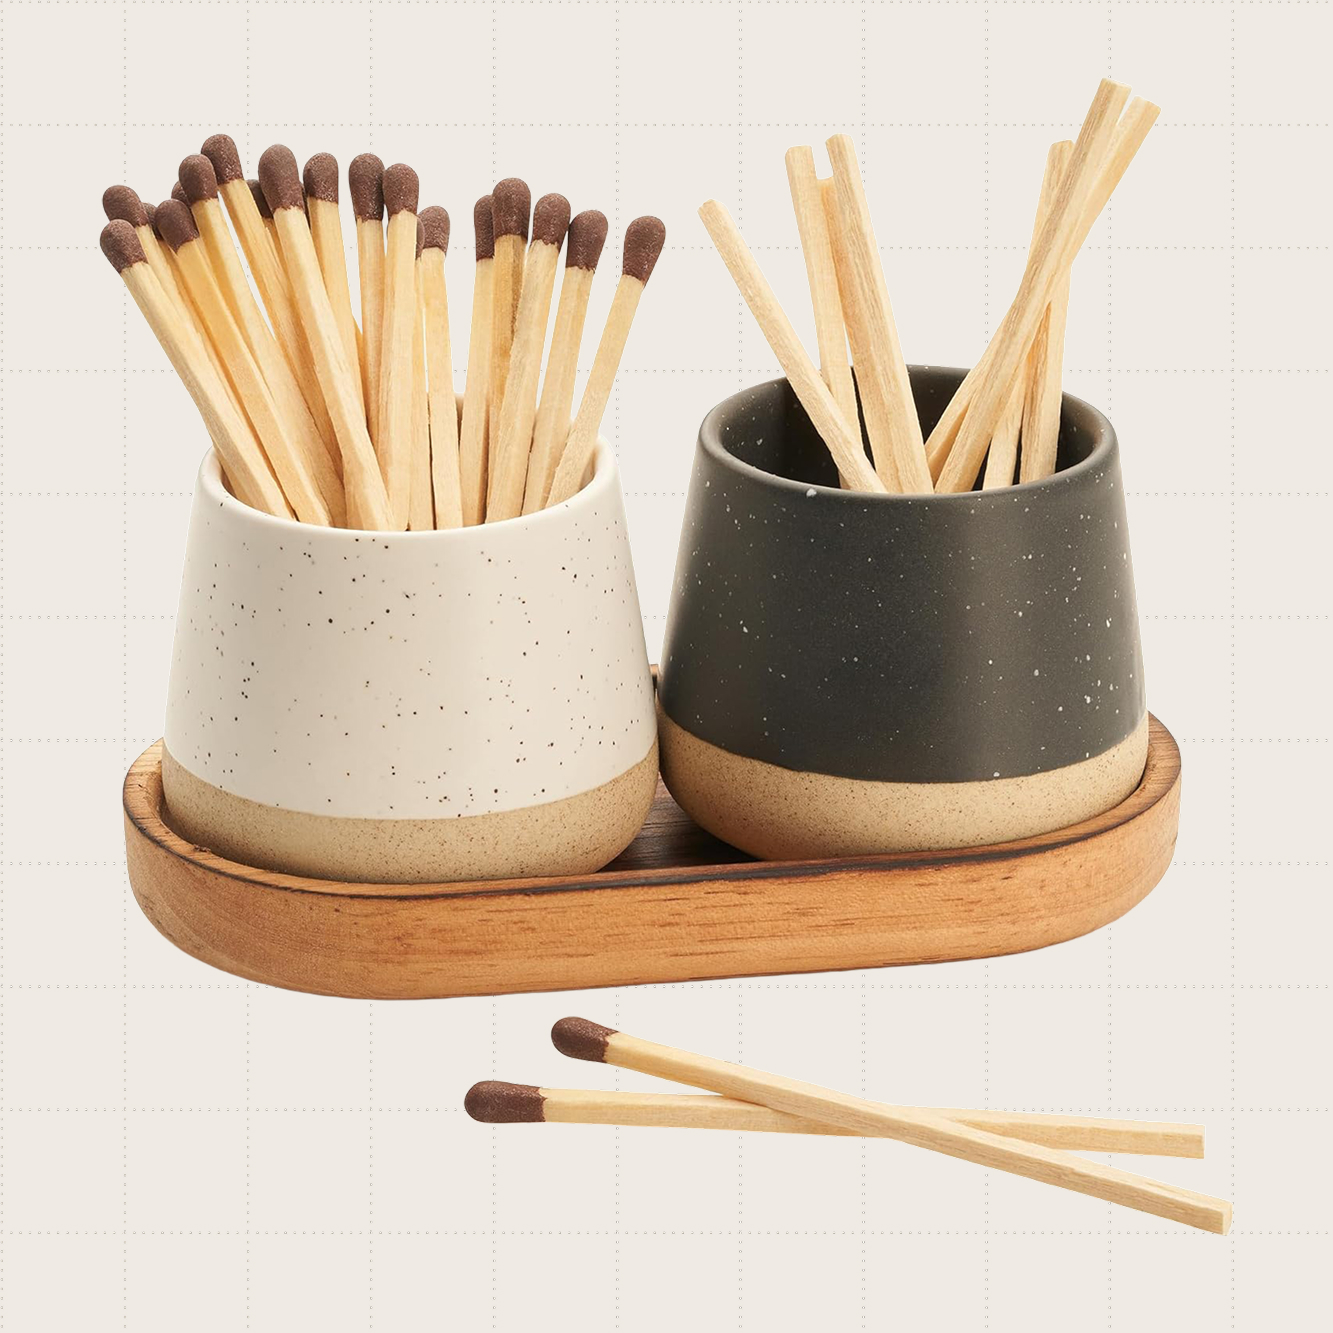
4. KIBAGA Match Holders With Wooden Tray
For the loved one who always has a candle burning, these ceramic match holders are both pretty and practical. The elegant design features a built-in striker pad and a wooden tray that doubles as decor. Just add matches (not included) and you have a chic, thoughtful stocking stuffer.

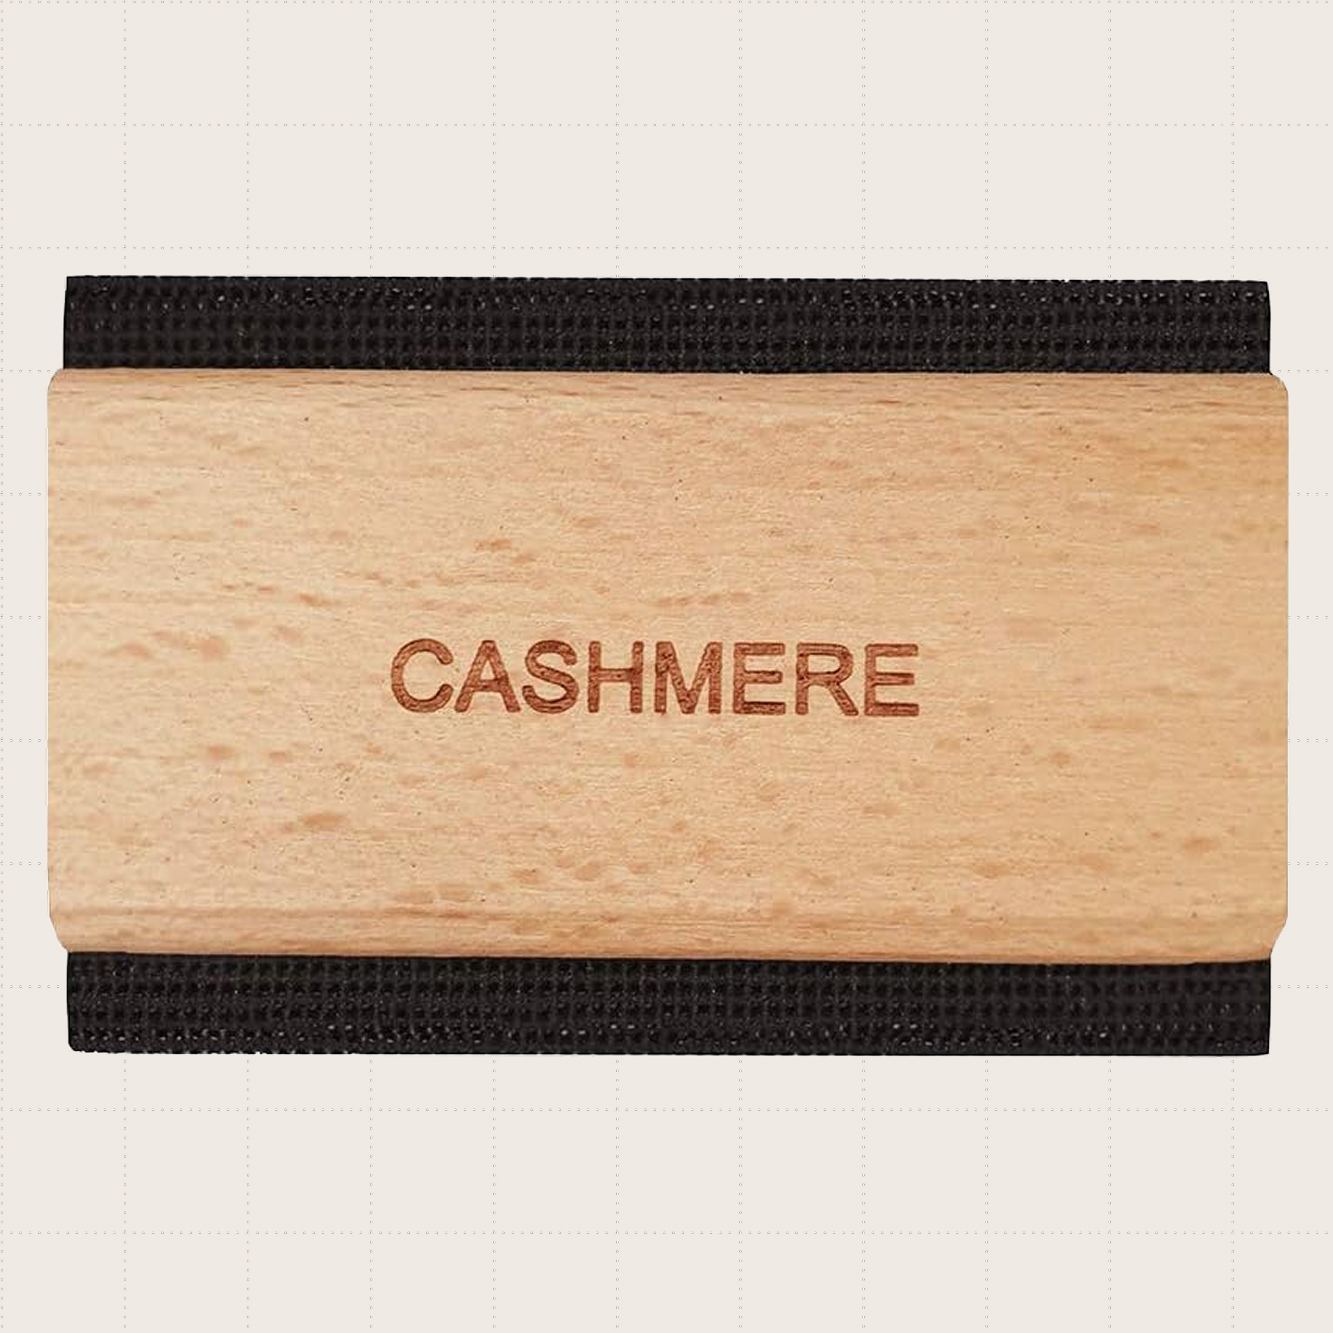
5. Lona Scott Cashmere Comb
’Tis the season for cozy knits — and the inevitable sweater fuzz that comes with them. This double-sided cashmere comb checks all the stocking stuffer boxes: thoughtful, useful, and affordable. It gently removes pilling to keep sweaters (cashmere or otherwise) looking fresh, season after season.
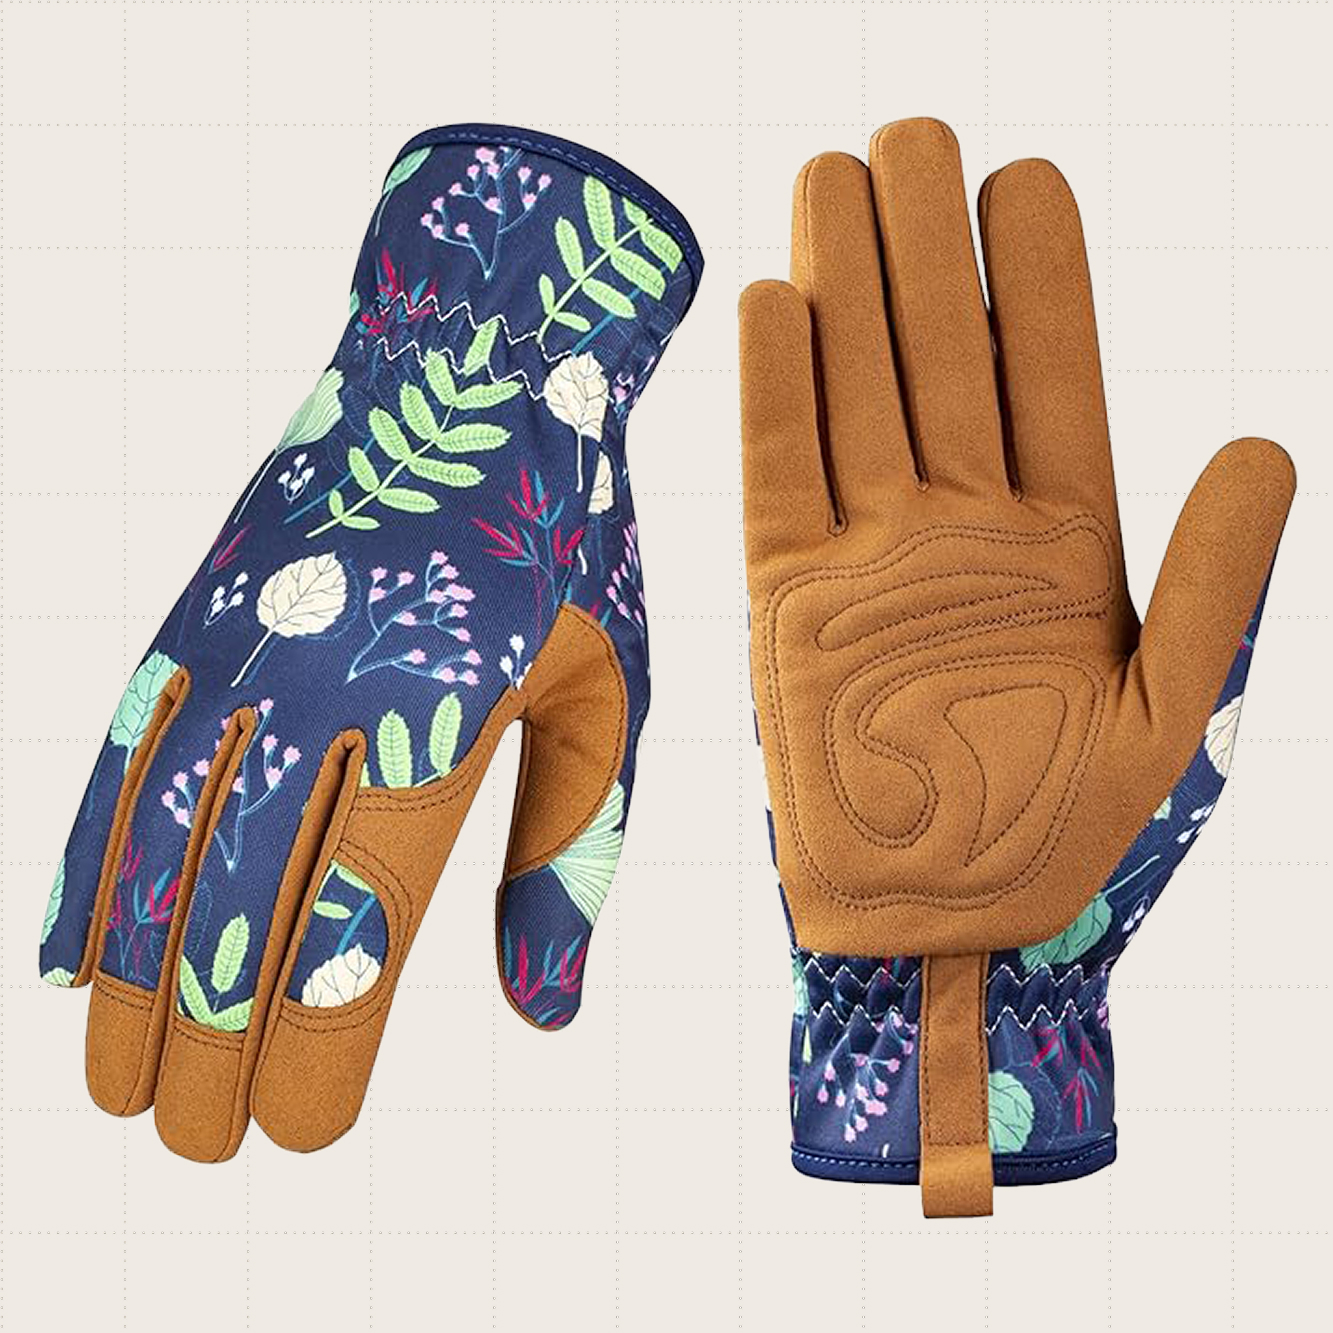
6. Bamllum Leather Gardening Gloves
Spring might feel far away, but these gardening gloves will get any green thumb excited to dig in the dirt again. They come in a range of colors and patterns, featuring soft, microfiber leather palms that protect hands from thorns, weeds, and other prickly parts.
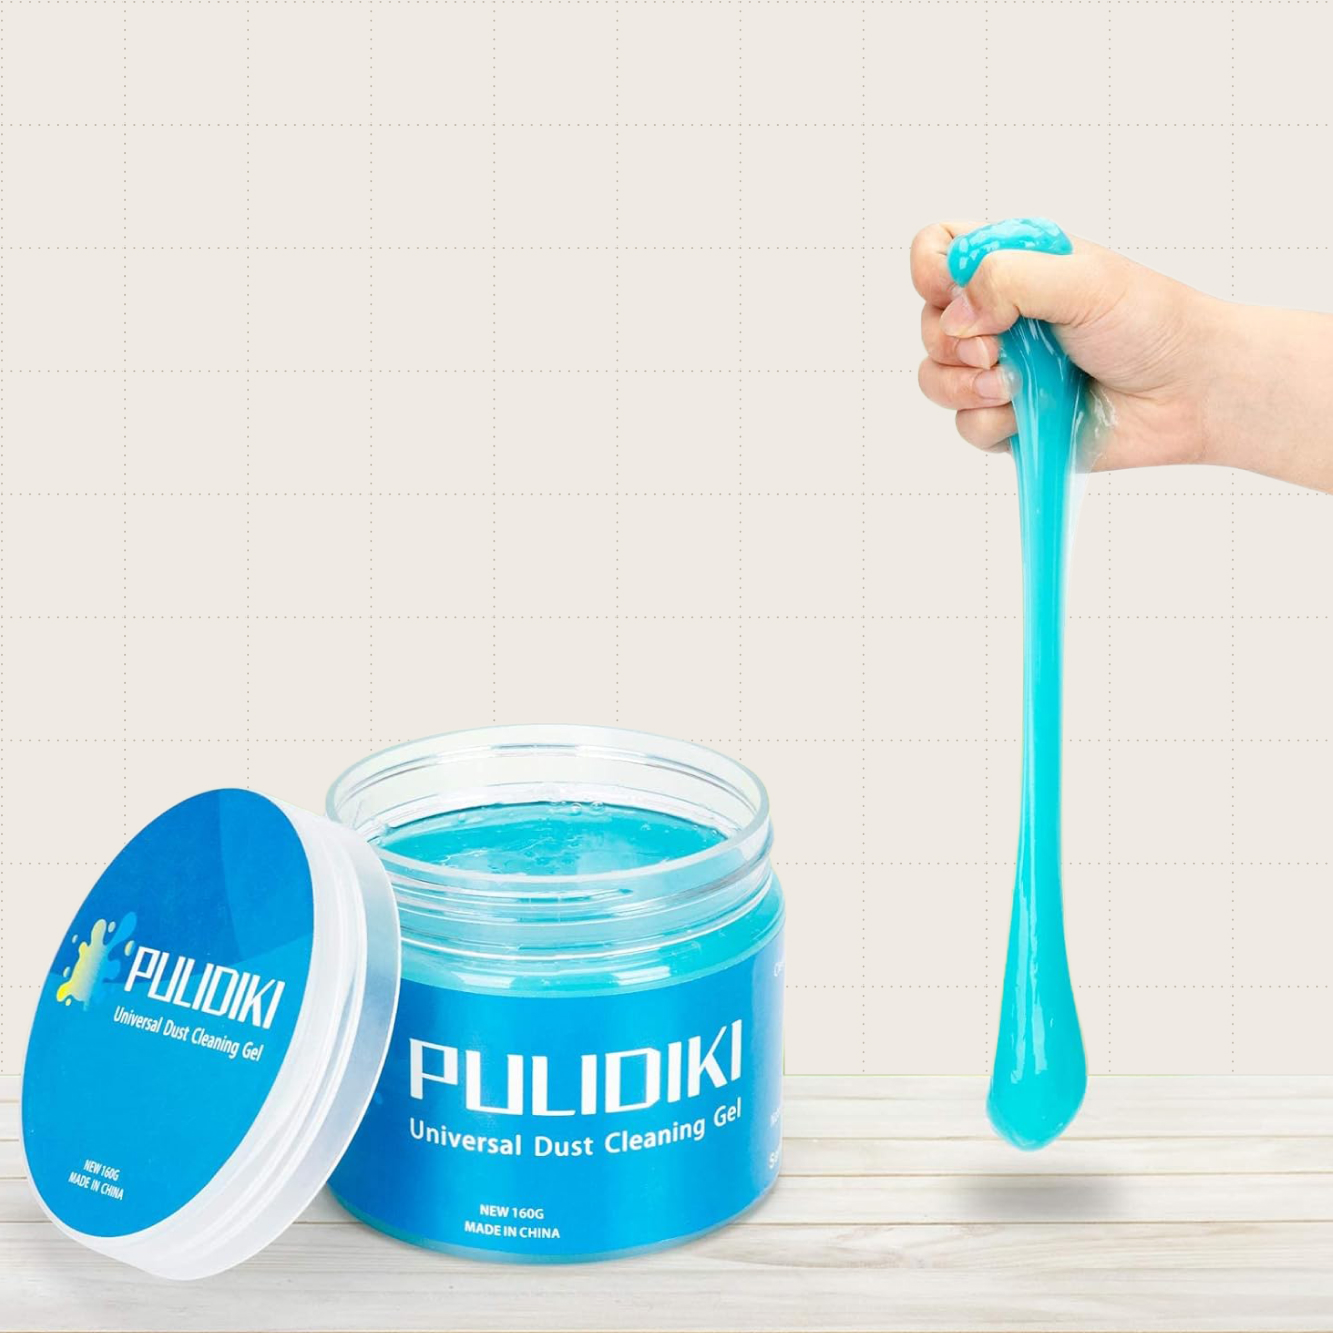
7. PULIDIKI Car Cleaning Gel
There’s something about cleaning putty that inspires both a kidlike excitement (hello, slime) and the adult satisfaction of cleaning hard-to-reach areas, such as a car cup holder. Plus, it’s priced at less than $8. Go ahead and add one to your cart for yourself, too.
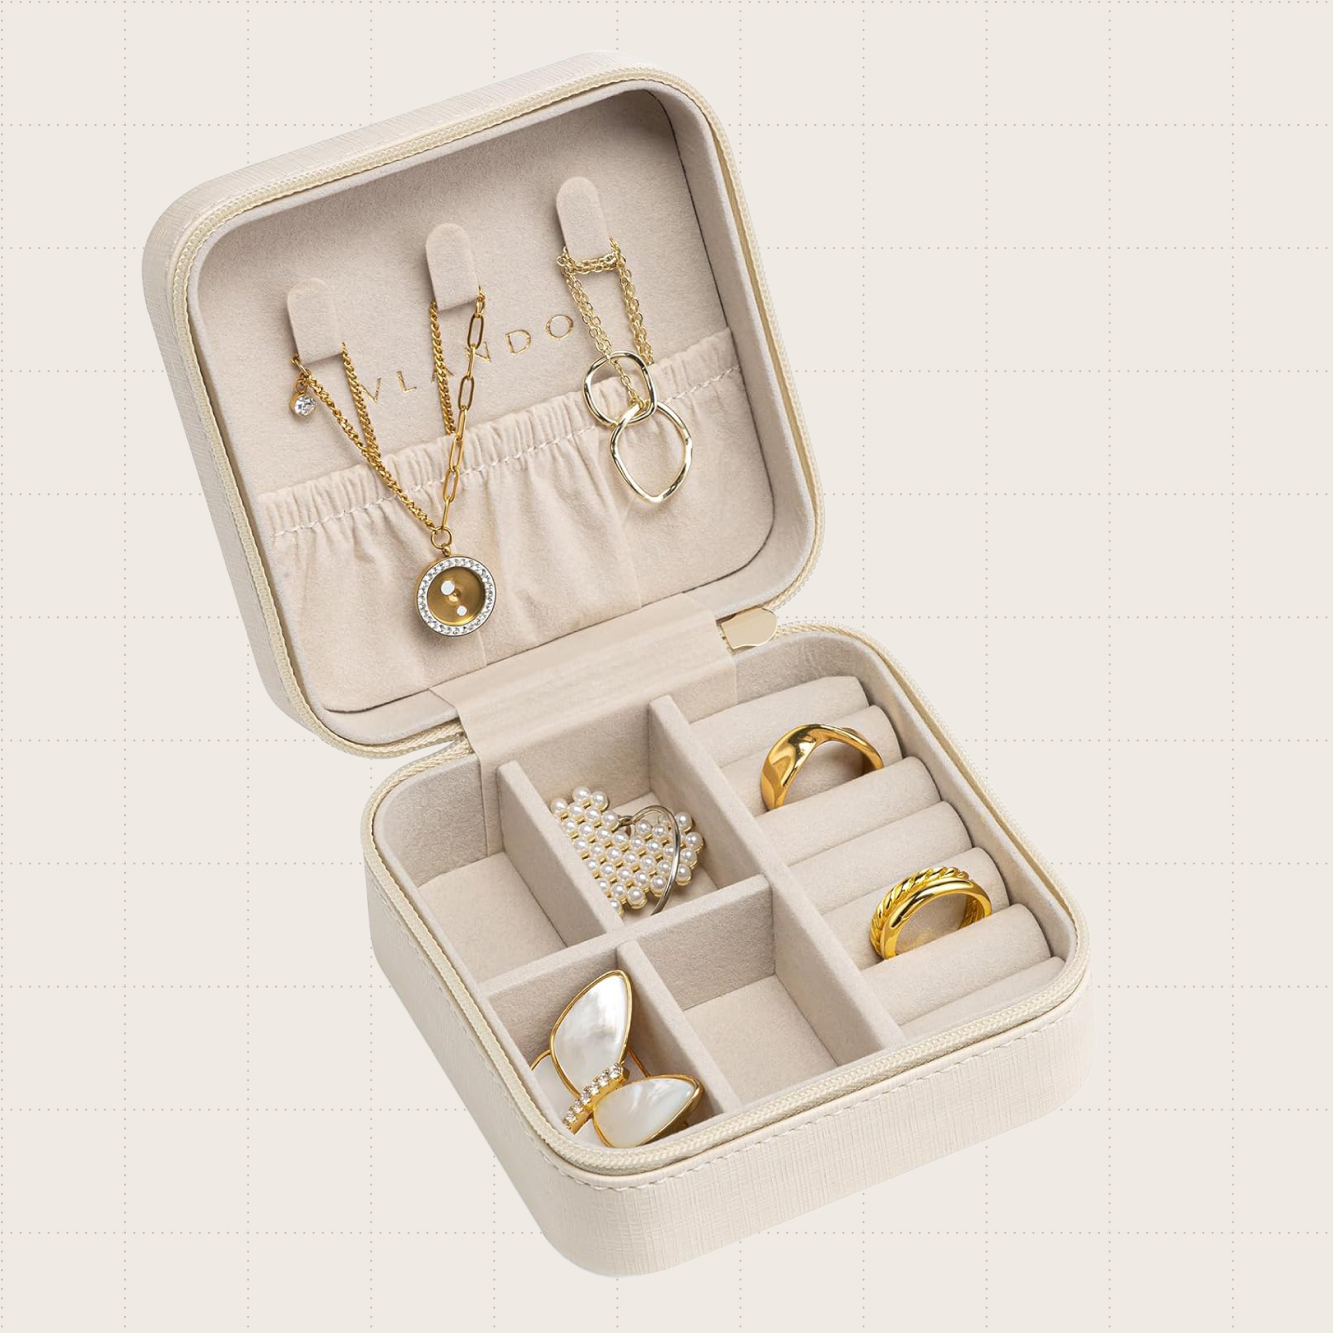
8. Vlando Jewelry Travel Organizer
For the frequent flyer on your shopping list, this mini jewelry organizer keeps all kinds of baubles neatly organized and tangle-free for their next adventure. It has dedicated spots for rings, earrings, and necklaces, and is compact enough for any suitcase — and any stocking, too.
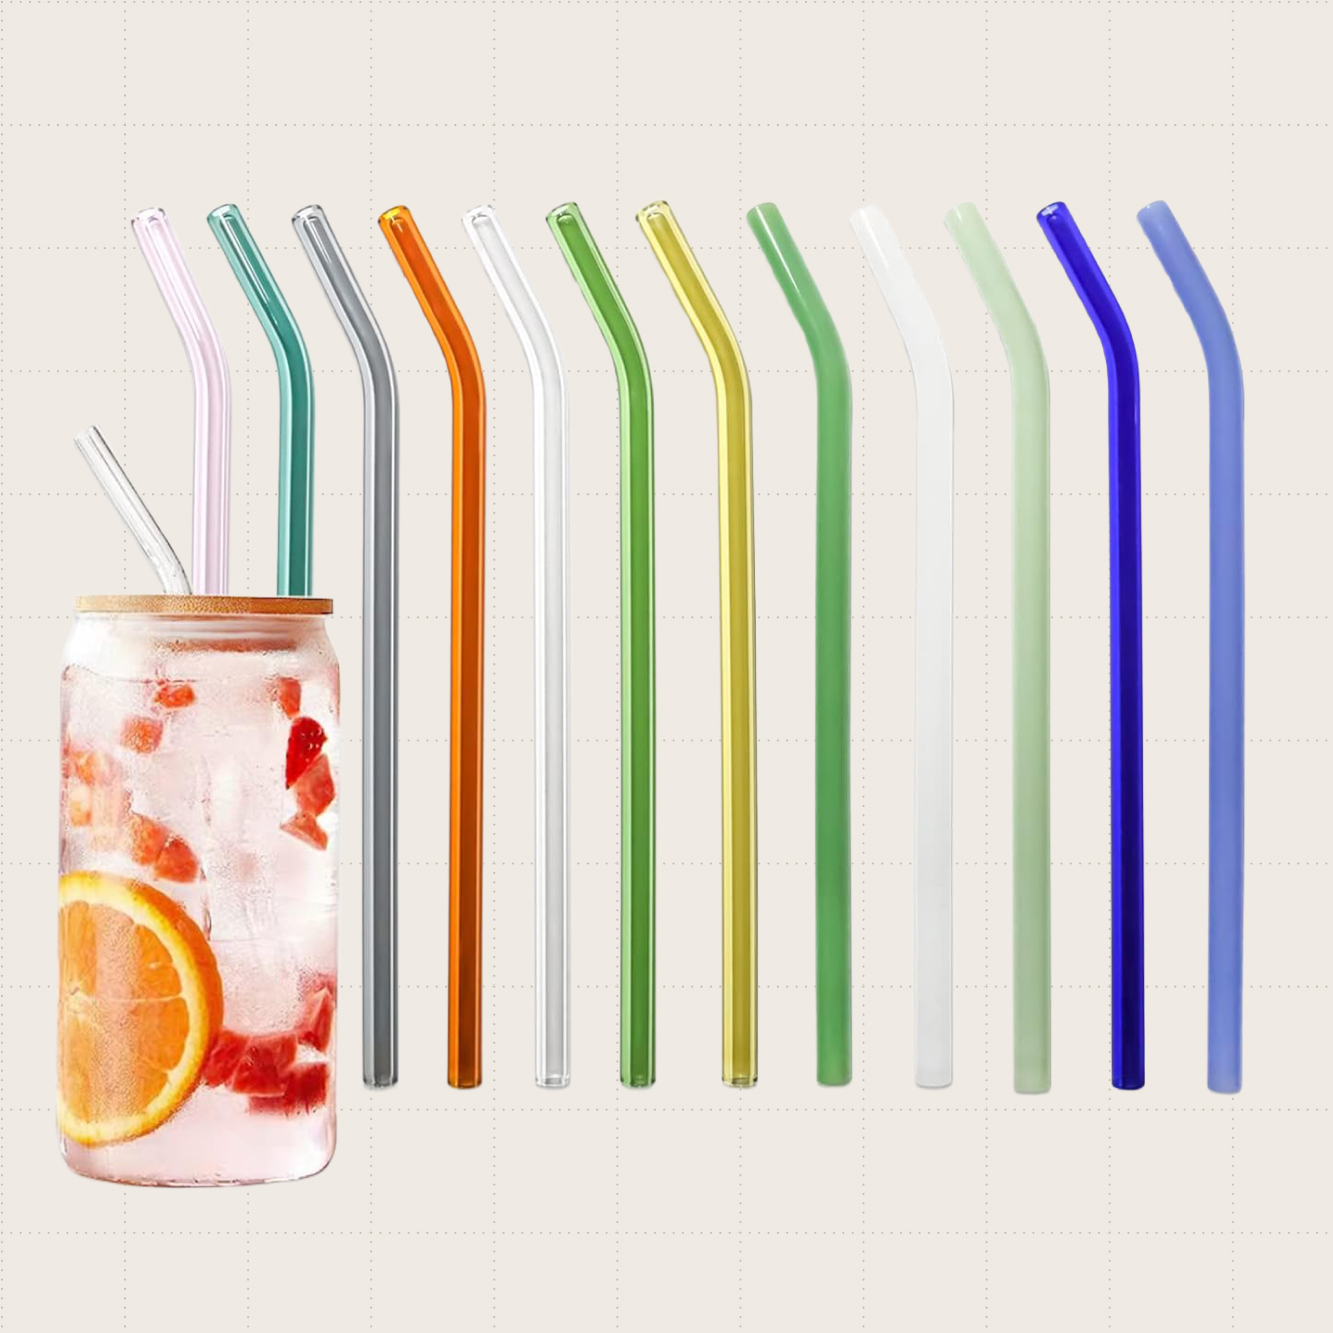
9. BIEOFFEI Reusable Glass Straws, 12-Pack
Upgrade your niece’s daily matcha habit with these colorful, 8-inch glass straws. They’re sleek, eco-friendly, and easy to reuse since they come with their own cleaning brushes.
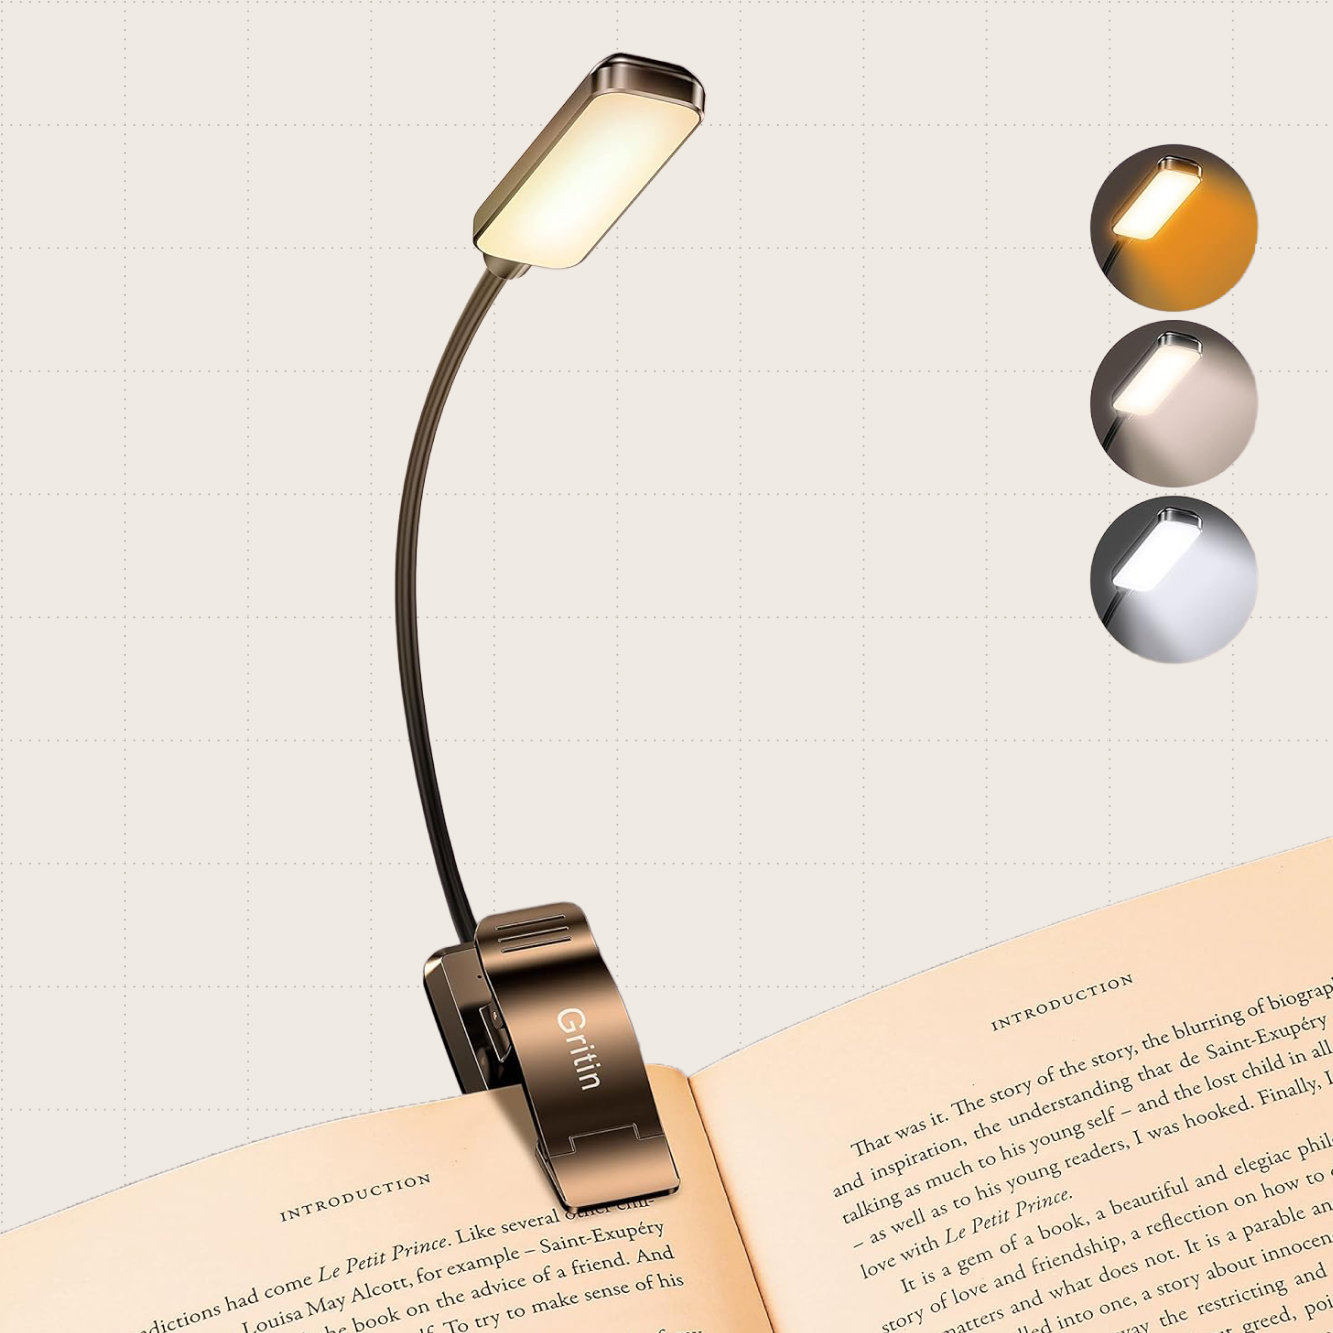
10. Gritin Rechargeable Book Light
Bookworms of all ages will appreciate a rechargeable light for reading in bed or on the go. For just $16, this one comes with three color modes, adjustable brightness, and a built-in rechargeable battery that lasts for up to 80 hours before needing a charge.
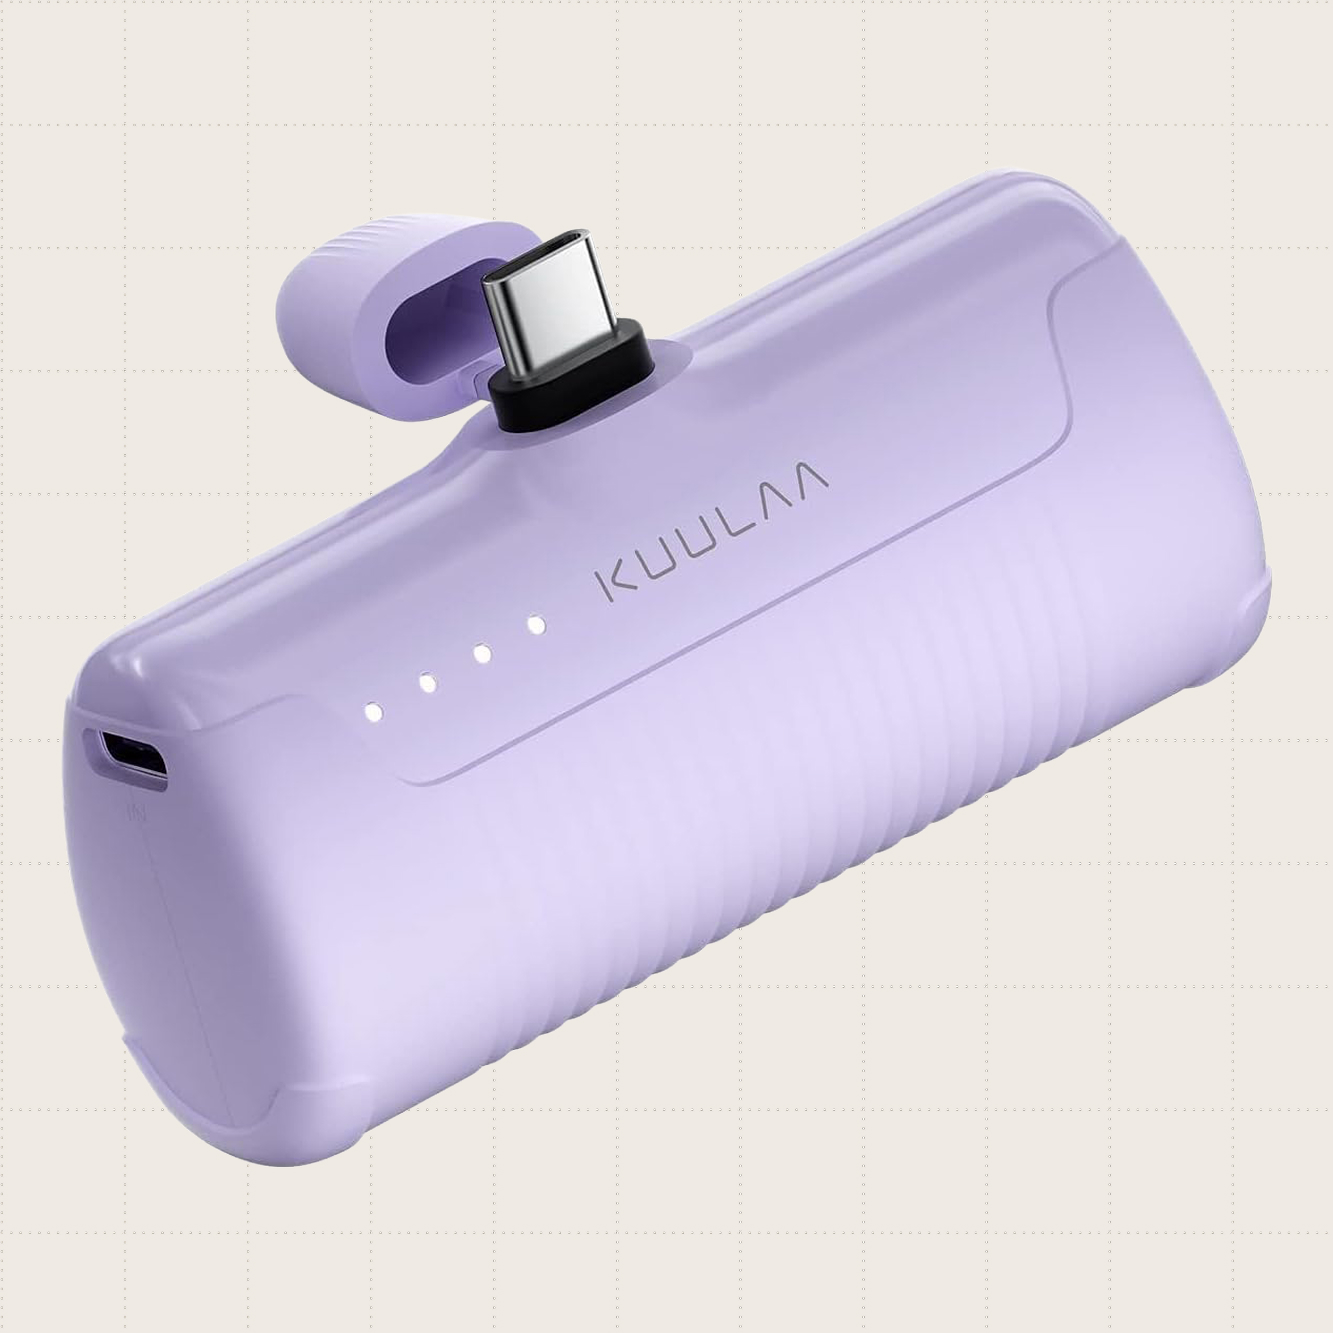
11. Kuulaa Portable Phone Charger
We all have a person (or two) in our lives whose phone tends to die at the most inopportune moments. Give them this compact portable charger that costs less than $10. It can live in a backpack or coat pocket for whenever their devices need a quick boost.
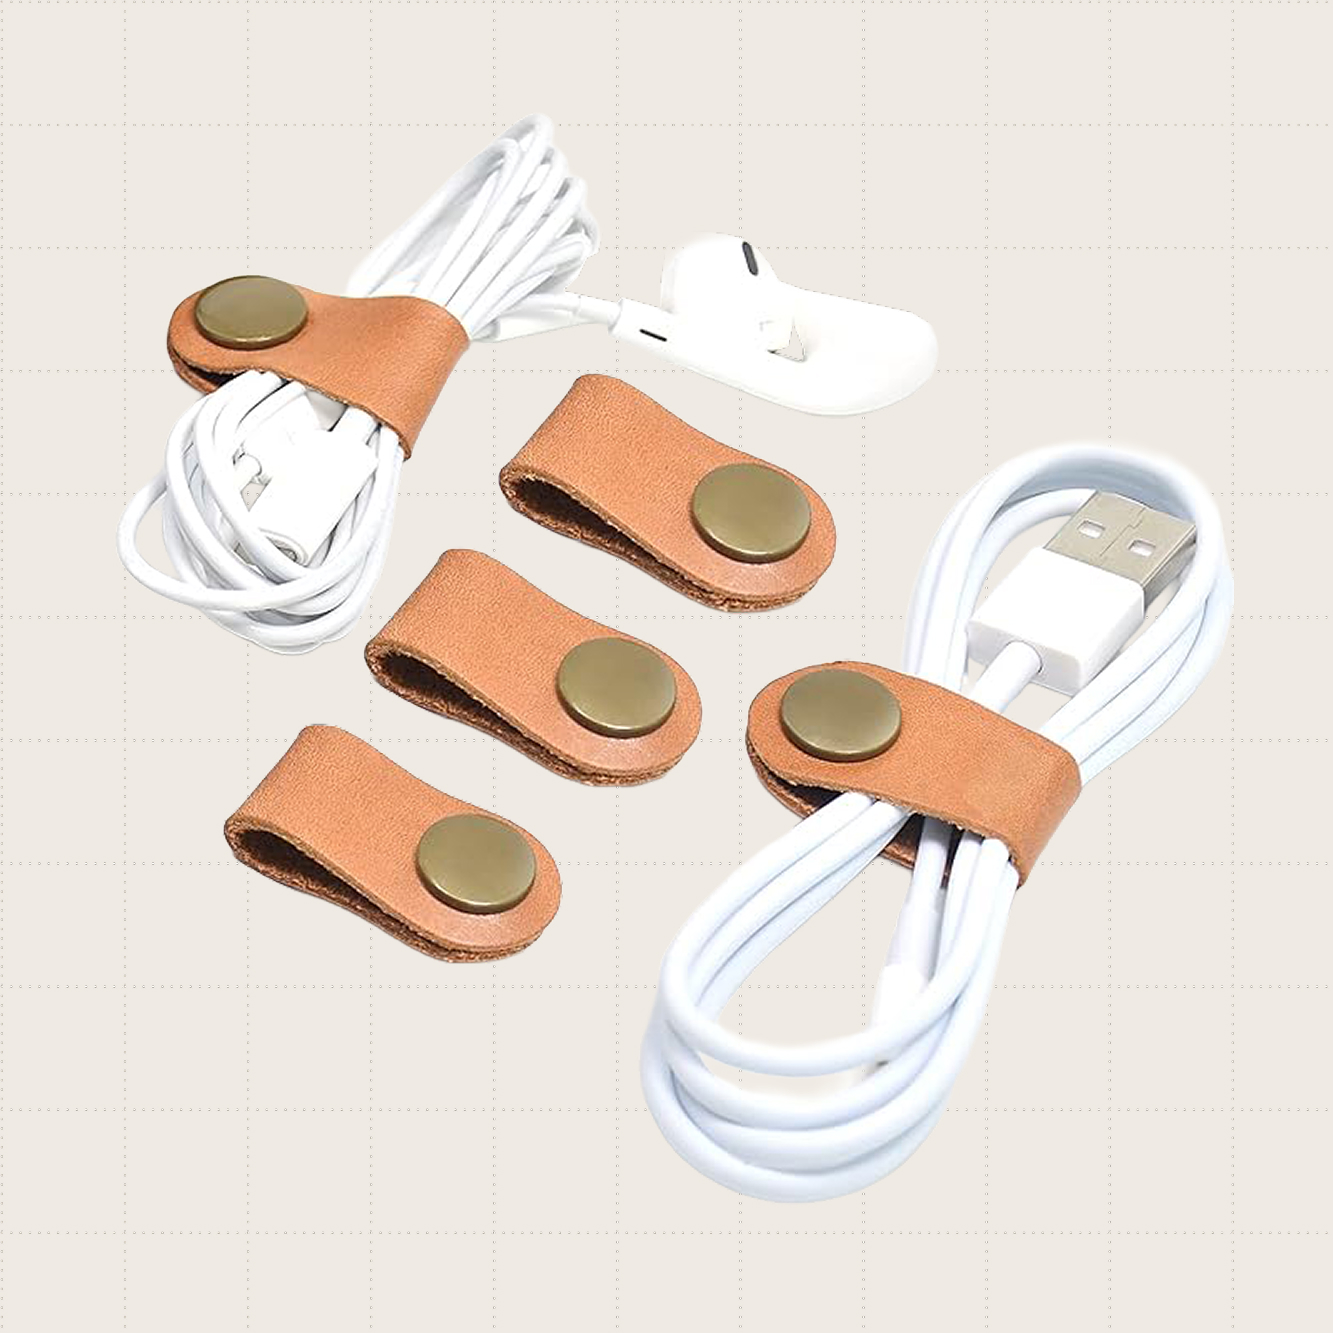
12. CAILLU Cord Organizers, Five-Pack
Between phone chargers, earbuds, and a dozen mystery cables you simply can’t part with, cord chaos can feel impossible to conquer. These tiny leather organizers help immensely. They’re a chic addition to any stocking and will barely put a dent in your holiday budget.