Advertisement
Home Improvement 2m read
0

Forget Scraping Ice — Try This Overnight Windshield Hack

Driving with an icy windshield is incredibly dangerous — it’s never worth the risk. But scraping ice is a workout, and idling the car until it melts adds minutes to your commute.

All featured products and deals are selected independently and objectively by the author. House Outlook may receive a share of sales via affiliate links in content.

Driving with an icy windshield is incredibly dangerous — it’s never worth the risk. But scraping ice is a workout, and idling the car until it melts adds minutes to your commute.

Instead of fighting the frost every morning, try taking preemptive measures the night before. Here’s a simple hack to prevent ice from forming on your car’s windshield overnight. Best of all, it requires only a few supplies you probably already have lying around.

Spray, Don’t Scrape

For this hack, you can choose between two homemade solutions. The first combines one part water with two parts 70% isopropyl alcohol and a few drops of dish soap. Alternatively, you can use three parts distilled white vinegar to one part water. In either case, combine the ingredients in a spray bottle and you’ll be good to go.

Related: The Surprising Reason To Spray WD-40 on Car Doors

When temperatures are expected to dip below freezing, head out to your car before bed and spray a thin, even layer of this mixture over your entire windshield. The solution’s chemical makeup prevents ice from forming, leaving you with a clear view the next morning.

Advertisement

Your “Plan B” Options

Let’s say you forgot to prep the windshield and a layer of ice has already formed. Fret not — you can still use these mixtures to weaken the frost and speed up the melting process. Spray the solution onto an icy windshield, wait about a minute, and use an ice scraper. You’ll find the ice comes off with relative ease.

Another effective and reusable — albeit slightly pricier — option is a fabric frost protector. These covers are easy to apply and remove, plus they fold up neatly when not in use. Just secure the cover before a freeze or snowfall, and you won’t have to worry about removing any ice or snow the next morning.

Advertisement
Featured Image Credit:  nicoletaionescu/ iStock | Updated  Jan 27, 2026 |
Bennett Kleinman
Staff Writer
Bennett Kleinman is a New York City-based staff writer for Inbox Studio, covering topics for several brands including House Outlook and Better Report. He previously contributed to television programs such as "Late Show With David Letterman" and "Impractical Jokers," and digital publications like The Onion. Bennett is also a devoted New York Yankees and New Jersey Devils fan, and thinks plain seltzer is the best drink ever invented.
This article is for general informational purposes only.
Featured Image Credit:  nicoletaionescu/ iStock | Updated  Jan 27, 2026 |
Advertisement
Food & Drink 3m read
0

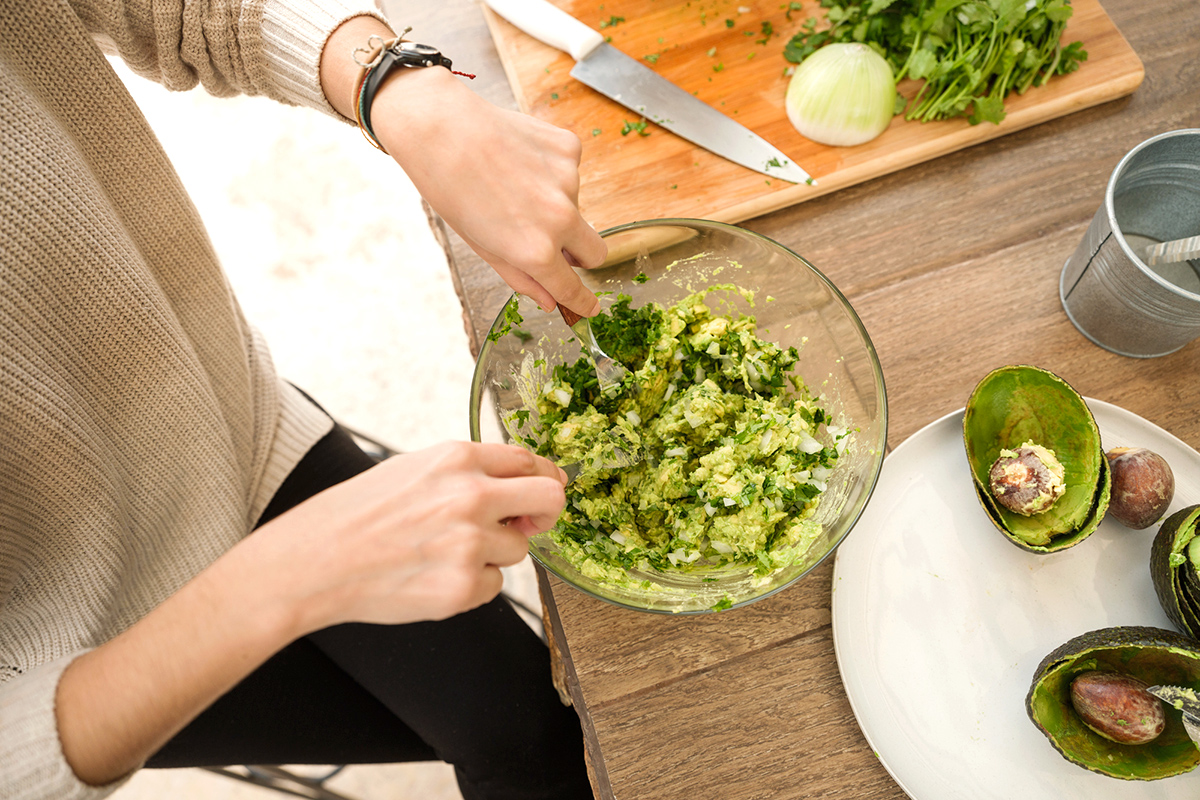
Keep Your Guac Green With One Easy Step

Guacamole is a crowd pleaser in nearly any setting. It can be made in large or small batches, it’s vegan and gluten-free, and it’s packed with healthy fats, fiber, and nutrients. The only real downside is that it’s tricky to make ahead of time. While the dip remains safe to eat for one to three days when properly stored in the refrigerator, it oxidizes within hours, turning an unappetizing brown color. Fortunately, a simple trick preserves guacamole’s bright green hue, even when prepared the day before the big game.

All featured products and deals are selected independently and objectively by the author. House Outlook may receive a share of sales via affiliate links in content.

Guacamole is a crowd pleaser in nearly any setting. It can be made in large or small batches, it’s vegan and gluten-free, and it’s packed with healthy fats, fiber, and nutrients. The only real downside is that it’s tricky to make ahead of time. While the dip remains safe to eat for one to three…

Why Guacamole Turns Brown So Quickly

Avocados (and many other fruits and vegetables) turn brown quickly due to a process called oxidation — essentially, enzymes in the produce chemically react with oxygen in the air. While it’s not harmful to eat oxidized produce, the brown color it produces can be off-putting. Even if you understand the science, it’s hard to get excited about digging into a bowl of guacamole with a sludgy-looking top layer. The problem is the speed of the reaction, as anyone who has left guacamole out for a couple of hours at a party can attest.

Related: Stop Prepping Avocados the Hard Way — Use a Whisk

Keep It Green

Limes offer an easy solution. The citric acid in limes (or lemons, if you prefer) acts as a shield against oxidation, preventing the dip from turning brown. You can achieve this easily — and in an aesthetically pleasing way — by layering thin, round lime slices over your guacamole before covering the bowl with plastic wrap and storing it in the refrigerator.

Advertisement

Since most guacamole recipes already call for lime juice, this won’t interfere with the flavor profile. If you’re a citrus lover, you can squeeze some extra juice over the top first for additional protection.

Bonus Hack: Speed Up Avocado Ripening With a Paper Bag

Need your avocados to soften up quickly? Place them in a paper bag with an apple or a ripe banana. The ethylene gas released by these fruits will be trapped in the bag, speeding up the ripening process. While they won’t achieve instant ripeness, this trick can shave days off the wait. Just check the bag once a day to make sure the avocados don’t overripen.

Advertisement
Featured Image Credit:  aldomurillo/ iStock | Updated  May 5, 2026 |
Allegra Ringo
Writer
Allegra Ringo is a California-based writer who has written for publications including Reductress, The Hard Times, VICE, and The Atlantic. She loves sparkling water and old Chihuahuas with hardly any teeth, like her dog Pistachio.
This article is for general informational purposes only.
Featured Image Credit:  aldomurillo/ iStock | Updated  May 5, 2026 |
Advertisement
Decorating 3m read
0

The 3-4-5 Rule Makes Decorating Way Less Stressful

Decorating a living space isn’t as simple as it sounds. From choosing paint colors and furniture you’ll love for years to come to narrowing down upholstery patterns and meaningful accents, the process can quickly become overwhelming — no matter how many design magazines you flip through or Pinterest boards you create. Even when you’re confident in your personal style, pulling a room together can feel like a risky (and expensive) guessing game.

Decorating a living space isn’t as simple as it sounds. From choosing paint colors and furniture you’ll love for years to come to narrowing down upholstery patterns and meaningful accents, the process can quickly become overwhelming — no matter how many design magazines you flip through or Pinterest boards you create. Even when you’re confident…

Interior designer Nancy Cavaliere relies on a clever, easy-to-follow “3-4-5 rule” for decorating. This simple formula — three patterns, four style influences, and five colors or textures — brings clarity to the chaos of design, helping to create a layered, personality-filled space. Think of it less as a rigid rule and more like a recipe that’s hard to mess up.

Without a framework like the 3-4-5 rule, a room can feel unintentionally random or, conversely, overly matchy-matchy. This approach helps you strike the perfect balance, resulting in a space that feels thoughtfully collected over time, rather than forced or overdesigned.

Related: The Interior Design Trends Set To Take Over in 2026

What Is the 3-4-5 Rule?

Cavaliere’s formula is straightforward. To her, a well-designed space should feature three patterns, four style influences, and five colors or textures. Together, these elements serve as the foundation for a creative, confidence-boosting design.

Advertisement

Three patterns: Whether you opt for striped drapery, floral wallpaper, or a zebra-print rug, patterns add movement and energy. The secret is varying the scale and mood of each pattern (so, avoid pairing two small-scale florals), while connecting them through a shared color palette or overall vibe.

Four style influences: This layer grounds a space with character and a sense of history. Instead of committing to a single style, mix pieces that nod to different design eras. For example, pair a contemporary minimalist sofa with a mid-century modern accent chair and a traditional floor lamp. The result feels curated and personal — not like a “room-in-a-box” bought in a single afternoon.

Five colors or texture: A variety of tones and textures ensures a space feels layered, not flat. You can incorporate these through paint, upholstery, and finishes. Don’t underestimate the power of texture, either; bouclé, velvet, wood, stone, and metal all count toward your total. Textures add depth and a tactile quality that makes an ordinary room feel like a place where you can kick up your feet and stay awhile.

Advertisement
Featured Image Credit:  Alex Tyson/ Unsplash | Updated  Jan 27, 2026 |
Megan McCarty
Writer
Megan McCarty is a Los Angeles-based writer who covers the fun stuff: design, travel, wellness, beauty, and fashion. She has written for publications including Domino, The Spruce, MyDomaine, Bustle, and Rue Magazine. Her life rules include, but are not limited to, zipper when merging, contribute to your IRA, and do the nice thing.
This article is for general informational purposes only.
Featured Image Credit:  Alex Tyson/ Unsplash | Updated  Jan 27, 2026 |
Advertisement
Cleaning 2m read
0

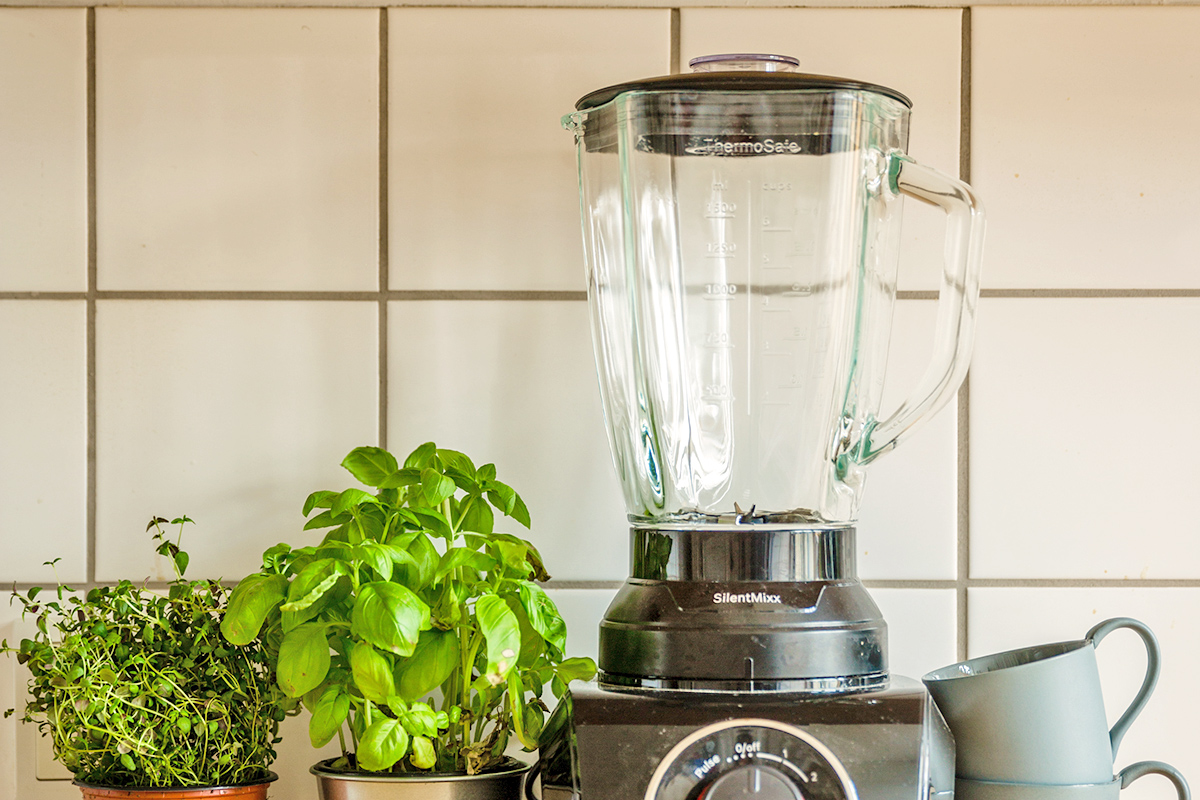
Your Blender Can Actually Clean Itself

Few kitchen appliances rival the sheer versatility of a blender. It can help you whip up soups, sauces, smoothies, and frozen cocktails in seconds, yet the cleanup is often so much of a hassle that many opt to keep it tucked away in the cupboard. Fortunately, there’s a simple hack to get the pitcher and blades spotless in under a minute — no scrubbing required.

All featured products and deals are selected independently and objectively by the author. House Outlook may receive a share of sales via affiliate links in content.

Few kitchen appliances rival the sheer versatility of a blender. It can help you whip up soups, sauces, smoothies, and frozen cocktails in seconds, yet the cleanup is often so much of a hassle that many opt to keep it tucked away in the cupboard. Fortunately, there’s a simple hack to get the pitcher and…

Scrub-Free Suds

Turning a blender into a self-cleaning machine is as easy as flipping a switch. Instead of scrubbing it by hand and risking a cut from the sharp blades, try this method: Fill your blender halfway with warm water and add a few drops of dish soap. Turn it on high speed for 30 to 60 seconds, allowing the blades to swirl the soapy water around. (Some models have preprogrammed cleaning settings with pulsating rhythms to scrub away stubborn messes.) This vortex will get soap into every corner and under the blades without you having to take the whole thing apart.

Take It to the Next Level

You don’t have to take your blender apart to get a deep clean, but a few simple steps can make this 30-second hack even more effective. First, rinse out as much residue as possible; this will give the water and soap less grime to cut through. Using hot water will also help loosen up any stuck-on food. Most importantly, clean the blender immediately after use to prevent the remnants from drying and hardening.

Advertisement
Related: The Easy Way To Remove Stubborn Cooktop Stains

For particularly stubborn buildup, drop half a lemon (even a squeezed-out one) into the soapy mixture. The citric acid in the juice and the oils in the peel are natural degreasers that help break down fats and neutralize odors. It’s an easy way to boost the cleaning power of this hack while leaving your kitchen with a fresh, citrus scent.

Advertisement
Advertisement
Home Improvement 2m read
0

Stop Storing Loose Batteries in the Junk Drawer

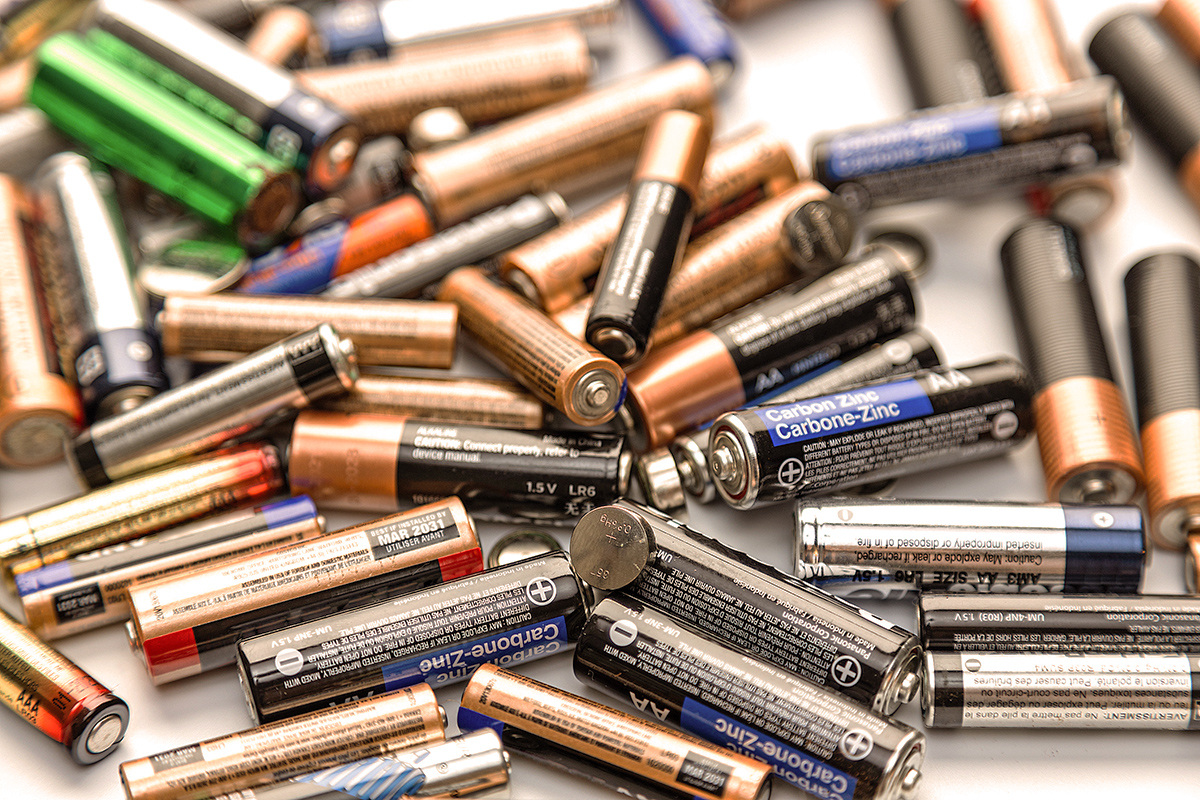
Junk drawers might as well be called battery cabinets, as they’re the most common place to store loose AAs, AAAs, and 9-volts. But despite how convenient it is, this habit is potentially hazardous. While a fire is a rare occurrence, a battery that comes into contact with other metal objects in a junk drawer can short-circuit and ignite. Here’s what to know about the risks of loose battery storage, along with safer alternatives to consider.

All featured products and deals are selected independently and objectively by the author. House Outlook may receive a share of sales via affiliate links in content.

Junk drawers might as well be called battery cabinets, as they’re the most common place to store loose AAs, AAAs, and 9-volts. But despite how convenient it is, this habit is potentially hazardous. While a fire is a rare occurrence, a battery that comes into contact with other metal objects in a junk drawer can…

A Potential Fire Hazard

In addition to batteries, many junk drawers contain conductive metal objects such as keys, coins, and paperclips. If any of those objects touch the positive and negative terminals of a battery at the same time, a short circuit can occur. While the risk is lower for AAs and AAAs — since their terminals are on opposite ends — it’s much higher for 9-volt batteries, where the terminals are located side by side on the same end.

When a battery short-circuits, its stored energy discharges rapidly, which causes internal heating. If this overheated battery comes into contact with a piece of paper (e.g., a notepad, instruction manual, etc.), it may cause the material to ignite. Again, while this is rare, the fire hazard is very real and entirely preventable.

Furthermore, storing loose batteries in a junk drawer may cause them to roll around and bump into each other, which can degrade their outer casings over time. The worse this damage gets, the more likely the battery is to leak chemicals, which can damage or corrode the drawer itself.

Advertisement

Other Storage Methods

Instead of storing loose batteries in a junk drawer, consider using a dedicated battery organizer. These compact, affordable containers keep batteries secure and separated, which helps prevent leaks and extends their shelf life.

Related: Want To Know If a Battery’s Dead? Do This

Another option is to cover the exposed terminals with electrical tape. While this doesn’t protect the outer casings from damage, it does protect the terminals from coming into contact with other metal objects, reducing the risk of a fire hazard.

Advertisement
Featured Image Credit:  Ion Graur/ iStock | Updated  Feb 2, 2026 |
Bennett Kleinman
Staff Writer
Bennett Kleinman is a New York City-based staff writer for Inbox Studio, covering topics for several brands including House Outlook and Better Report. He previously contributed to television programs such as "Late Show With David Letterman" and "Impractical Jokers," and digital publications like The Onion. Bennett is also a devoted New York Yankees and New Jersey Devils fan, and thinks plain seltzer is the best drink ever invented.
This article is for general informational purposes only.
Featured Image Credit:  Ion Graur/ iStock | Updated  Feb 2, 2026 |
Advertisement
Food & Drink 3m read
0

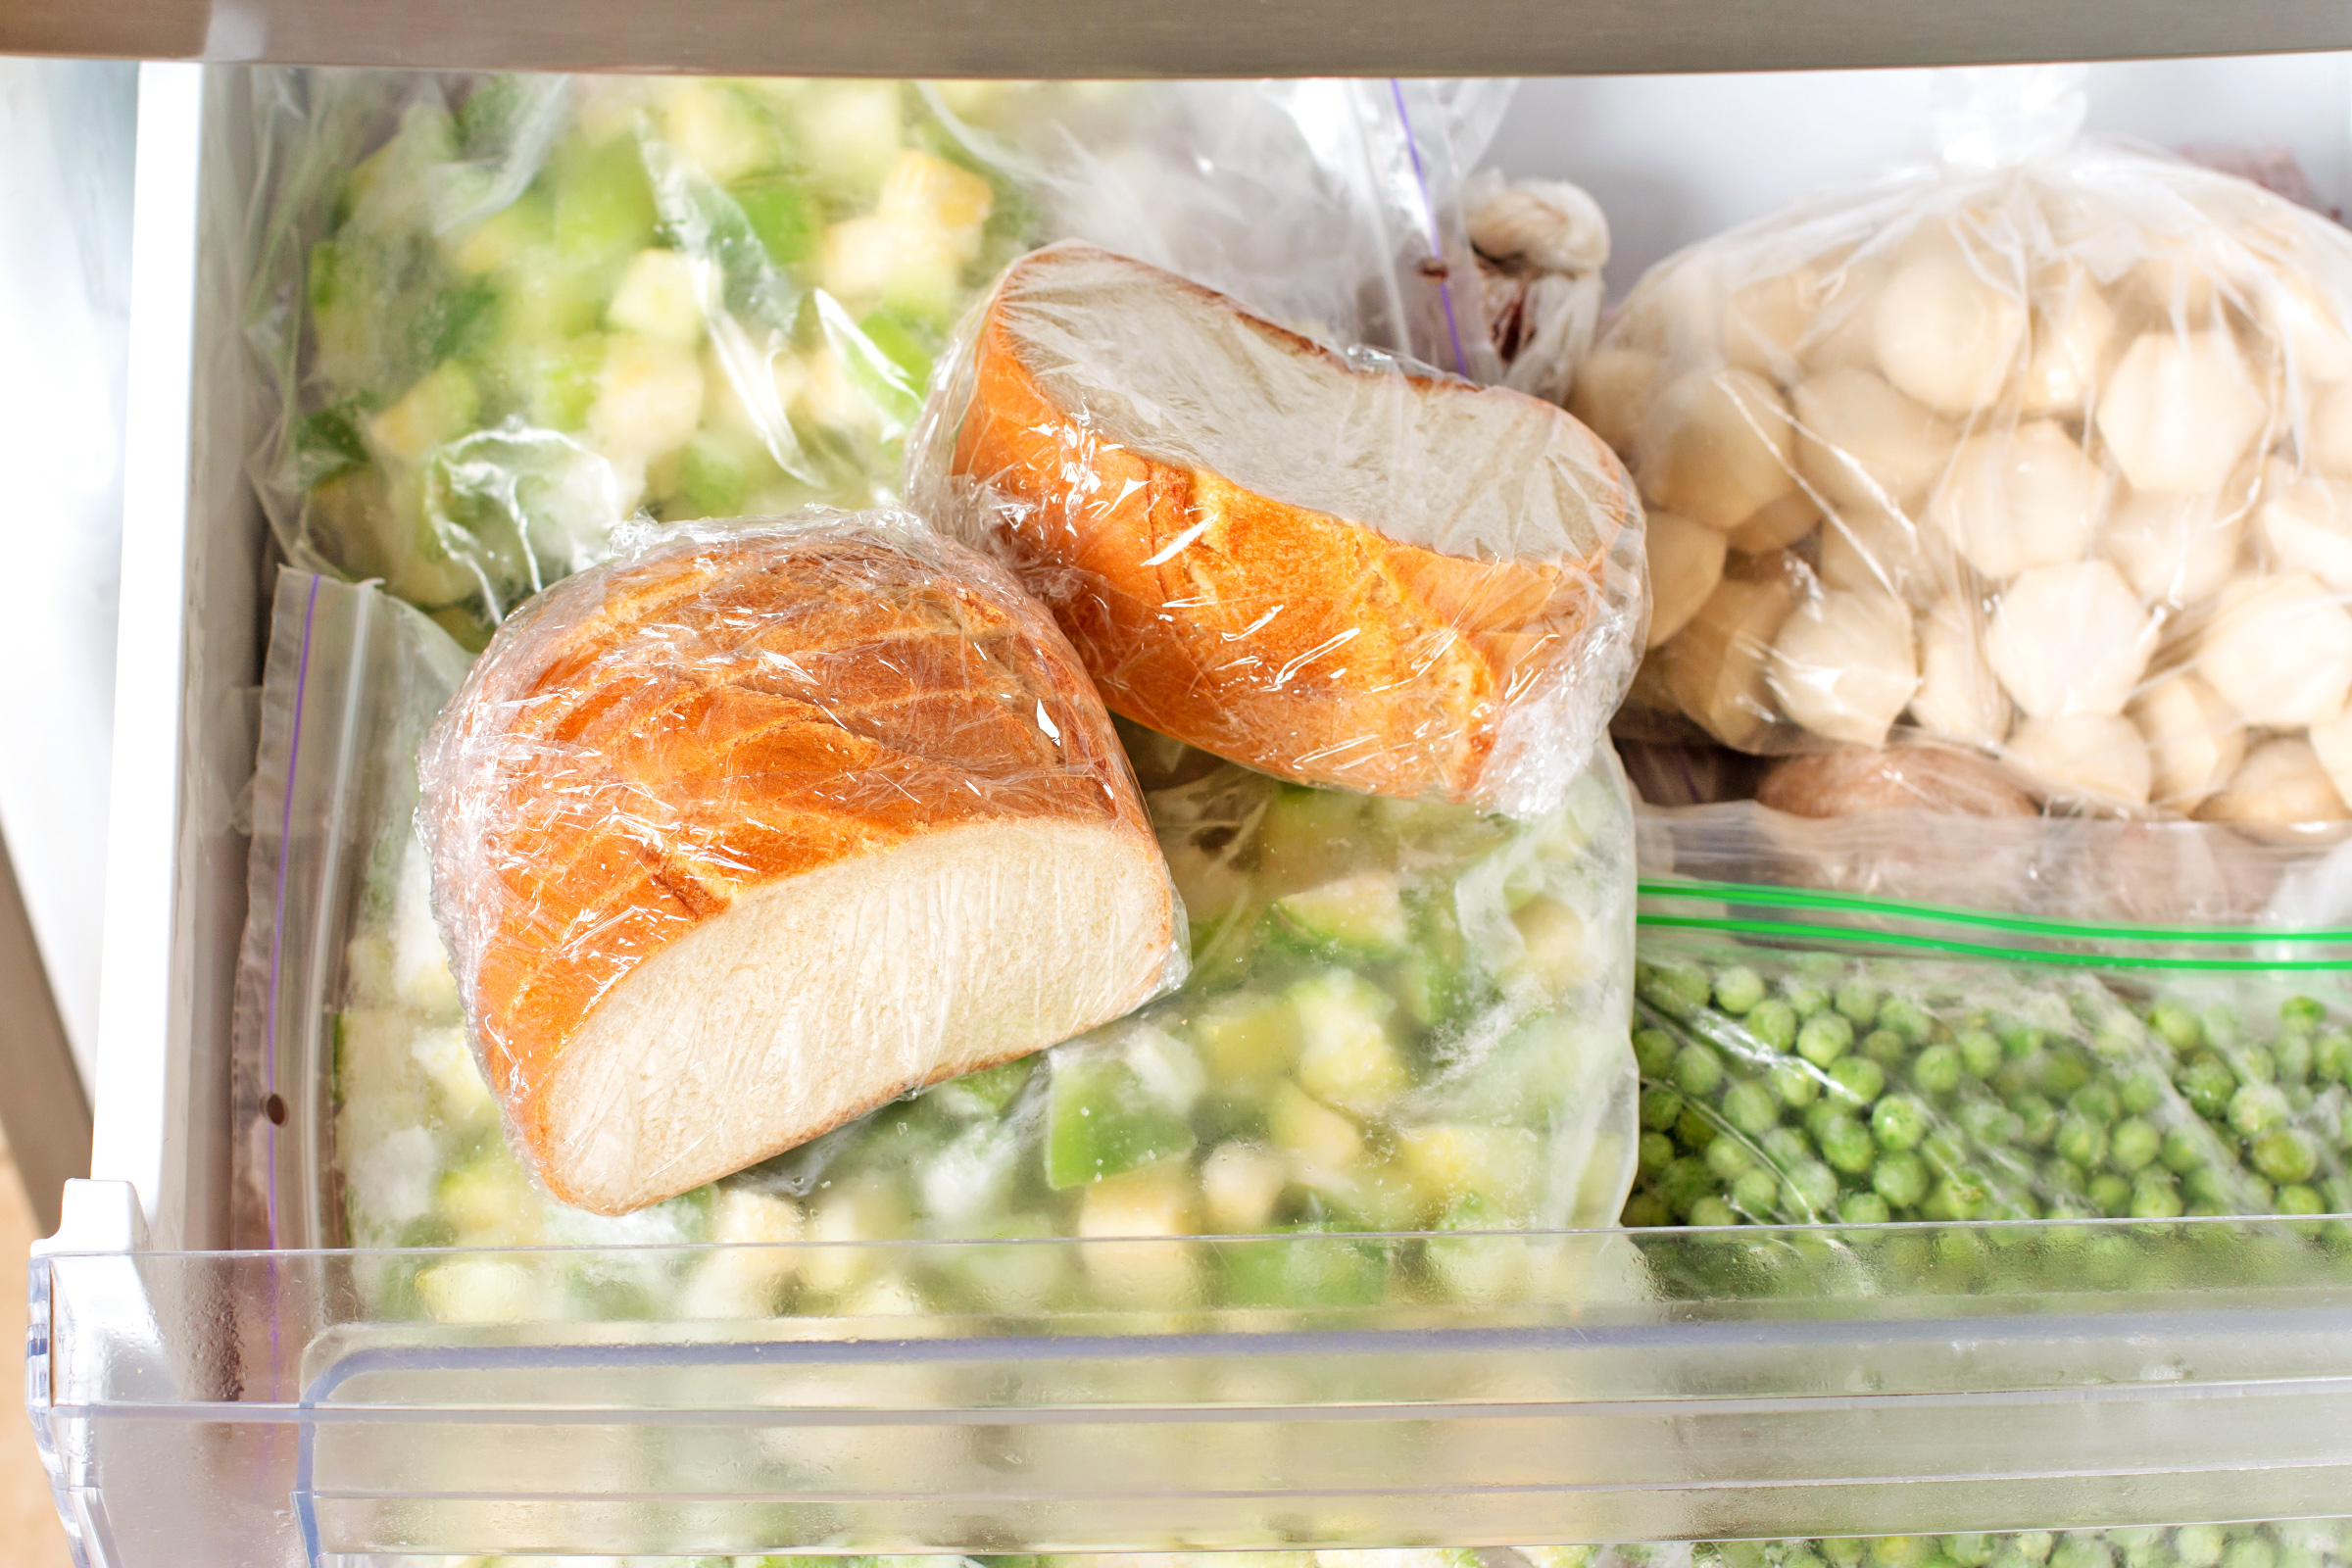
Why You Should Freeze Bread Before You Eat It

Low-carb diets have deeper roots than you might imagine. In the late 19th century — nearly 150 years ago — Union Army doctor James Salisbury (yes, the Salisbury steak guy) became convinced that a meat-heavy diet was the healthiest way to live. Other diets, such as Atkins and Paleo, revolve around a similar theory, and while they aren’t as trendy as they used to be, many of us still pay close attention to our carbohydrate intake.

Low-carb diets have deeper roots than you might imagine. In the late 19th century — nearly 150 years ago — Union Army doctor James Salisbury (yes, the Salisbury steak guy) became convinced that a meat-heavy diet was the healthiest way to live. Other diets, such as Atkins and Paleo, revolve around a similar theory, and while…

Why? Because quickly digested carbs can cause blood sugar spikes that are dangerous for diabetics and can leave the rest of us feeling sluggish. That’s unfortunate news for bread lovers — especially fans of white bread, which is the classic example of a high-glycemic index (GI) food. But there’s a silver lining: It turns out that freezing bread can actually lower its GI. Here’s the science behind how it works.

Why Freezing Bread Lowers Its GI

The starches in flour are complicated tangles of simple sugars, but our bodies are good at “untying” those knots and turning them back into glucose. This is why your blood sugar spikes after eating bread. So, how does freezing come into the picture? Well, when you bake bread, heating the dough turns those starches soft and gel-like. That’s why a loaf fresh from the oven feels a bit doughy even when it’s perfectly baked. As it cools, the bread loses its doughy texture but stays soft.

Related: The Best Costco Finds To Stock Your Freezer With

But when you freeze that bread, you force the starches to change their structure. They recrystallize into a firmer, more stable form through a process called “retrogradation.” In this new form, the starches resist your body’s attempts to break them down into sugars, which slows their absorption into your bloodstream. These are referred to as “resistant starches.”

Advertisement

How Resistant Starches Change Your Bread

There is a slight catch: Retrogradation makes the bread lose some of its softness and it may feel a bit drier in your mouth. If you’re using it in sandwiches, for example, you’ll want to freshen it up just as you would with stale bread. Toasting it is even better. Not only does it mask the textural change, but a study out of England found that toasting frozen bread actually reduces its GI even further.

Most of us know that fiber is good for gut health. The cool thing about resistant starches is that once they reach your gut, they act much like the heart-healthy soluble fiber found in oats and beans. They’re classified as prebiotics, meaning they’re food for the probiotic microbes in your digestive system. So, while freezing won’t turn bread into a superfood, it does lessen the loaf’s glycemic impact.

Advertisement
Featured Image Credit:  qwartm/ Adobe Stock | Updated  Jan 27, 2026 |
Fred Decker
Writer
Fred Decker is a trained chef and former restaurateur. Since closing his restaurants over a decade ago he has been a prolific freelance writer, publishing several thousand articles on dozens of high-volume websites including Taste Of Home, Hunker, Tasting Table, Week&, eHow, and GOBankingRates. He lives on a rural acreage shared with a big garden, chickens, rabbits, and grandkids.
This article is for general informational purposes only.
Featured Image Credit:  qwartm/ Adobe Stock | Updated  Jan 27, 2026 |
Advertisement
Decorating 3m read
0

Is Your Furniture Too ‘Leggy’? Here’s the Fix

If Goldilocks had grown up to be an interior designer, she wouldn’t just be picky about porridge. She’d survey your living room and immediately notice when something feels off — a sofa that reads too heavy, a coffee table that skews too light. The goal, as in the fairy tale, is achieving a “just right” balance of visual weight.

All featured products and deals are selected independently and objectively by the author. House Outlook may receive a share of sales via affiliate links in content.

If Goldilocks had grown up to be an interior designer, she wouldn’t just be picky about porridge. She’d survey your living room and immediately notice when something feels off — a sofa that reads too heavy, a coffee table that skews too light. The goal, as in the fairy tale, is achieving a “just right”…

If a room in your home — be it the living area, dining room, or bedroom — feels inexplicably flat, the issue might not be paint color or furniture layout. Instead, consider the furniture’s visual weight and how those weights interact with one another. According to TikTok creator and interior designer Hans Lorei, compelling interiors come from contrast. By pairing solid, grounded pieces with lighter, more delicate ones, you create a sense of balance. That tension is what makes a space feel effortless and lived-in, rather than staged or bland. 

Why Visual Weight Matters

Visual weight refers to how heavy a piece looks — not necessarily how many friends you bribed with pizza to help you move it inside. If every element in a room sits on spindly legs, the space can feel fragile or unfinished. But fill that same room with low, blocky silhouettes, and it can appear dense and overwhelming. 

Design-minded folks instinctively mix the two: A solid oak dining table looks more inviting when complemented by cane-backed chairs on tapered legs. A chunky sofa becomes more dynamic when balanced with a leggy side table, a sculptural floor lamp, or a glass-topped coffee table. That contrast creates a design that feels equally energetic and comfortable.

Advertisement

How To Mix Chunky and Light Pieces

Every room can benefit from intentional weight contrast. In a dining room, a delicate dining table can be anchored by a set of chunky chairs, or vice versa. Moving to the bedroom, a solid upholstered or wooden bed frame shines when accented by long-legged nightstands and a bench that reveals the floor underneath. Prefer the opposite look? A four-poster bed reads more grounded when flanked by solid side tables and a weighty bench at the foot. 

Related: The Interior Design Trends Set To Take Over in 2026

Living rooms especially benefit from this mix. Consider pairing a slim-legged sofa with a solid stone coffee table, or offsetting a large sectional with an open-base accent chair. Even decor accents can get in on the action, since light-catching accessories like ceramics and airy baskets can subtly shift the visual balance. 

Advertisement
Featured Image Credit:  Unsplash+ via Getty Images | Updated  Jan 21, 2026 |
Megan McCarty
Writer
Megan McCarty is a Los Angeles-based writer who covers the fun stuff: design, travel, wellness, beauty, and fashion. She has written for publications including Domino, The Spruce, MyDomaine, Bustle, and Rue Magazine. Her life rules include, but are not limited to, zipper when merging, contribute to your IRA, and do the nice thing.
This article is for general informational purposes only.
Featured Image Credit:  Unsplash+ via Getty Images | Updated  Jan 21, 2026 |
Advertisement
Cleaning 2m read
0

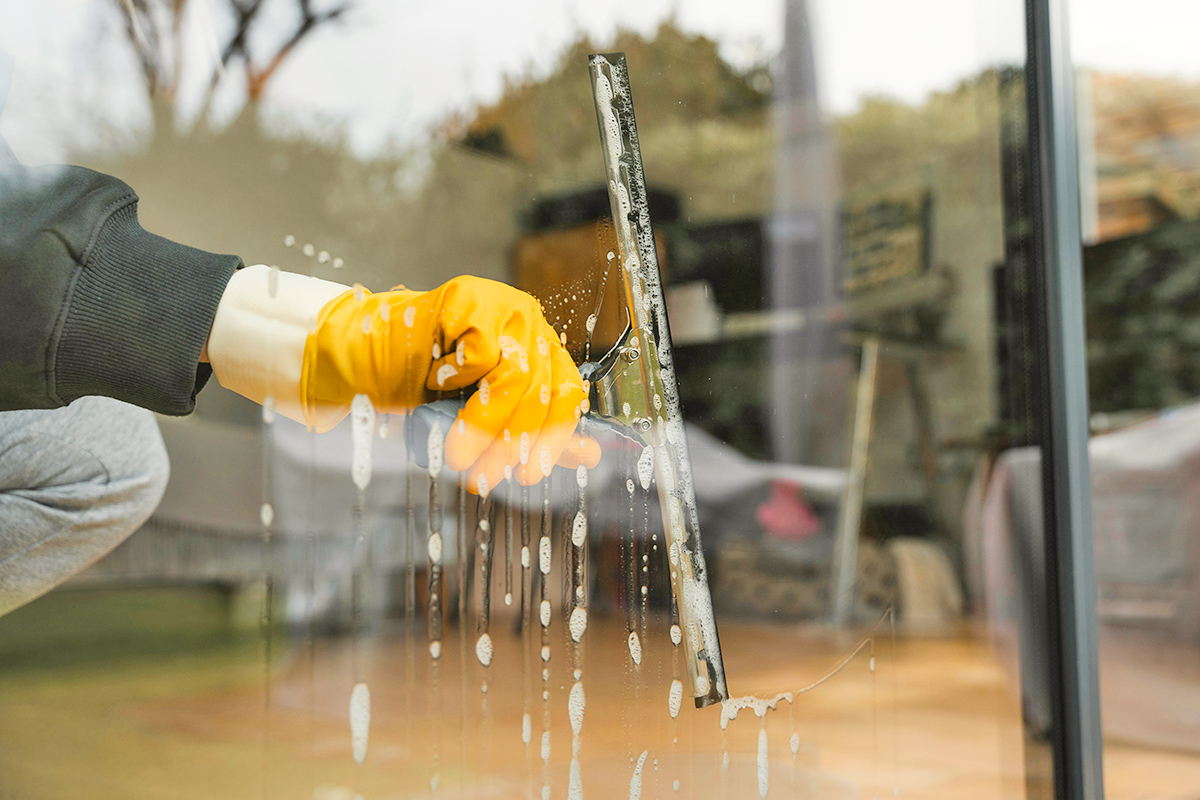
Why You Shouldn’t Clean Windows on Sunny Days

There’s something about a bright, sunny day that puts a little pep in your step. For many, it’s the perfect time to get productive and cross a few items off the to-do list. When it comes to cleaning the house, you might feel inspired to open the windows, dust off shelves, or shake out the rugs. But there are a few cleaning tasks you should actually avoid on sunny days, and washing your windows is one of them.

All featured products and deals are selected independently and objectively by the author. House Outlook may receive a share of sales via affiliate links in content.

There’s something about a bright, sunny day that puts a little pep in your step. For many, it’s the perfect time to get productive and cross a few items off the to-do list. When it comes to cleaning the house, you might feel inspired to open the windows, dust off shelves, or shake out the…

Sunny Skies, Streaky Windows

If you’ve caught the cleaning bug on a sunny day, you’ll want to skip the windows — or more specifically, the glass. While sunlight is a powerful tool for removing stains, disinfecting, and deodorizing, it’s far less helpful when it comes to window washing. When direct sunlight heats the glass, cleaning solutions evaporate too quickly. This results in streaks and spots, rather than a crystal-clear view.

The Best Time To Clean

Now that we know the worst time to clean windows, when is the best? Cloudy, overcast days are ideal for achieving that streak-free result. During the warmer months, you can also aim for early mornings or early evenings when the sun is low and the temperature is a bit cooler.

Advertisement
Related: Cleaning Your Mirrors This Way Will Prevent Bathroom Fog

How To Clean Windows

It takes only a few easy steps to get your windows sparkling. First, start with a surface that’s as dust-free as possible. Give the window a quick once-over with a dry cloth to remove any loose debris. Next, grab your preferred window cleaner or a DIY solution of equal parts water and distilled white vinegar. (For extra-dirty windows, a drop of dish soap helps to cut through the grime.) Spray the glass and wipe it down quickly with a microfiber cloth or a coffee filter. For a professional, streak-free finish, try using a squeegee.

Advertisement
Advertisement
Cleaning 3m read
0

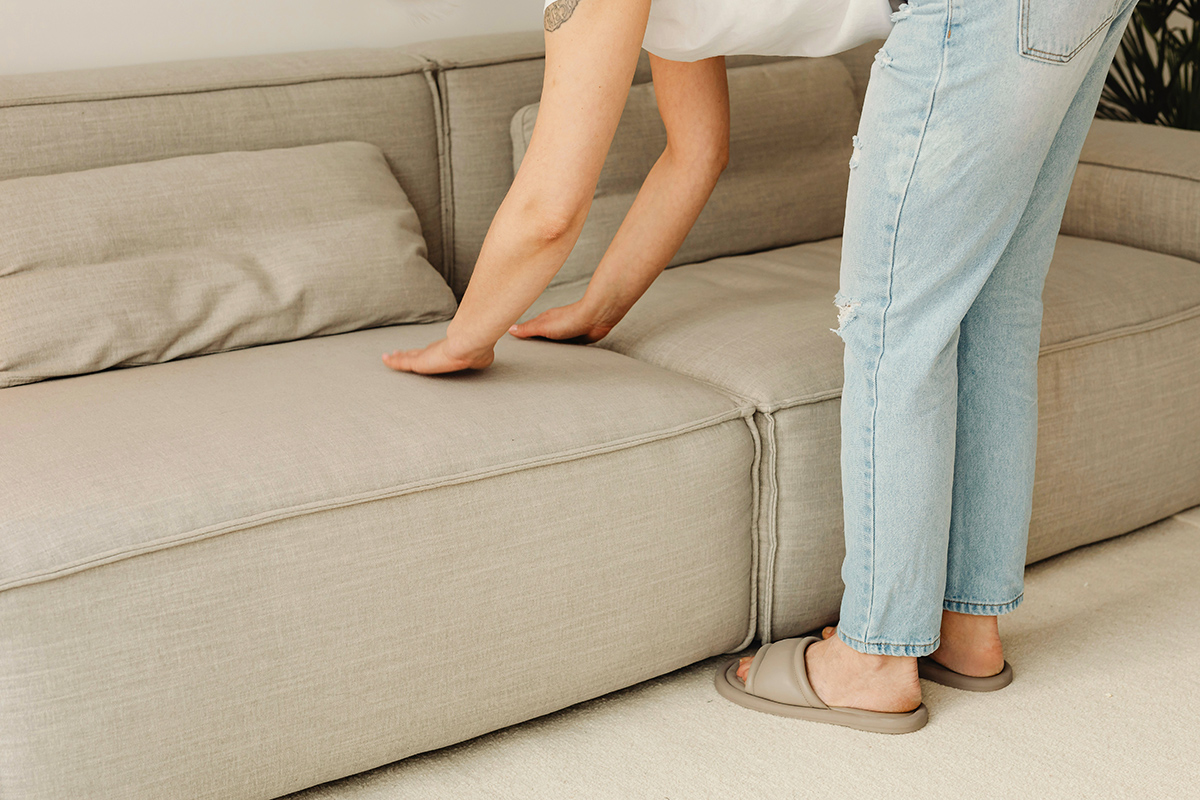
The Weird Household Item That Makes Sofa Cleaning Easy

You don’t need to lug out your vacuum or portable spot cleaner every time your sofa needs a refresh. For surface-level stains that don’t require the “big tools,” this helpful hack will have your furniture looking brand-new in just a few minutes.

All featured products and deals are selected independently and objectively by the author. House Outlook may receive a share of sales via affiliate links in content.

You don’t need to lug out your vacuum or portable spot cleaner every time your sofa needs a refresh. For surface-level stains that don’t require the “big tools,” this helpful hack will have your furniture looking brand-new in just a few minutes.

A Quick Cushion Refresh

To clean your cushions in record time, you’ll first need to gather a few household supplies: a large bowl, warm water, liquid laundry detergent, a microfiber cloth, and a pot lid with a handle. The lid should be small enough to be fully wrapped in the cloth, creating a flat, handheld scrubber.

Now, let’s get to cleaning: Start by removing any debris or surface dust from the fabric. You can give your cushions a quick once-over with a vacuum attachment, or a few passes with a lint roller if you’re dealing just with crumbs or pet hair. Next, mix about 1 teaspoon of liquid detergent with 2 to 3 cups of warm water in a wide bowl.

Related: 5 Essential Tips for Cleaning Smarter, Not Harder

Submerge the cloth in the soapy water and wring it out before wrapping it around your pot lid. To do this, lay the cloth flat and place the pot lid in the center with the handle facing up. Gather the corners toward the middle, securing them with your fingers or tying a knot if there is enough excess fabric.

Advertisement

Scrub the cushions using long, overlapping strokes, applying even pressure for a consistent clean. Depending on the size of your furniture, you’ll likely need to repeat this process — rinsing the cloth in clean water and resoaking it whenever it starts to dry out or look grimy.

The original hack doesn’t call for it, but a secondary rinse with a clean, damp cloth will ensure no soapy residue is left behind. Finally, allow the furniture to dry completely before use.

Why Does It Work?

By using a pot lid instead of a wet rag, you create a flat, even surface that lifts dirt without oversaturating the cushions. Every inch of your fabric is agitated consistently, pulling grime out onto the cloth instead of pushing it deeper into the upholstery.

Keep in mind that this hack is best for light surface stains. If you’re dealing with deep-set stains, you’ll want to use a portable spot cleaner, such as the Shark StainStriker or the Bissell Little Green.

Advertisement
Advertisement
Home Improvement 3m read
0

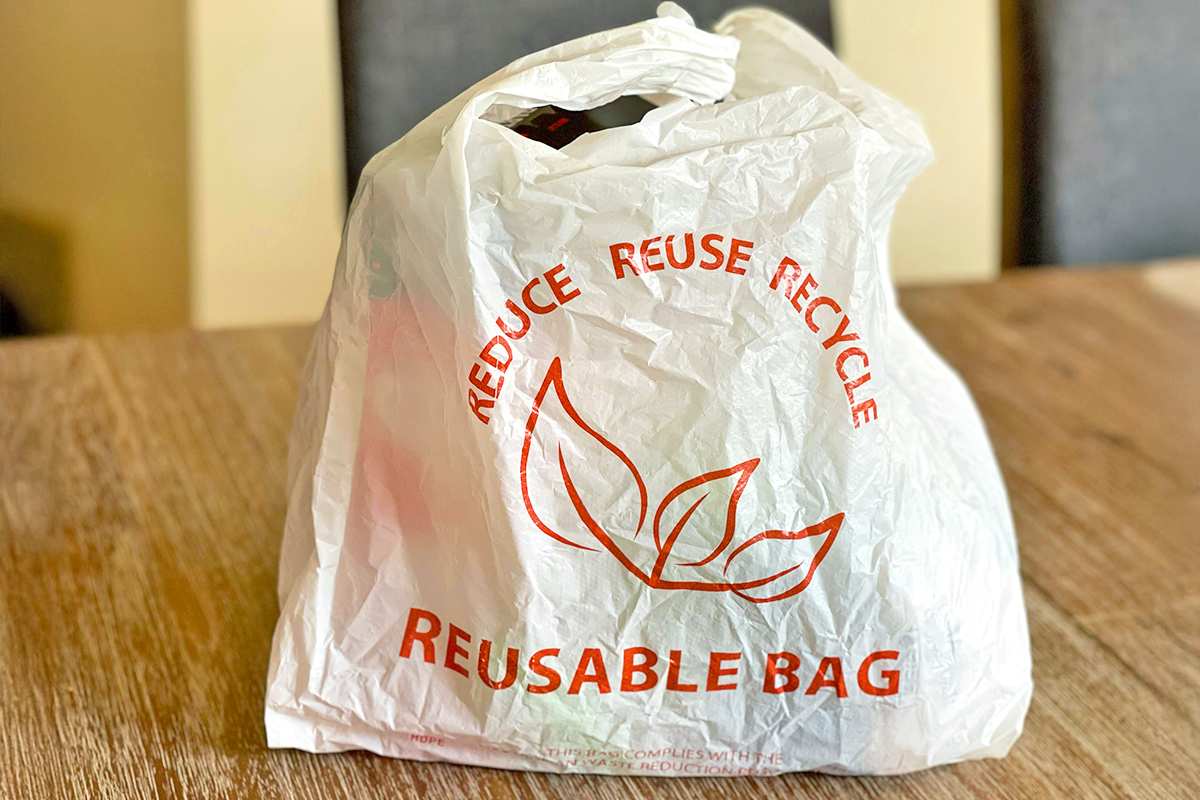
3 Clever Ways To Reuse Plastic Bags at Home

A growing number of states are phasing out plastic bags in favor of paper or reusable bags. Yet, between takeout orders, produce bags, and purchases from retailers excluded from the bans, they still manage to clutter up our drawers. Aside from using them as wastebasket liners, how can you put them to good use? As it turns out, there are a few ways to give plastic bags a second life.

A growing number of states are phasing out plastic bags in favor of paper or reusable bags. Yet, between takeout orders, produce bags, and purchases from retailers excluded from the bans, they still manage to clutter up our drawers. Aside from using them as wastebasket liners, how can you put them to good use? As…

1. Line a Paint Tray

Paint trays don’t have to be a single-use item. If you have an old one with dried-on paint, just line it with a plastic bag to get more uses out of it. It beats struggling to chip away at old paint or tossing the tray in the trash. You can also use this hack for new trays, keeping them fresh for longer and saving you the cost of store-bought liners.

Related: 3 Surprising Uses for Tennis Balls Off the Court

2. Keep Your Knees Clean When Gardening

As relaxing as gardening can be, it can also be messy and — quite literally — a pain. Fortunately, you can reuse plastic bags to help with both problems. To keep your knees clean and lightly cushioned while you work, try tying plastic bags around them, spreading out the plastic to provide extra protection from the damp ground.

Advertisement

3. Waterproof a Tote Bag

Much like the paint tray trick, you can use a plastic bag to waterproof the interior of a tote bag or backpack. This is perfect for shielding your essentials from the rain or for safely transporting wet items, such as a bathing suit or a dripping umbrella.

When in Doubt, There’s Always Recycling

Having a few plastic bags stored away will come in handy eventually, but if your collection is getting out of control, you can always recycle them. Since most curbside recycling programs won’t accept them, look up local drop-off points or specialized recycling centers that can process them for you. Many big-box stores and grocery stores, including Walmart, Target, Lowe’s, Kroger, Safeway, and Whole Foods, also offer drop-off bins for plastic bag recycling.

Advertisement
Featured Image Credit:  George Gregorio/ Pexels | Updated  Jan 21, 2026 |
Pauline Lacsamana
Writer
Pauline Lacsamana is a freelance writer and editor who specializes in commerce, home, design, and lifestyle. She has bylines in The Spruce, Business Insider, U.S. News & World Report, Hunker, MyDomaine, Parade, and more.
This article is for general informational purposes only.
Featured Image Credit:  George Gregorio/ Pexels | Updated  Jan 21, 2026 |