Advertisement
Cleaning 2m read
0

Do You Really Need To Separate Laundry?

Like using animal fat as detergent, separating clothing by color was once considered a laundry-day essential. But thanks to technological improvements, we’ve realized this habit may no longer be the necessity it once was for our parents and grandparents. Sure, there are plenty of us who still separate our loads into lights and darks — old habits die hard — but is it actually required? Apparently, the answer is no.

All featured products and deals are selected independently and objectively by the author. House Outlook may receive a share of sales via affiliate links in content.

Like using animal fat as detergent, separating clothing by color was once considered a laundry-day essential. But thanks to technological improvements, we’ve realized this habit may no longer be the necessity it once was for our parents and grandparents. Sure, there are plenty of us who still separate our loads into lights and darks —…

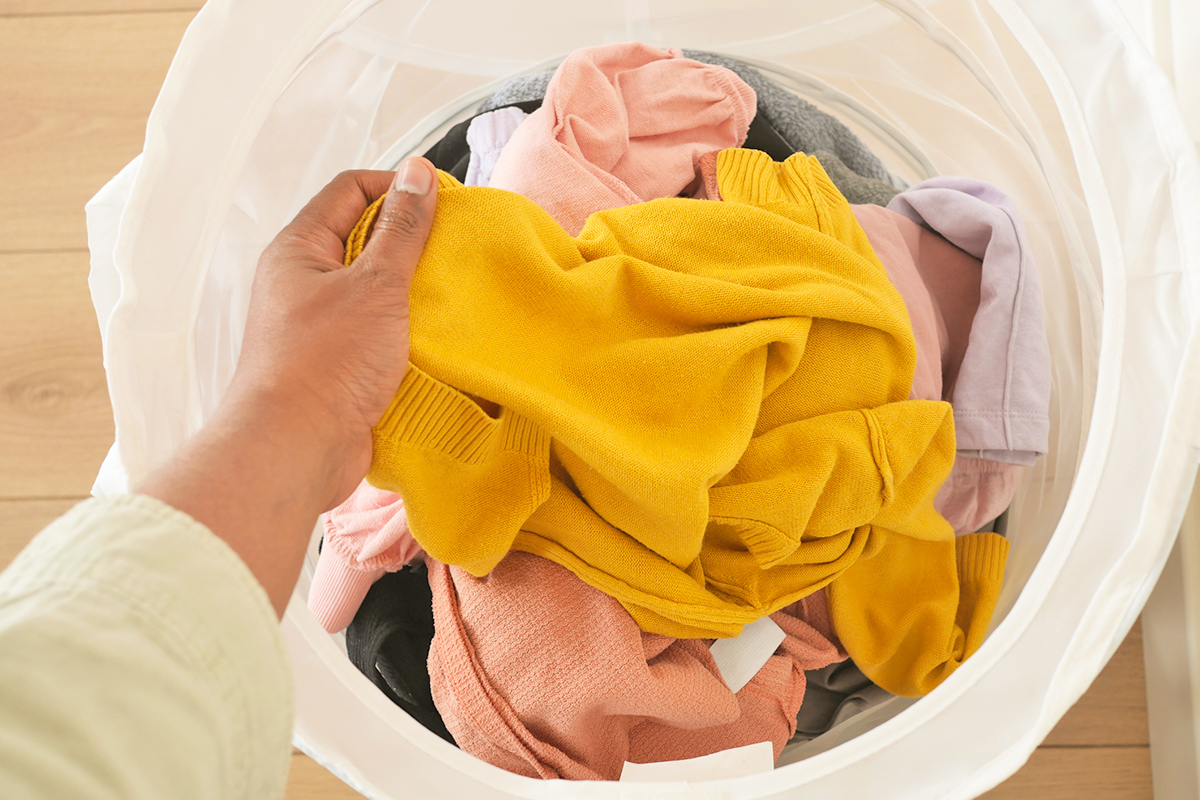
The textiles we surround ourselves with today are a lot different from those of previous generations. Because many modern garments are colorfast or prewashed, dye bleeding is rarely a concern. Detergent formulas have also evolved, making separating laundry almost entirely unnecessary — especially if you wash in cold water. While laundering whites with darks can still cause fabrics to dull over time, it’s no longer the hard-and-fast rule it once was.

Related: How To Pick the Right Water Temperature for Every Load of Laundry

Mastering the Mixed Load

Before you throw everything into a single load, here are a few important things to keep in mind:

Stick to cold cycles: Washing on cold is the best way to reduce color transfer and prevent garments from fading. Plus, it safeguards against fiber damage and shrinking.

Advertisement

Use a color-catcher: Color-catching sheets, such as Shout Color Catchers, are an effective fail-safe against bleeding or fading, and they’re so much easier than physically sorting your laundry.

Wash whites separately: If you’re worried about specific white garments getting dingy, wash them separately. But don’t fuss over the small stuff like socks, underwear, or sleepwear.

Sort by fabric, not color: Instead of separating clothing by color, it’s often more beneficial to sort by fabric. Materials like cotton, silk, and terry cloth have specific washing needs that are easily overlooked when we’re too focused on the color of the garment.

Advertisement
Featured Image Credit:  towfiqu ahamed/ iStock | Updated  Jan 21, 2026 |
Jessie Quinn
Writer
Jessie Quinn is a Los Angeles-based lifestyle journalist with words published in PEOPLE, StyleCaster, Apartment Therapy, The Spruce, Byrdie, and more. She has a Bachelor's Degree in fashion journalism from Academy of Art University and her work spans across many categories, including style, beauty, home, health, crafts, and more.
This article is for general informational purposes only.
Featured Image Credit:  towfiqu ahamed/ iStock | Updated  Jan 21, 2026 |
Advertisement
Home Improvement 2m read
0

The Quick Fix That Makes Icy Walkways Safer

The only thing worse than face-planting on an icy walkway is having your fall caught on camera and ending up on an episode of America’s Funniest Home Videos. To prevent slippery paths and driveways, many people turn to salt or other chemical melting agents. While effective, these methods are often wasteful and can damage adjacent foliage. Instead, consider a more sustainable alternative — one that reduces slips and falls, but is also reusable and environmentally safe.

All featured products and deals are selected independently and objectively by the author. House Outlook may receive a share of sales via affiliate links in content.

The only thing worse than face-planting on an icy walkway is having your fall caught on camera and ending up on an episode of America’s Funniest Home Videos. To prevent slippery paths and driveways, many people turn to salt or other chemical melting agents. While effective, these methods are often wasteful and can damage adjacent…

A Dandy, Sandy Solution

Sand is a highly effective tool when it comes to creating traction on icy walkways. And the best part is that you don’t need to remove every trace of ice to make a pathway safe. A much simpler approach is to focus on adding traction. This can be accomplished by shoveling away the top layer of snow and sprinkling sand over the remaining ice. The grittiness ensures your boots stay firmly on the ground rather than slipping out from under you.

Why Sand Beats Salt

There are several reasons to use sand over salt and other chemical deicers. First, while chemicals are corrosive, sand is much gentler and won’t harm nearby vegetation. It’s also safe for outdoor surfaces — such as concrete, stone, brick, metal, and wood — that are otherwise susceptible to chemical damage. Additionally, while salt washes away, sand is reusable. When the snow melts, the sand remains, allowing you to sweep it up and save it for the next snowfall.

Advertisement
Related: Stop Snow From Clinging to Your Shovel With This

Instead of spending $25 or more on a single-use bag of deicing salt, you can pick up a 7-pound bag of sand for less than $7. Given that sand can be used over and over, it’s not only the greener choice but also the more affordable one.

Advertisement
Featured Image Credit:  Vieille Prune/ Adobe Stock | Updated  Jan 21, 2026 |
Bennett Kleinman
Staff Writer
Bennett Kleinman is a New York City-based staff writer for Inbox Studio, covering topics for several brands including House Outlook and Better Report. He previously contributed to television programs such as "Late Show With David Letterman" and "Impractical Jokers," and digital publications like The Onion. Bennett is also a devoted New York Yankees and New Jersey Devils fan, and thinks plain seltzer is the best drink ever invented.
This article is for general informational purposes only.
Featured Image Credit:  Vieille Prune/ Adobe Stock | Updated  Jan 21, 2026 |
Advertisement
Food & Drink 2m read
0

Extend Your Bananas’ Shelf Life in Seconds

Have you ever reached for a banana to snack on, only to find it turned an unappetizing brown color when you weren’t looking? While bananas get a bad rap for having an incredibly short shelf life, that reputation isn’t exactly accurate. Brown bananas are still completely safe to eat and are actually ideal for baking, where they lend a deep sweetness to breads and cakes. However, it’s true they’re only perfect for snacking during that short period of time between their underripe and overripe stages.

All featured products and deals are selected independently and objectively by the author. House Outlook may receive a share of sales via affiliate links in content.

Have you ever reached for a banana to snack on, only to find it turned an unappetizing brown color when you weren’t looking? While bananas get a bad rap for having an incredibly short shelf life, that reputation isn’t exactly accurate. Brown bananas are still completely safe to eat and are actually ideal for baking,…

Why Do Bananas Brown So Quickly?

The peel and the fruit of the banana change color for different reasons. For the peel, the culprit is ethylene gas — a natural ripening agent found in bananas, along with many other fruits and vegetables. This gas breaks down the green chlorophyll and acids into sugars, transforming the color of the peel from green to yellow, and later to brown. The fruit itself browns through a separate process called oxidation, which begins the moment the inside of the fruit is exposed to the air.

How To Slow Down Browning

Try this simple trick to slow down the browning process: Wrap your banana stems in aluminum foil, plastic wrap, or a sustainable alternative such as compostable cling wrap. The stems are a major release point for ethylene gas; by covering them, you contain some of that gas and prevent it from triggering the ripening process in the rest of the fruit. With the ethylene flow restricted, you can extend the shelf life of your bunch. While wrapping the stems won’t completely stop the bananas from browning, it will give you an extra three to five days to use them up.

Advertisement
Related: 5 Tips for Ripening Your Favorite Fruits Faster

Keep in mind that bananas aren’t the only type of produce affected by ethylene gas. Apples, peaches, pears, mangoes, melons, tomatoes, avocados, and potatoes are all ethylene producers. That’s why you should never store them together; their proximity can speed up the ripening process and cause them to brown even faster. Providing ample space between them ensures everything stays fresh for as long as possible.

Advertisement
Featured Image Credit:  FreshSplash/ iStock | Updated  Jan 20, 2026 |
Allegra Ringo
Writer
Allegra Ringo is a California-based writer who has written for publications including Reductress, The Hard Times, VICE, and The Atlantic. She loves sparkling water and old Chihuahuas with hardly any teeth, like her dog Pistachio.
This article is for general informational purposes only.
Featured Image Credit:  FreshSplash/ iStock | Updated  Jan 20, 2026 |
Advertisement
Cleaning 3m read
0

3 Ways To Fix the ‘Dead Air Zones’ in Your Home

Does your room feel stuffy, even with the fan running? You’re likely dealing with a “dead air zone.” Don’t worry, though — it’s not as scary as it sounds. You can get the air circulating again with just a few simple tweaks.

All featured products and deals are selected independently and objectively by the author. House Outlook may receive a share of sales via affiliate links in content.

Does your room feel stuffy, even with the fan running? You’re likely dealing with a “dead air zone.” Don’t worry, though — it’s not as scary as it sounds. You can get the air circulating again with just a few simple tweaks.

What’s a Dead Air Zone?

A dead air zone is a spot where air stops moving. This happens when an air current hits an obstacle, such as a wall or bulky furniture. The lack of an outlet forces the air to curl backward or upward rather than moving through the room. This is why you’ll often find hot air trapped at the ceiling and cold air settled in corners or near the floor, leaving the room feeling unevenly heated.

3 Quick Fixes To Get Dead Air Moving Again

It makes sense for air to feel still in a closed space, but it’s frustrating when you already have a fan, an HVAC vent, or an open window letting in air. When dealing with dead air, the issue isn’t where the air comes from — it’s where it gets stuck. So, what can you do? Here are three easy ways to get things moving.

Related: 9 Forgotten Household Filters You Need To Clean or Replace

Open some windows: Opening your windows wide for five to 10 minutes every day can do wonders for your room’s airflow. Even better, try opening windows on opposite sides of the room to create a cross-breeze. Be sure to keep any doors open as well; this gives the fresh air a clear path to move along, preventing it from getting bottled up in the room.

Advertisement

Rearrange your room: While you can’t move a bay window or an open closet, you can change how your furniture interacts with these features. Look for potential air traps, like the gap behind a heavy sofa or the space under a loft bed. If floor-length curtains or a desk are covering up a vent, move them out of the way so air can enter the space. Finally, try “floating” your furniture by pulling it a few inches away from the wall. This creates a narrow corridor for air to travel through, preventing it from getting stuck.

Put your fans to work: Fans are foolproof if you position them strategically. If your room has a built-in exhaust — like in a bathroom or kitchen — run it to pull out stagnant, humid air. For larger spaces, use box fans to create cross-ventilation: Set up one to blow fresh air into the room, and place another across the space to suck the old air away.

Ceiling fans can also be helpful for breaking up dead air zones, provided they’re spinning in the right direction. In the summer, set it to spin counterclockwise to push air down and keep you cool. In the winter, switch it to clockwise at a low speed; this will draw cool air up from below, displacing the warm air trapped at the ceiling. This circulation clears away trapped air and makes the temperature more comfortable.

Advertisement
Advertisement
Home Improvement 3m read
0

The Surprising Reason To Spray WD-40 on Car Doors

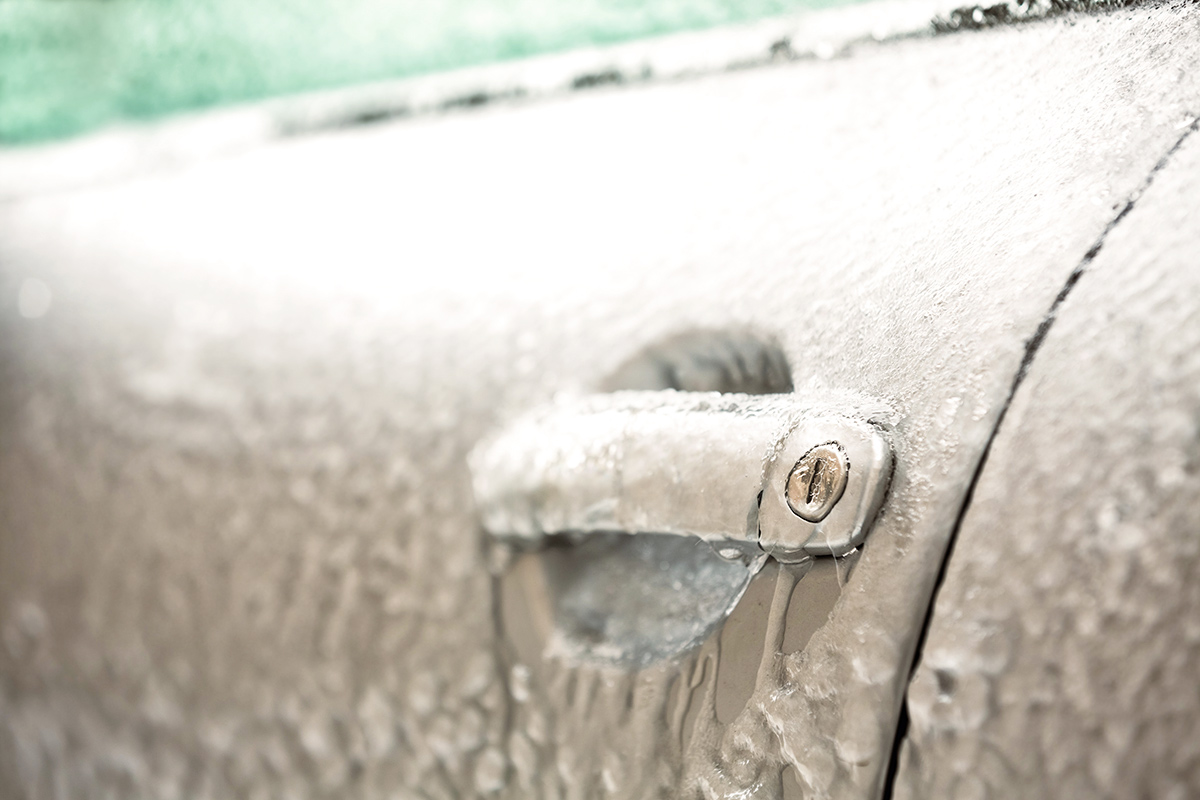
Anyone who has lived in a cold-weather climate knows just how perilous winter driving can be. Between the low visibility, slick roads, and frozen door handles, it’s not easy to motor around in those subzero temperatures. But there’s one household staple that can make life a little easier for winter drivers: WD-40. While it’s best known for silencing squeaky hinges, it’s also the perfect cold-weather tool for car owners.

All featured products and deals are selected independently and objectively by the author. House Outlook may receive a share of sales via affiliate links in content.

Anyone who has lived in a cold-weather climate knows just how perilous winter driving can be. Between the low visibility, slick roads, and frozen door handles, it’s not easy to motor around in those subzero temperatures. But there’s one household staple that can make life a little easier for winter drivers: WD-40. While it’s best…

A Slick Solution

The “WD” in WD-40 stands for “water displacement,” which hints at its effectiveness against snow and ice. You can use it to unstick doors, handles, or even windshield wipers that have been frozen in place. To try this yourself, you’ll need two things: a can of WD-40 quick-drying silicone spray and a microfiber cloth you don’t mind getting a little dirty.

For car doors: Spray some WD-40 onto a microfiber cloth, open the door, and wipe down the weatherstripping. You don’t need to oversaturate the rubber — a little lubrication goes a long way. This creates a protective barrier that prevents the door from sticking shut. It’s best to do this as a preventative measure before the snow starts to fall or the temperature drops below freezing.

For door handles and keyholes: Rub the WD-40-treated cloth over frozen handles and keyholes to break the bond between the ice and the car’s surface. If you spray it on these components before freezing weather hits, it also acts as a preventative measure.

Advertisement

For windshield wipers: It’s best to rub down your wipers before a freeze to help prevent them from sticking to the windshield. But if they’re already frozen, a bit of WD-40 — either on a rag or sprayed directly from the can — will do the trick. The wipers should come unstuck within a couple of minutes, allowing you to proceed safely down the road.

Related: The Best Organizers To Tame Car Clutter

All of these tricks go a long way toward ensuring you reach your destination safely and are never left stranded in the cold. Keep a can of WD-40 in your house and a spare in your car; that way, you’re always prepared for whatever Mother Nature throws at you.

Advertisement
Featured Image Credit:  borchee/ iStock | Updated  Jan 13, 2026 |
Bennett Kleinman
Staff Writer
Bennett Kleinman is a New York City-based staff writer for Inbox Studio, covering topics for several brands including House Outlook and Better Report. He previously contributed to television programs such as "Late Show With David Letterman" and "Impractical Jokers," and digital publications like The Onion. Bennett is also a devoted New York Yankees and New Jersey Devils fan, and thinks plain seltzer is the best drink ever invented.
This article is for general informational purposes only.
Featured Image Credit:  borchee/ iStock | Updated  Jan 13, 2026 |
Advertisement
Food & Drink 3m read
0

Are You Cooking With the Right Kind of Salt?

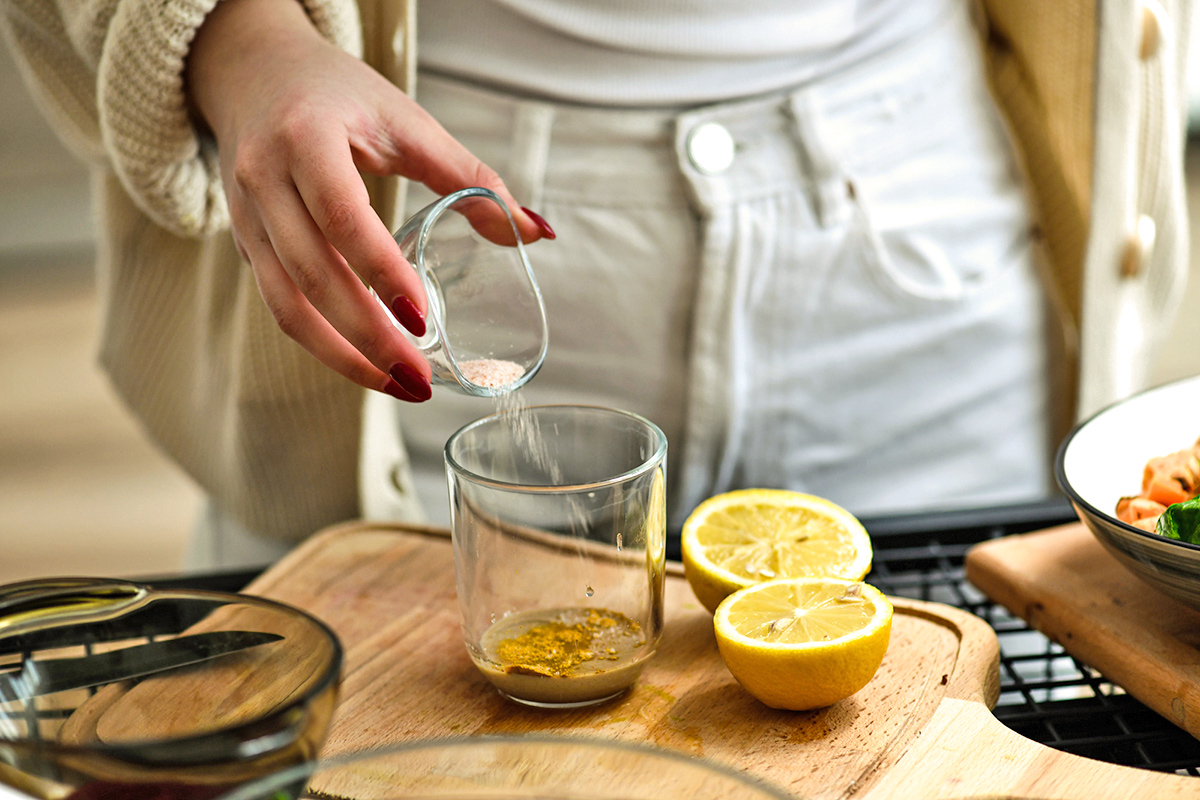
Every home cook stocks a different array of seasonings in their kitchen, but salt is a constant. It’s simply the most versatile ingredient; without it, few foods would taste right. Even cultures that don’t use refined salt often rely on salty fermented staples, such as soy or fish sauce, to get the same result. Of course, the plain white stuff in your shaker isn’t the only kind of salt a recipe might call for. Many specify sea salt, kosher salt, or a fancy finishing salt. Are you using the right one for the job? Let’s look at the three main types of salt and the specific role each one plays.

All featured products and deals are selected independently and objectively by the author. House Outlook may receive a share of sales via affiliate links in content.

Every home cook stocks a different array of seasonings in their kitchen, but salt is a constant. It’s simply the most versatile ingredient; without it, few foods would taste right. Even cultures that don’t use refined salt often rely on salty fermented staples, such as soy or fish sauce, to get the same result. Of…

1. Table Salt

Table salt is likely the kind you’ve known your whole life. It’s fully refined and produced with a fine texture so it can be dispensed easily from a shaker (or even the can), and sprinkled onto your food, chef-fashion, from your fingertips. When a recipe simply calls for “salt,” this is what it means.

Related: How To Choose the Right Cooking Oil, According to a Chef

Some recipes advise against it, however, because table salt is often iodized. An iodine compound has been added to certain varieties of U.S. table salt since 1924 to prevent goiter, an enlargement of the thyroid gland often caused by an iodine deficiency. It can add a faint bitterness to your food and discolor pickles or brines, which is why those recipes usually call for kosher salt. Noniodized table salt is easily available, though, if you prefer the fine texture.

Advertisement

2. Coarse Salt

“Coarse” just refers to the size of the grains. It might be sold as kosher salt or even decorative pink Himalayan salt, which looks appealing in a grinder. Because it’s typically noniodized, it offers a cleaner flavor (sea salt being the exception, as the taste depends on its origins). Those big grains are sometimes used as a textural element on things like soft pretzels, focaccia, or margarita rims.

Coarse salt is the go-to for brines, marinades, and pickles, but be careful: Crystal sizes vary widely by brand, so swapping one for another can be a complication.

3. Finishing Salt

Finishing salt is a less obvious category than the others, though these gourmet varieties have risen in popularity over the last few decades. It refers to premium, specialized salts (usually sea salts) that you add at the very last moment as a garnish. Pyramid-shaped Maldon flakes or French “sel gris” and “sel de Guérande” are good examples. You’d use those on a dish like carpaccio, where their crunch or delicate flavor elevate the finished dish.

Advertisement
Featured Image Credit:  AleksandarGeorgiev/ iStock | Updated  Jan 13, 2026 |
Fred Decker
Writer
Fred Decker is a trained chef and former restaurateur. Since closing his restaurants over a decade ago he has been a prolific freelance writer, publishing several thousand articles on dozens of high-volume websites including Taste Of Home, Hunker, Tasting Table, Week&, eHow, and GOBankingRates. He lives on a rural acreage shared with a big garden, chickens, rabbits, and grandkids.
This article is for general informational purposes only.
Featured Image Credit:  AleksandarGeorgiev/ iStock | Updated  Jan 13, 2026 |
Advertisement
Gardening 3m read
0

The One Thing You Should Never Do to Houseplants in Winter

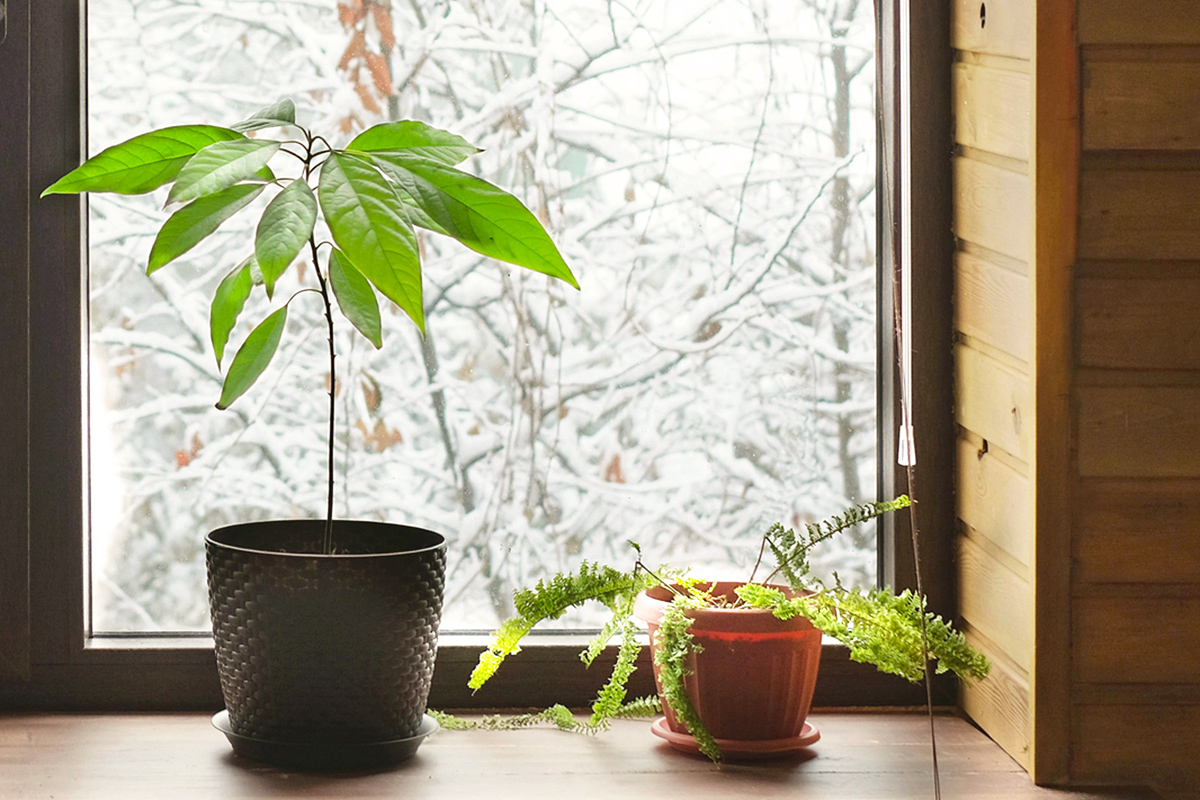
The best thing you can do for your houseplants during the cold-weather season? Leave them exactly as they are. While it’s tempting to use the slow, indoor months to repot your collection — perhaps as part of a seasonal reset for your home — the most caring thing you can do is exercise patience. Wait until the days are noticeably longer before making any big moves.

All featured products and deals are selected independently and objectively by the author. House Outlook may receive a share of sales via affiliate links in content.

The best thing you can do for your houseplants during the cold-weather season? Leave them exactly as they are. While it’s tempting to use the slow, indoor months to repot your collection — perhaps as part of a seasonal reset for your home — the most caring thing you can do is exercise patience. Wait…

Why Wait for Winter To Pass?

No matter where you live, winter brings shorter days and less of the sunlight plants need to photosynthesize carbon and water into glucose, aka natural plant food. Repotting when light is scarce can stress them out because they just don’t have the energy reserves they’d have in, say, early summer. Plus, with less sun to help excess water evaporate from the surface of your plant’s soil, even the most seasoned plant parents can accidentally overwater.

Related: 10 Easy Ways To Fix Common Houseplant Problems

Many plants go semidormant in the winter and uprooting during their hibernation cycle can send them into shock. Unless a repot is absolutely necessary, hold off until early to mid-spring or until you see the first signs of new growth. This way, your plants will have the best conditions for laying strong, happy roots in their new homes.

Advertisement

The Right Time To Repot

Sometimes, waiting for longer, warmer days isn’t the right move, and emergency intervention is the answer. Root problems shouldn’t be put off. If your plant is severely rootbound, with roots peeking over the soil or pushing through the drainage holes, you’ll want to repot sooner rather than later. An even more urgent matter is root rot, caused by overwatering. If you spot yellow, wilting leaves on a plant with moist soil; mushy, dark brown or black roots; or a sour smell, you’ll need to act fast. Rinse and cut away the affected roots, then repot the plant in a clean container with fresh, well-draining soil.

Finally, a swarm of fungus gnats could be a sign that your plant needs to be repotted. If you’re close to spring, you could try using sticky traps to catch the adults. If you have a bad case, however, you’ll need to target the larvae living beneath the soil. Toss that old soil, give the container a deep clean with hot soapy water to kill any lingering eggs, and start fresh with a high-quality potting mix.

Advertisement
Advertisement
Cleaning 2m read
0

The Easy Way To Remove Stubborn Cooktop Stains

A cooktop stove, whether induction or electric, is a great way to save space in your kitchen, allowing you to install cabinets underneath and place the oven elsewhere. It also offers a sleeker, more modern look, and if it breaks, you only need to replace the cooktop itself, rather than an all-in-one range. These surfaces are also praised for their easy cleanup — especially when compared to open-flame burners or electric coils.

All featured products and deals are selected independently and objectively by the author. House Outlook may receive a share of sales via affiliate links in content.

A cooktop stove, whether induction or electric, is a great way to save space in your kitchen, allowing you to install cabinets underneath and place the oven elsewhere. It also offers a sleeker, more modern look, and if it breaks, you only need to replace the cooktop itself, rather than an all-in-one range. These surfaces…

To clean a cooktop, you can typically just wipe it down. For everyday messes, a spray bottle filled with equal parts water and distilled white vinegar will get the job done. Since the surface is completely flat, you don’t have to fuss over every nook and cranny. However, spills that happen midcooking can get baked-on since the glass is often too hot to wipe down immediately. Even after it cools, some cooktop stains remain stuck, no matter how hard you scrub. Thankfully, there’s an easy way to get that glass looking brand-new again.

Scrape Away the Stains

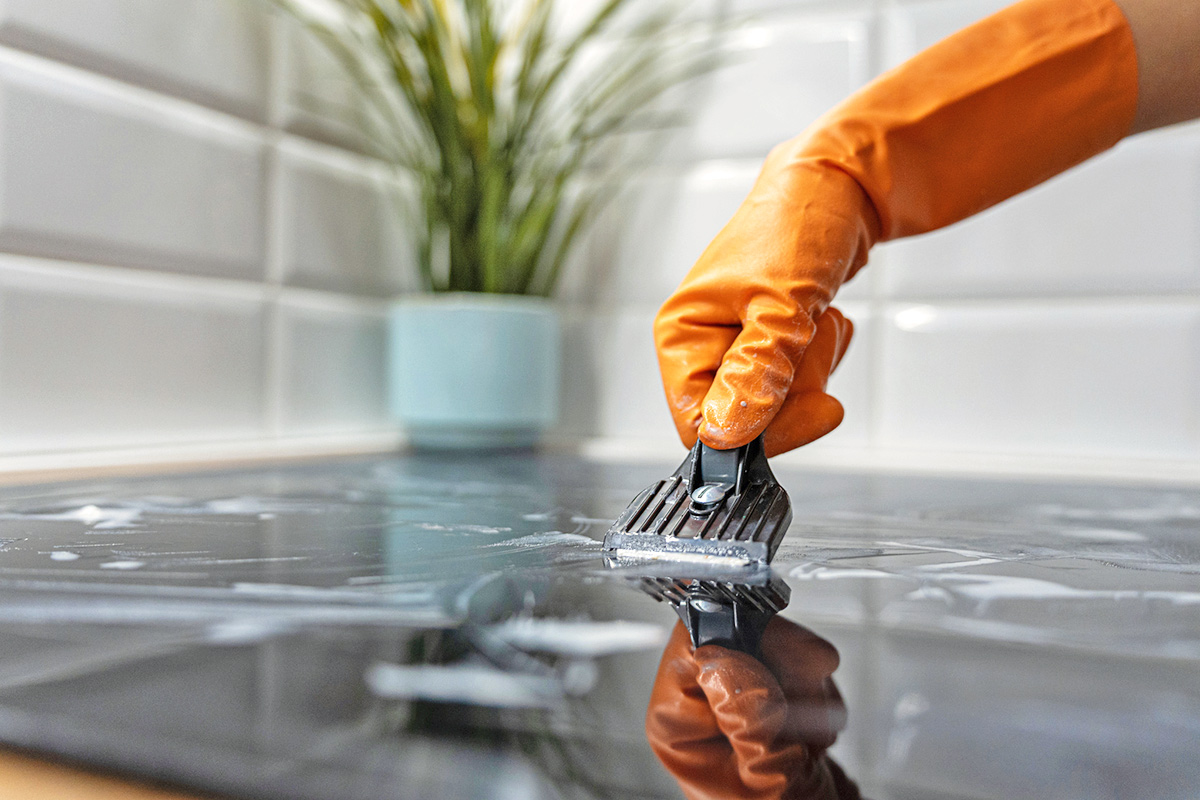
Start by spraying the cooktop with a degreaser, such as Dawn Powerwash, then scrub in circular motions using a nonscratch scouring pad. Wipe the surface with a clean, damp microfiber cloth to remove any excess product, then buff it dry with another clean cloth. You could follow up with a nonabrasive cooktop cleaner, but for particularly stubborn messes, reach for a razor blade scraper.

Advertisement
Related: The Safety Tip Everyone With a Glass Cooktop Needs To Know

It’s important to use a fresh blade every time you do this, as a rusty blade can result in a scratched cooktop. You should also apply a mixture of dish soap and warm water to the cooktop for lubrication. Hold the tool at a 45-degree angle and gently scrape away any burnt-on residue. Remember to work slowly and use a light touch. Once everything is scraped off, give the cooktop one last spray with your cleaner of choice and wipe it away for a crystal-clear finish.

Advertisement
Featured Image Credit:  FluxFactory/ iStock | Updated  Jan 13, 2026 |
Jessie Quinn
Writer
Jessie Quinn is a Los Angeles-based lifestyle journalist with words published in PEOPLE, StyleCaster, Apartment Therapy, The Spruce, Byrdie, and more. She has a Bachelor's Degree in fashion journalism from Academy of Art University and her work spans across many categories, including style, beauty, home, health, crafts, and more.
This article is for general informational purposes only.
Featured Image Credit:  FluxFactory/ iStock | Updated  Jan 13, 2026 |
Advertisement
Home Improvement 4m read
0

Your Dryer Vent Needs a Leaf Blower, Not a Vacuum Attachment

When it comes to laundry room tasks, washing clothes isn’t nearly as bad as some of the more aggravating chores. Cleaning the dryer vent (not to be confused with cleaning the lint trap, which should be done after every use) is a bigger headache, but it’s a task you need to tackle every three to six months to help prevent fires and keep your dryer running smoothly.

All featured products and deals are selected independently and objectively by the author. House Outlook may receive a share of sales via affiliate links in content.

When it comes to laundry room tasks, washing clothes isn’t nearly as bad as some of the more aggravating chores. Cleaning the dryer vent (not to be confused with cleaning the lint trap, which should be done after every use) is a bigger headache, but it’s a task you need to tackle every three to…

Many people default to sticking a vacuum attachment down the dryer vent to suck up what they can, but this method isn’t always effective. A leaf blower is far more useful, as the high-powered airflow dislodges hidden dust your vacuum might otherwise miss. Let’s take a look at why this trick works so well and how you can try it yourself.

A Word of Caution

If you’re attempting this hack indoors, use only a battery-powered or electric leaf blower. You’ll want to avoid gas-powered models to prevent any dangerous carbon monoxide buildup.

Advertisement

Blast Away the Lint

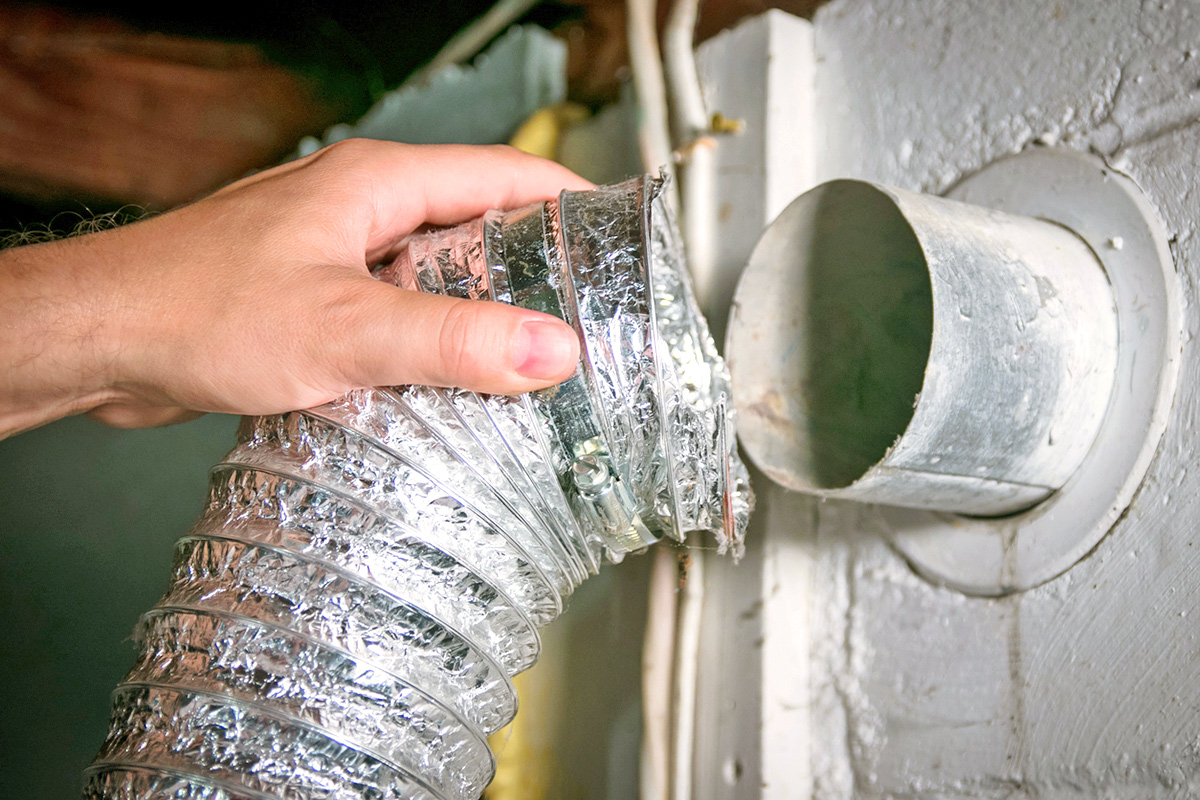
First, a quick vocabulary lesson: The dryer vent hose is the Slinky-like tube connecting your appliance to the wall. The exhaust duct is a permanent pipe found in your walls, floor, or ceiling that carries hot air (and lint) away from your house. The exterior vent is the exit door; it’s usually fitted with flaps and a cover to block out pests and moisture.

Related: The Easiest Way To Clean Tower Fans

Before getting started, shut off the breaker for the dryer, unplug the appliance, and disconnect the dryer vent hose. Next, tape a 1-gallon resealable storage bag to the end of your leaf blower nozzle, securing it tightly so it doesn’t come flying off. Cut open the bottom of the bag; this will create a seal against the interior walls of the exhaust duct, forcing air through the pipe and out the exterior vent. Lastly (before you insert the leaf blower into the duct), feed a flex brush into the exhaust duct to dislodge any pesky dust that’s stuck to the interior walls.

Advertisement

With the prep work out of the way, it’s time to power up the leaf blower. Insert the nozzle of the leaf blower into the opening of the exhaust duct and start on a low setting. Once you’ve confirmed the air is flowing, turn it to full blast to propel all of the loose dust through the exhaust duct and out of the house. This method is far better than using a vacuum, which often lacks the reach or suction to clear out debris trapped deep inside the piping. A gust of air from the leaf blower, conversely, handles those far-off dust bunnies with ease.

Contain the Mess

The one drawback to the leaf blower method is the potential mess wherever the exhaust duct empties out — like your backyard or driveway. To prevent dust from getting everywhere, have a helper hold a shop vac at the exterior vent (remember to remove the cover first) to catch the debris as it exits. You might have to seal the shop vac to the exterior vent to keep everything contained. While you’re using the leaf blower to push dust out, the vacuum will be there to swallow it at the other end. And just like that, you’ll have a clean dryer vent without a secondary mess to clean up afterward.

Advertisement
Featured Image Credit:  Benjamin Clapp/ iStock | Updated  Jan 13, 2026 |
Bennett Kleinman
Staff Writer
Bennett Kleinman is a New York City-based staff writer for Inbox Studio, covering topics for several brands including House Outlook and Better Report. He previously contributed to television programs such as "Late Show With David Letterman" and "Impractical Jokers," and digital publications like The Onion. Bennett is also a devoted New York Yankees and New Jersey Devils fan, and thinks plain seltzer is the best drink ever invented.
This article is for general informational purposes only.
Featured Image Credit:  Benjamin Clapp/ iStock | Updated  Jan 13, 2026 |
Advertisement
Food & Drink 3m read
0

Stop Prepping Avocados the Hard Way — Use a Whisk

In the U.S., avocados have exploded in popularity over the last several decades. You can now find them on virtually any restaurant menu, used in everything from avocado toast and guacamole to sushi and salads. They’re versatile and delicious, with a creamy texture that’s rarely found in other produce. Packed with fiber, healthy fats, and antioxidants, the fruit has become a staple on many people’s weekly grocery lists.

All featured products and deals are selected independently and objectively by the author. House Outlook may receive a share of sales via affiliate links in content.

In the U.S., avocados have exploded in popularity over the last several decades. You can now find them on virtually any restaurant menu, used in everything from avocado toast and guacamole to sushi and salads. They’re versatile and delicious, with a creamy texture that’s rarely found in other produce. Packed with fiber, healthy fats, and…

The one downside to cooking with avocados is preparing them. You have to remove the pit, scoop out the flesh, and cut it into pieces — or mash it for guacamole. While it isn’t the most difficult process, it becomes tedious when you’re dealing with a large quantity of avocados. While many people use a knife to pit and slice, doing so can easily result in a nasty hand injury, especially if you’re trying to move fast through a large batch.

Related: Fruits and Vegetables You Should Never Store Together

A Hack That Will Whisk You Off Your Feet

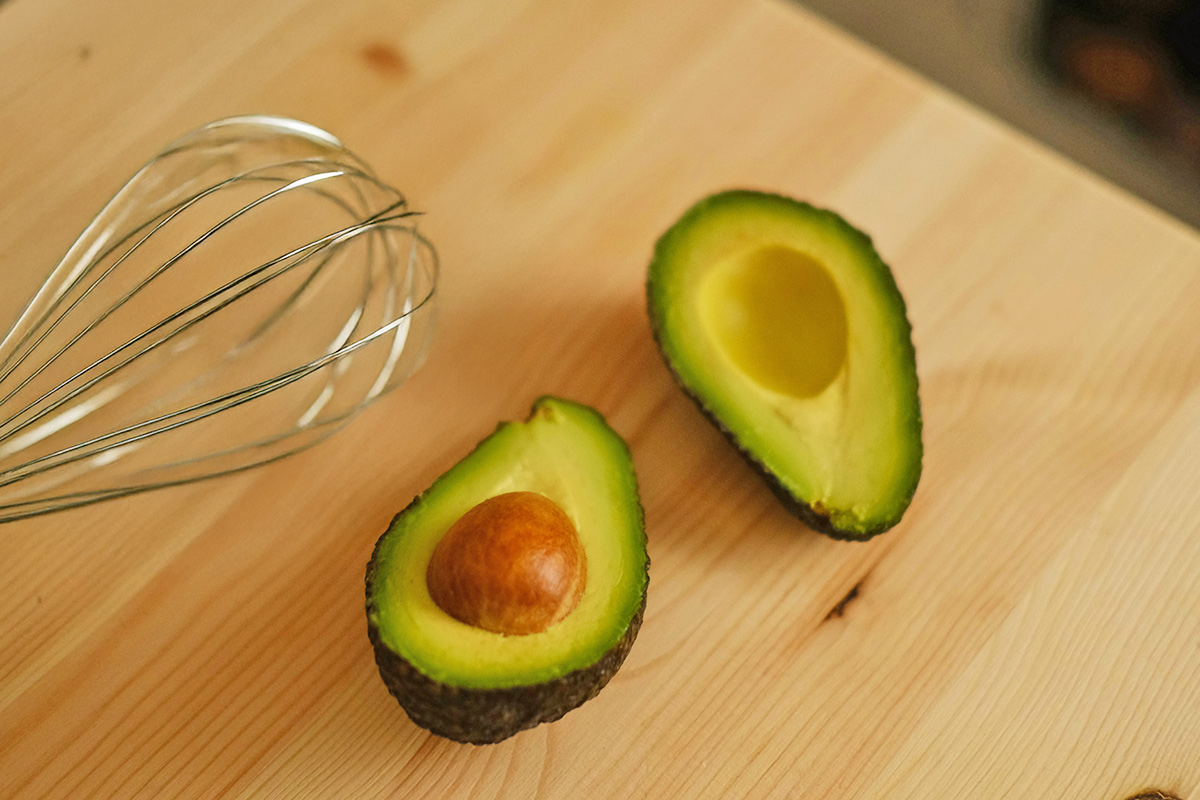
That’s where this trick comes in. It uses a tool you almost certainly have in your kitchen drawer: a wire whisk.

To start, cut your avocado in half and remove the pit — you can do the latter safely using your fingers or a spoon. Hold an avocado half in your nondominant hand and a wire whisk in your dominant hand. Press the head of the whisk straight into the fruit until it reaches the skin, then gently twist in either direction.

Advertisement

This clever hack achieves two goals at once: It scoops the flesh out of the skin and it cuts it into bite-sized pieces. The flesh will stay inside the whisk — all you need to do is tap it against the side of your bowl to release it. If you’re a visual learner, check out this helpful video tutorial.

Bonus Hack: Brush Leftover Avocado Halves With Lemon Juice

Cut too many avocado halves? Simply brush them with lemon or lime juice. The acidity slows the oxidization process, preventing the avocados from turning brown as quickly. You’ll still want to use them up within one or two days, though, before the texture starts to turn mushy.

Advertisement
Featured Image Credit:  beyza yurtkuran/ Unsplash | Updated  Jan 13, 2026 |
Allegra Ringo
Writer
Allegra Ringo is a California-based writer who has written for publications including Reductress, The Hard Times, VICE, and The Atlantic. She loves sparkling water and old Chihuahuas with hardly any teeth, like her dog Pistachio.
This article is for general informational purposes only.
Featured Image Credit:  beyza yurtkuran/ Unsplash | Updated  Jan 13, 2026 |