Advertisement
Cleaning 3m read
0

3 Hacks for Dusting Oddly Shaped Items

There’s something deeply satisfying about running a handheld duster over a smooth, flat surface. But honestly, how often does that really happen? With home decor clustered on shelves and tabletops, dusting is only ever that easy if you remove everything first. And while a deep clean calls for clearing surfaces, weekly maintenance requires something more accessible — especially since those oddly shaped items need dusting too.

All featured products and deals are selected independently and objectively by the author. House Outlook may receive a share of sales via affiliate links in content.

There’s something deeply satisfying about running a handheld duster over a smooth, flat surface. But honestly, how often does that really happen? With home decor clustered on shelves and tabletops, dusting is only ever that easy if you remove everything first. And while a deep clean calls for clearing surfaces, weekly maintenance requires something more…

How To Dust Oddly Shaped Objects

Instead of struggling to pick up every speck of dust with a traditional duster, try one of these easy ways to clean oddly shaped objects — whether it’s a bookend, sculptural decor, or that collection of crystals scattered across your shelf.

Related: Dust Less Often With This DIY Cleaning Spray

1. Use Microfiber Dusting Gloves

Microfiber cloths pick up nearly everything, making them one of the best tools for dusting — and gloves made from the same material take it a step further. Microfiber dusting gloves give you more control when cleaning, which is especially helpful for delicate items, such as houseplant leaves, as well as odd-shaped tchotchkes and souvenirs from your travels. With these gloves, you can cover larger surface areas with the palm of your hand, reach into tight crevices with your fingers, and maintain a gentle touch that protects your valuables.

Advertisement

2. Try a Paintbrush

A paintbrush is another great hack for dusting oddly shaped objects, especially those with lots of nooks and crannies. Since paintbrush bristles work more like a tiny broom than a duster, however, the dust doesn’t really cling to them. That’s why we recommend saving this trick for deep-cleaning days, when you can take items down, give them a good brush, and put them back without kicking up a bunch of dust.

3. Opt for a Lint Roller on Upholstery

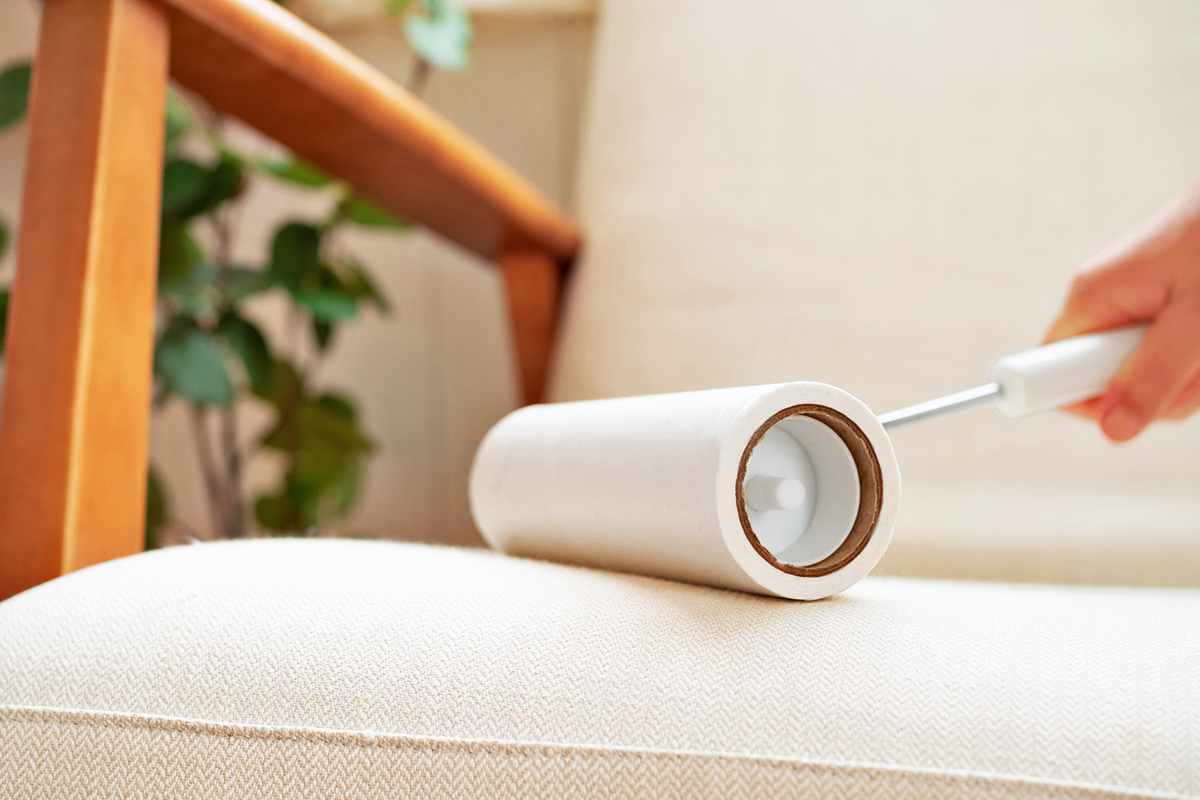
Lint rollers are a household essential for pet owners. While these tools are typically used to remove fur and lint from clothing, they work just as well on upholstered furniture and decor. For bigger jobs, you can even find extra-large versions with extendable handles to use on your sofa, bed, and rugs.

Advertisement
Featured Image Credit:  kaorinne/ iStock | Updated  Jan 13, 2026 |
Jessie Quinn
Writer
Jessie Quinn is a Los Angeles-based lifestyle journalist with words published in PEOPLE, StyleCaster, Apartment Therapy, The Spruce, Byrdie, and more. She has a Bachelor's Degree in fashion journalism from Academy of Art University and her work spans across many categories, including style, beauty, home, health, crafts, and more.
This article is for general informational purposes only.
Featured Image Credit:  kaorinne/ iStock | Updated  Jan 13, 2026 |
Advertisement
Organizing 3m read
0

‘Scary Hour’ Helps You Complete Tasks You Don’t Want To Do

There’s no shortage of clever productivity tricks floating around TikTok, but every now and then a hack comes along that actually sticks. Enter “scary hour,” a simple yet genius system created by TikTok user @tiredbutcozy to help you finally tackle the annoying, stressful tasks you’ve been pretending don’t exist. Think: paying that parking ticket you shoved in a drawer, rescheduling your dentist appointment for the third time, or responding to an uncomfortable email you’d rather leave unread forever. These are your “scary” tasks — small but dreadful — and scary hour carves out a dedicated window to confront them.

There’s no shortage of clever productivity tricks floating around TikTok, but every now and then a hack comes along that actually sticks. Enter “scary hour,” a simple yet genius system created by TikTok user @tiredbutcozy to help you finally tackle the annoying, stressful tasks you’ve been pretending don’t exist. Think: paying that parking ticket you…

The Premise

Dedicate one hour a day to handling up to three scary tasks, and then you’re done. No bonus tasks, no adding things at the last minute, and no spiraling into a four-hour stress marathon. To reiterate: one hour, a maximum of three tasks, and nothing more.

Related: This One Question Will Change How You Declutter

Why It Works

This approach works because it sets boundaries around the tasks you’d otherwise avoid indefinitely. Instead of letting dread snowball until a chore feels monumental, scary hour contains the discomfort inside a predictable, time-boxed window. And if you don’t finish? You simply carry the leftovers into the next day’s scary hour — no guilt and no pressure to power through. If a task is large (hello, insurance phone calls), you can split it across several days without feeling like you failed.

Advertisement

A Surprising Bonus

The tasks rarely take the full hour. You might spend five minutes disputing a charge or 10 minutes making that doctor’s appointment you’ve been putting off for six months. This structure helps you realize that scary tasks are rarely as big as they feel; they’re just emotionally daunting. Once you face them, they shrink.

How To Get Started

To try it yourself, start by listing every nagging task you’ve been avoiding. Pick up to three for tomorrow’s scary hour, set a timer, and get to work. Keep the vibe low-pressure. Play music, make a cup of coffee, or light a candle — whatever makes the hour feel tolerable, even cozy. When the timer goes off, you’re officially done for the day, regardless of how much you finished.

It’s simple, manageable, and honestly kind of freeing. With scary hour in your back pocket, that pile of dreaded to-dos suddenly feels a lot less … scary.

Advertisement
Featured Image Credit:  Unsplash+ via Getty Images | Updated  Jan 12, 2026 |
Jill Layton
Writer
Jill Layton started writing professionally when she realized her emails and texts were kinda funny. She’s an affiliate shopping writer and lifestyle contributor for Scary Mommy, Bustle, Mic, and Best Products. She’s the mom of two alarmingly witty kids and the world’s most perfect dog.
This article is for general informational purposes only.
Featured Image Credit:  Unsplash+ via Getty Images | Updated  Jan 12, 2026 |
Advertisement
Home Improvement 3m read
0

Are Dents Ruining Your Hardwood Floors? Try This

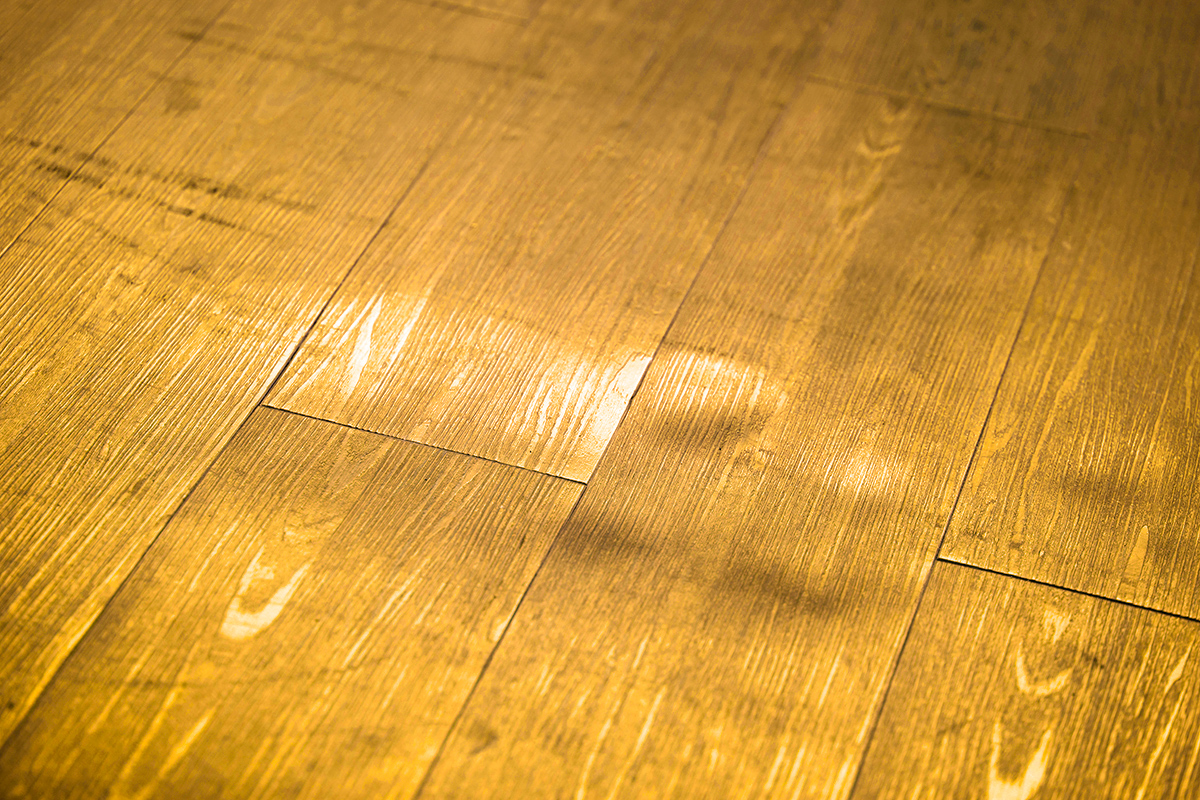
Hardwood flooring is the pride of many homeowners, and its beauty and durability are well worth the investment. Yet, no matter how many rugs you lay down or furniture pads you use to protect the wood, dents are bound to happen over time.

All featured products and deals are selected independently and objectively by the author. House Outlook may receive a share of sales via affiliate links in content.

Hardwood flooring is the pride of many homeowners, and its beauty and durability are well worth the investment. Yet, no matter how many rugs you lay down or furniture pads you use to protect the wood, dents are bound to happen over time.

When they appear, you might assume a costly repair is the only fix. In reality, all it takes is a bit of water, steam, and elbow grease to make your hardwood floors look as good as new. Here’s how to erase those blemishes in just a few hours.

A Solution That’s Gaining Steam

The general idea behind this hack is using moisture and heat to swell the wood fibers back to their original shape. But before you give it a shot, you’ll need a few tools: a handheld steam iron, a water supply, shop rags, a clean cloth, and a box cutter or another sharp knife that’s safe to handle.

Related: Quiet Creaky Floors With This Household Item

Begin by locating the dent(s), using small pieces of painter’s tape to mark the affected areas. If your hardwood floors are sealed, use the box cutter to poke a few tiny holes within the dent, following the woodgrain pattern so they blend in naturally. The aim is to pierce the clear coating just enough for water to absorb into the wood. Next, tear a shop rag into small strips sized to the circumference of the dent(s) and submerge them in water. Once they’re soaking wet, wad each strip into a ball and dab the perforated areas so moisture seeps into the holes. Then, place one wad over each dent and let them sit for about five hours.

Advertisement

When you return, you may see tiny, discolored spots in the wood. Don’t worry — this is just absorbed water that will evaporate in time, causing the spots to disappear. Turn the iron to its hottest setting, and as it heats up, soak another clean cloth in water. Lay the wet cloth over the dent and press the iron onto it for about 20 seconds. You should hear a lot of hissing as the steam is released; this is perfectly normal. After 20 seconds, remove the iron and set it aside. If the dent remains, you can repeat the process — just make sure the cloth is still damp, or you risk leaving an iron mark on the floor.

Ideally, when you lift the cloth, you should notice the dent has swollen due to all the absorbed moisture. In fact, it may be so swollen that it feels more like a bump than a dent. If this is the case, don’t fret; the wood will shrink back down as the water evaporates, leaving the surface nice and flush.

After 24 to 48 hours, once the water has fully evaporated, run your hand over the area. If there’s still a prominent bump, sand it back down with a high-grit sandpaper. To protect against dirt or future water damage, reseal the spots with a product (e.g., a water-based polyurethane) that matches your floor’s specific sheen. In the end, you won’t be able to tell that anything was ever amiss.

Advertisement
Featured Image Credit:  Andrey Popov/ Adobe Stock | Updated  Jan 7, 2026 |
Bennett Kleinman
Staff Writer
Bennett Kleinman is a New York City-based staff writer for Inbox Studio, covering topics for several brands including House Outlook and Better Report. He previously contributed to television programs such as "Late Show With David Letterman" and "Impractical Jokers," and digital publications like The Onion. Bennett is also a devoted New York Yankees and New Jersey Devils fan, and thinks plain seltzer is the best drink ever invented.
This article is for general informational purposes only.
Featured Image Credit:  Andrey Popov/ Adobe Stock | Updated  Jan 7, 2026 |
Advertisement
Decorating 3m read
0

This One Decor Item Is Always Worth Thrifting

Before you click “add to cart” on new — and probably expensive — pillow inserts, try this thrift-store hack from TikToker Carrie Anne Harmon of Moonlight Market Co. The home DIY creator has a true “Why didn’t I think of that?” tip: Stop buying brand-new pillow inserts and browse your local secondhand shop instead. High-quality pillow inserts, especially those filled with feathers or down, are notoriously expensive when purchased new. But there may be some hiding in plain sight at your local thrift store, tucked inside ugly throw pillows.

Before you click “add to cart” on new — and probably expensive — pillow inserts, try this thrift-store hack from TikToker Carrie Anne Harmon of Moonlight Market Co. The home DIY creator has a true “Why didn’t I think of that?” tip: Stop buying brand-new pillow inserts and browse your local secondhand shop instead. High-quality…

What To Look For in Thrifted Pillow Inserts

Next time you’re wandering the aisles of a thrift shop’s home section, skip the novelty mugs and head straight for the pillows. Pick up each throw pillow and give it a solid squeeze. If it feels soft, springy, and slightly weighty — rather than lumpy or lifeless — there’s a good chance it’s filled with feathers or down instead of polyester fill.

Next, look for a zipper on the pillow. Decorative pillows are often designed with removable covers so the insert can be easily reused. Unzip the pillow and check for a tag; that’s the key to verifying the fill content. Feather and down inserts are preferred because they hold their shape far better (and far longer) than synthetic alternatives.

Related: How To Make Your Throw Pillows Extra Fluffy

When bought new, feather inserts can cost a pretty penny — and the bigger the pillow, the higher the price tag. Thrift stores, however, often price entire pillows — inserts and covers — for just a few dollars. Discard or donate the outer cover if it’s not your style and keep the high-quality insert for your own covers at home.

Advertisement

Why You Should Buy Feather or Down Inserts

You can’t see an insert, but you can definitely feel the difference. Compared to polyester fill, feathers and down are more durable, breathable, and long-lasting.

How To Wash Thrifted Pillow Inserts

Much like thrifted clothing, secondhand pillow inserts require a deep clean before use. Wash them on a gentle cycle with mild detergent and warm (not hot) water. Run an extra rinse cycle to ensure all the soap washes away. Dry the pillows thoroughly on low heat with a couple of clean tennis balls or dryer balls to help restore their fluffy shape. To prevent mildew, make sure the inserts are completely dry before putting them back in their covers.

Advertisement
Featured Image Credit:  Alex Potemkin/ iStock | Updated  Jan 7, 2026 |
Megan McCarty
Writer
Megan McCarty is a Los Angeles-based writer who covers the fun stuff: design, travel, wellness, beauty, and fashion. She has written for publications including Domino, The Spruce, MyDomaine, Bustle, and Rue Magazine. Her life rules include, but are not limited to, zipper when merging, contribute to your IRA, and do the nice thing.
This article is for general informational purposes only.
Featured Image Credit:  Alex Potemkin/ iStock | Updated  Jan 7, 2026 |
Advertisement
Cleaning 2m read
0

One Little Trick That Makes Changing Sheets Faster

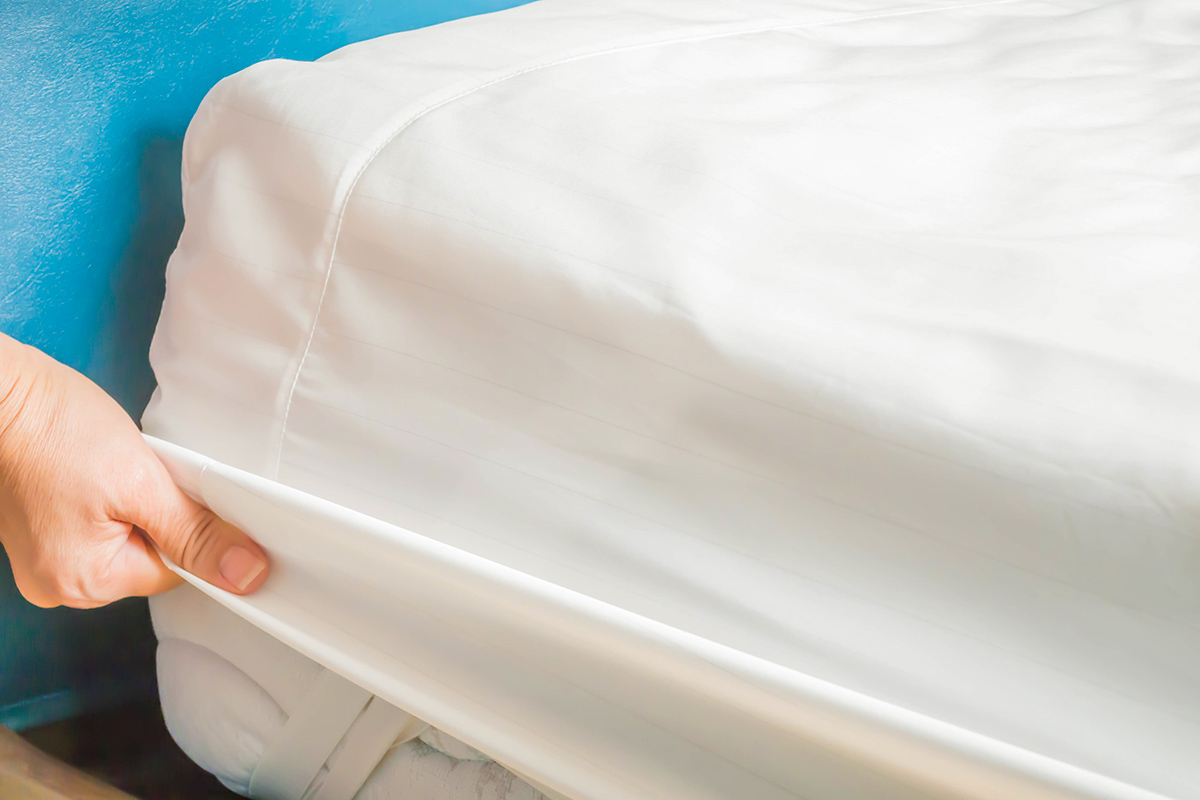
Wrestling with sheets — specifically the stubborn fitted kind — is one of the worst parts of laundry day. Whether you struggle to get that last corner over the mattress or can never seem to figure out which side is the short one, it’s frustrating enough to make you wonder who invented fitted sheets and if they did it out of pure malice.

All featured products and deals are selected independently and objectively by the author. House Outlook may receive a share of sales via affiliate links in content.

Wrestling with sheets — specifically the stubborn fitted kind — is one of the worst parts of laundry day. Whether you struggle to get that last corner over the mattress or can never seem to figure out which side is the short one, it’s frustrating enough to make you wonder who invented fitted sheets and…

As it turns out, Bertha Berman patented the fitted sheet in 1959 as an improvement to flat sheets, ensuring the corners would fit snugly around the mattress every time. And while fitted sheets can be frustrating to deal with, you only need one trick to get them on the bed correctly on your first try.

Related: The Secret to Luxuriously Soft Bed Sheets

Locate the Care Label

When it comes to distinguishing the short side of a fitted sheet from the long one, there’s a secret indicator most of us have completely overlooked. While some manufacturers make it easy for you by including tags labeled “top” or “bottom,” many do not. In those cases, look for the interior care label — it’s almost always intended for the bottom right corner of the mattress, making it easy to align the sheet every time. For a total cheat, opt for a patterned sheet (such as a vertical stripe) so you never have to second-guess the direction again.

Advertisement

More Tips for Taming a Fitted Sheet

If getting that last corner onto your mattress is the bane of your existence, YouTube creator Clean That Up recommends the U-shape method. Start by putting the fitted sheet over the bottom-right corner, then move to the top-right, followed by the top-left, and finally the bottom-left. This prevents it from popping off and undoing your hard work. To secure that tricky final corner, use the bear claw technique: Pin the sheet against the mattress with one hand while using your other hand to pull the elastic edge over the corner.

Advertisement
Featured Image Credit:  penkanya/ iStock | Updated  Jan 7, 2026 |
Jessie Quinn
Writer
Jessie Quinn is a Los Angeles-based lifestyle journalist with words published in PEOPLE, StyleCaster, Apartment Therapy, The Spruce, Byrdie, and more. She has a Bachelor's Degree in fashion journalism from Academy of Art University and her work spans across many categories, including style, beauty, home, health, crafts, and more.
This article is for general informational purposes only.
Featured Image Credit:  penkanya/ iStock | Updated  Jan 7, 2026 |
Advertisement
Home Improvement 2m read
0

Want To Know If a Battery’s Dead? Do This

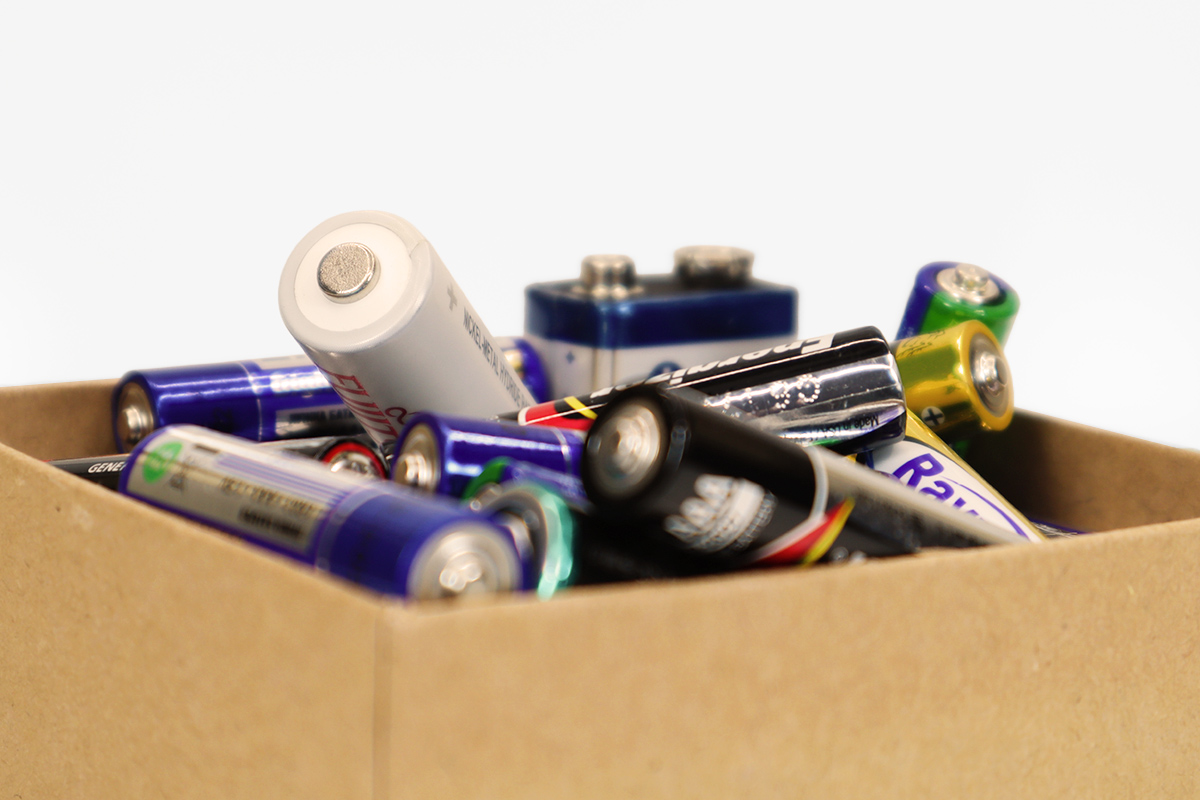
Batteries seem to die at the most inopportune moments. Imagine settling into the couch to watch the latest episode of your favorite TV show, only to discover the remote control is dead. To make matters worse, the “spares” in your storage case might be just as lifeless. Depending on how organized your collection is, you might have to test multiple batteries before finding one that works — especially since they begin to degrade after five to 10 years. There is one trick, however, that can expedite the process and would make Sir Isaac Newton proud. Here’s how to tell if a battery is new, used, or dead simply by using gravity.

All featured products and deals are selected independently and objectively by the author. House Outlook may receive a share of sales via affiliate links in content.

Batteries seem to die at the most inopportune moments. Imagine settling into the couch to watch the latest episode of your favorite TV show, only to discover the remote control is dead. To make matters worse, the “spares” in your storage case might be just as lifeless. Depending on how organized your collection is, you…

A Supercharged Solution

Inside every alkaline battery is a layer of zinc. When the battery powers a device, that zinc turns into zinc oxide to create electricity. However, before a battery is used, this internal zinc is a dense, gel-like paste that absorbs kinetic energy upon impact.

Related: Out of AA Batteries? Try This Quick Fix

For this reason, if you drop a brand-new battery from a low height, the internal zinc gel will absorb the impact when it hits the floor. You should notice a dull “thud” and little to no bounce. When a battery is dead, the internal zinc oxide stiffens, losing its ability to cushion the fall and causing a slight bounce. Word to the wise: A drop of just a few inches is sufficient; any higher and you risk damaging the battery or the floor.

Advertisement

The Limits of the Bounce Test

In 2015, researchers at Princeton University sought to prove the validity of the bounce test. Their findings showed that while the test works to some degree, there’s a bit of a gray area. It’s true that new batteries won’t bounce while dead ones will, but partially charged batteries have some spring in them too. In fact, batteries hit their maximum bounce level at around the 50% charge mark, meaning a battery will bounce just as high whether it’s half-full or dead.

Because of this, don’t rely on gravity to determine a battery’s exact charge. The test works very well for identifying a brand-new battery, but for a specific reading of how much charge is left, you’re better off using a handheld battery tester.

Advertisement
Featured Image Credit:  Yevhen Roshchyn/ Adobe Stock | Updated  Jan 7, 2026 |
Bennett Kleinman
Staff Writer
Bennett Kleinman is a New York City-based staff writer for Inbox Studio, covering topics for several brands including House Outlook and Better Report. He previously contributed to television programs such as "Late Show With David Letterman" and "Impractical Jokers," and digital publications like The Onion. Bennett is also a devoted New York Yankees and New Jersey Devils fan, and thinks plain seltzer is the best drink ever invented.
This article is for general informational purposes only.
Featured Image Credit:  Yevhen Roshchyn/ Adobe Stock | Updated  Jan 7, 2026 |
Advertisement
Food & Drink 3m read
0

Why Every Baker Should Keep Flour in the Freezer

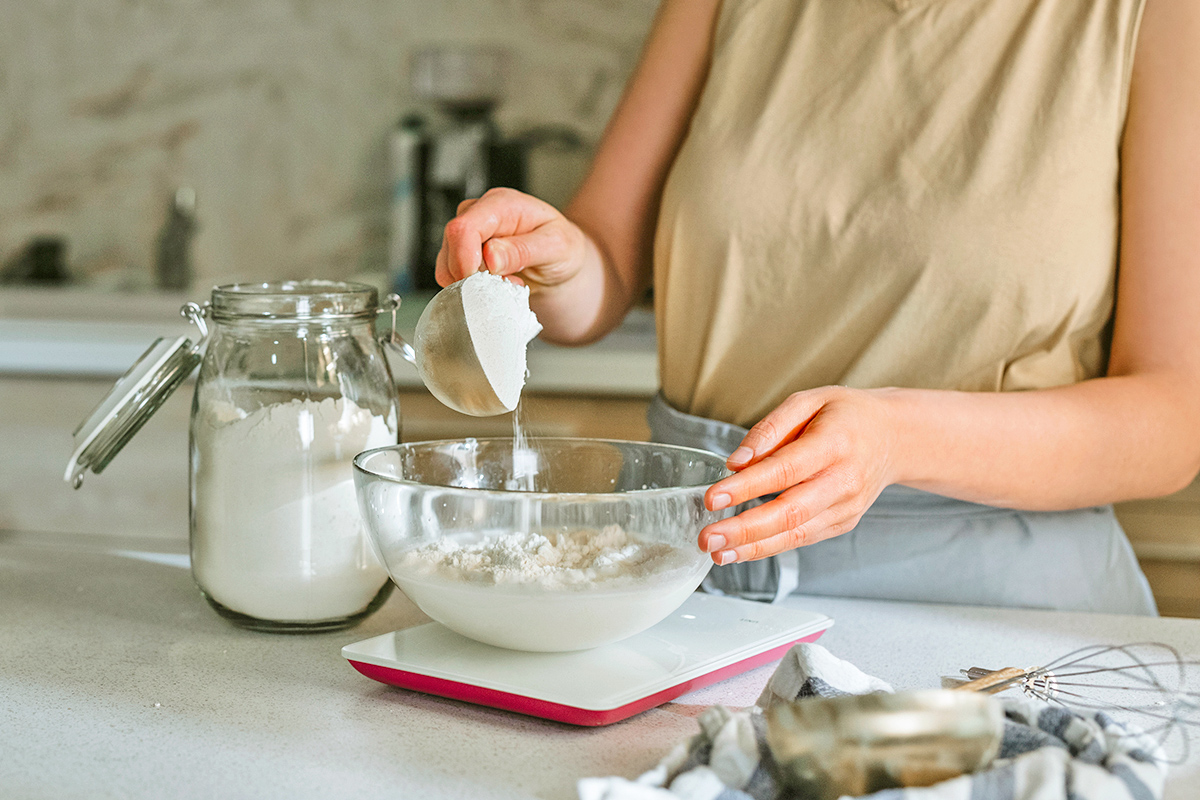
Baking is like chess: You can learn the basics in just a few hours, but true mastery is a lifelong pursuit, and there are always new things to learn if you want to keep getting better. The difference between a mediocre loaf and the best bread you’ve ever pulled from the oven — and achieving the best baking results in general — usually comes down to what you learn along the way. Consider flour, for example. It’s fundamental to almost all baking, yet most of us aren’t storing it properly. For the best results, you should be keeping it in the freezer.

All featured products and deals are selected independently and objectively by the author. House Outlook may receive a share of sales via affiliate links in content.

Baking is like chess: You can learn the basics in just a few hours, but true mastery is a lifelong pursuit, and there are always new things to learn if you want to keep getting better. The difference between a mediocre loaf and the best bread you’ve ever pulled from the oven — and achieving…

Flour Can, and Will, Spoil

Flour is one of those pantry staples we broadly think of as dry goods. Because it’s shelf-stable and doesn’t need much special handling, most of us simply bring it home, pop it into a cupboard or pantry, and forget about it.

Related: Why You Should Store Potato Chips in the Freezer

But proper storage makes food last longer, and flour is no exception. For instance, heat and humidity can cause it to spoil or even develop mold. There’s also the risk of flavor transfer, where flour absorbs odors from nearby spices or fragrant foods (like onions), which then show up in your baked goods. And for whole-wheat flour and other whole grains, rancidity is the biggest threat. This happens when the grain’s natural oils oxidize and break down, developing bitter “off” flavors. In fact, many people who don’t care for wheat breads may just be sensitive to those early traces of rancidity.

Advertisement

Your Best Bets for Flour Storage

If you consistently use up your flour within a couple of months, room-temperature storage is likely sufficient. You should still make a point of storing your flour in a cool, dry, well-ventilated spot — ideally in a sturdy bag or container that keeps out moisture, pests, and odors. However, you should opt for freezer storage if you:

• Bake only occasionally

• Keep a variety of flours on hand that aren’t used regularly

• Stock up on flour at wholesale retailers or during sales

• Work primarily with whole-grain flour

If any of these scenarios apply to you, it may be time to up your flour storage game. For long-term storage, transfer the flour to heavy-duty, airtight containers or bags, label them, and keep them in the freezer. Your flour will be protected from heat and moisture, and its oils won’t oxidize. The popular reference site EatByDate estimates the shelf life of white flour at room temperature at six to eight months, but it’s only four to six months for whole-wheat or self-rising flour — and that’s under ideal storage conditions. Moving your supply to the freezer extends that lifespan to two years for white flour and up to one year for whole-grain flours.

Advertisement
Featured Image Credit:  FreshSplash/ iStock | Updated  Jan 7, 2026 |
Fred Decker
Writer
Fred Decker is a trained chef and former restaurateur. Since closing his restaurants over a decade ago he has been a prolific freelance writer, publishing several thousand articles on dozens of high-volume websites including Taste Of Home, Hunker, Tasting Table, Week&, eHow, and GOBankingRates. He lives on a rural acreage shared with a big garden, chickens, rabbits, and grandkids.
This article is for general informational purposes only.
Featured Image Credit:  FreshSplash/ iStock | Updated  Jan 7, 2026 |
Advertisement
Food & Drink 3m read
0

Why You Shouldn’t Cook Garlic Right After Chopping

Garlic is one of the world’s favorite flavors, and you’d have to think long and hard to name a cuisine that doesn’t use it. It pairs perfectly with just about anything savory, and while garlic powder is a handy pantry staple, fresh garlic is the undisputed king. It delivers bigger, bolder flavor and more versatility, and it won’t leave behind that bitter, metallic aftertaste garlic powder sometimes has. However, there is one important nuance to be aware of: Adding garlic to the pan as soon as you’ve finished chopping it isn’t ideal. Here’s why.

Garlic is one of the world’s favorite flavors, and you’d have to think long and hard to name a cuisine that doesn’t use it. It pairs perfectly with just about anything savory, and while garlic powder is a handy pantry staple, fresh garlic is the undisputed king. It delivers bigger, bolder flavor and more versatility,…

The Chemistry of Garlic Flavor, and Why It Matters

Garlic’s flavor comes from a high concentration of sulfur compounds inside its juicy cloves — a trait it shares with the rest of the onion family. This is important because sulfur is a highly reactive element. When you chop fresh garlic, you’re breaking down the cell walls and allowing the garlic’s own enzymes to mingle with those compounds. The biggest players here are a molecule called alliin and an enzyme called alliinase. Once the garlic’s cell walls are crushed, the enzyme converts the alliin to allicin — the molecule responsible for garlic’s pungent flavor.

Related: A Simple Trick for Getting the Garlic Smell Off Your Hands

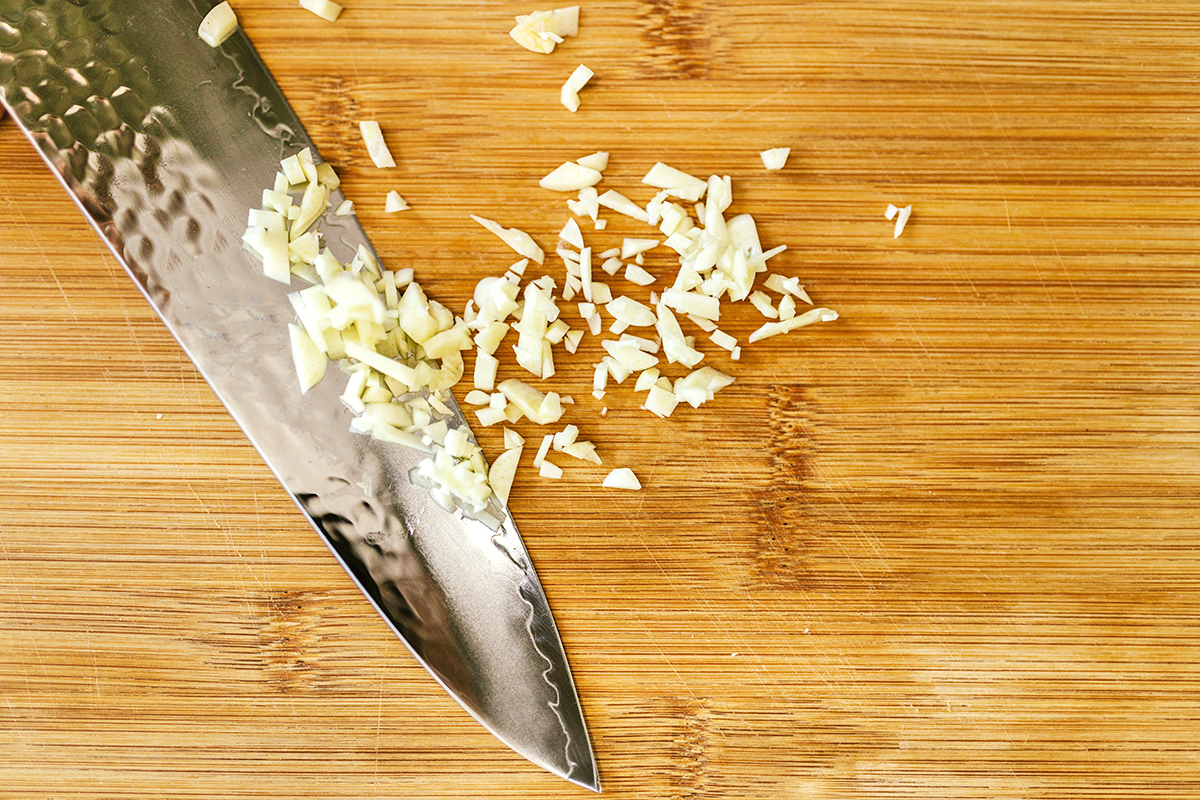
Chefs know that the finer you chop garlic, the more allicin is produced. A coarse chop, for example, smashes fewer cell walls, resulting in a lower concentration of allicin. If you chop your garlic finely or mince it to a paste, you’re creating significantly more allicin. Either way, allowing it to rest for 10 to 15 minutes after putting down your knife gives the alliinase time to do its work, building a richer and more complex garlic flavor.

Advertisement

Patience Is a Virtue

There’s another benefit to that resting time: Many cooks tend to put their chopped garlic into the pan too early, while the onions and other aromatic ingredients are just beginning to soften. This makes it easy to scorch the garlic, which makes it bitter and unpleasant. If you wait and add the garlic at the last minute, stirring frequently before adding any liquids or other ingredients, it has all the time it needs to mellow out and become aromatic.

Advertisement
Featured Image Credit:  RDNE Stock project/ Pexels | Updated  Jan 7, 2026 |
Fred Decker
Writer
Fred Decker is a trained chef and former restaurateur. Since closing his restaurants over a decade ago he has been a prolific freelance writer, publishing several thousand articles on dozens of high-volume websites including Taste Of Home, Hunker, Tasting Table, Week&, eHow, and GOBankingRates. He lives on a rural acreage shared with a big garden, chickens, rabbits, and grandkids.
This article is for general informational purposes only.
Featured Image Credit:  RDNE Stock project/ Pexels | Updated  Jan 7, 2026 |
Advertisement
Cleaning 2m read
0

The Best Way To Clean Salt Residue Off Your Floors

When you think of winter, chunky knit blankets, roaring fireplaces, and steaming mugs of hot cocoa might come to mind. But for anyone who lives in a snowy climate and likes a spotless home, the season also means contending with salt trickling in after each snowstorm. Salt may be helpful for melting ice and providing traction outdoors, but it’s a pain to deal with indoors, especially when it leaves behind stubborn residue. If your go-to cleaners aren’t cutting it, follow this step-by-step guide to get your floors looking pristine again.

All featured products and deals are selected independently and objectively by the author. House Outlook may receive a share of sales via affiliate links in content.

When you think of winter, chunky knit blankets, roaring fireplaces, and steaming mugs of hot cocoa might come to mind. But for anyone who lives in a snowy climate and likes a spotless home, the season also means contending with salt trickling in after each snowstorm. Salt may be helpful for melting ice and providing…

What You’ll Need

• Vacuum or broom

Soft mop

Spray bottle

• Microfiber cloth or towel

• Distilled white vinegar

• Warm water

Liquid dish soap (optional)

Advertisement

How To Get Rid of Salt Residue on Floors

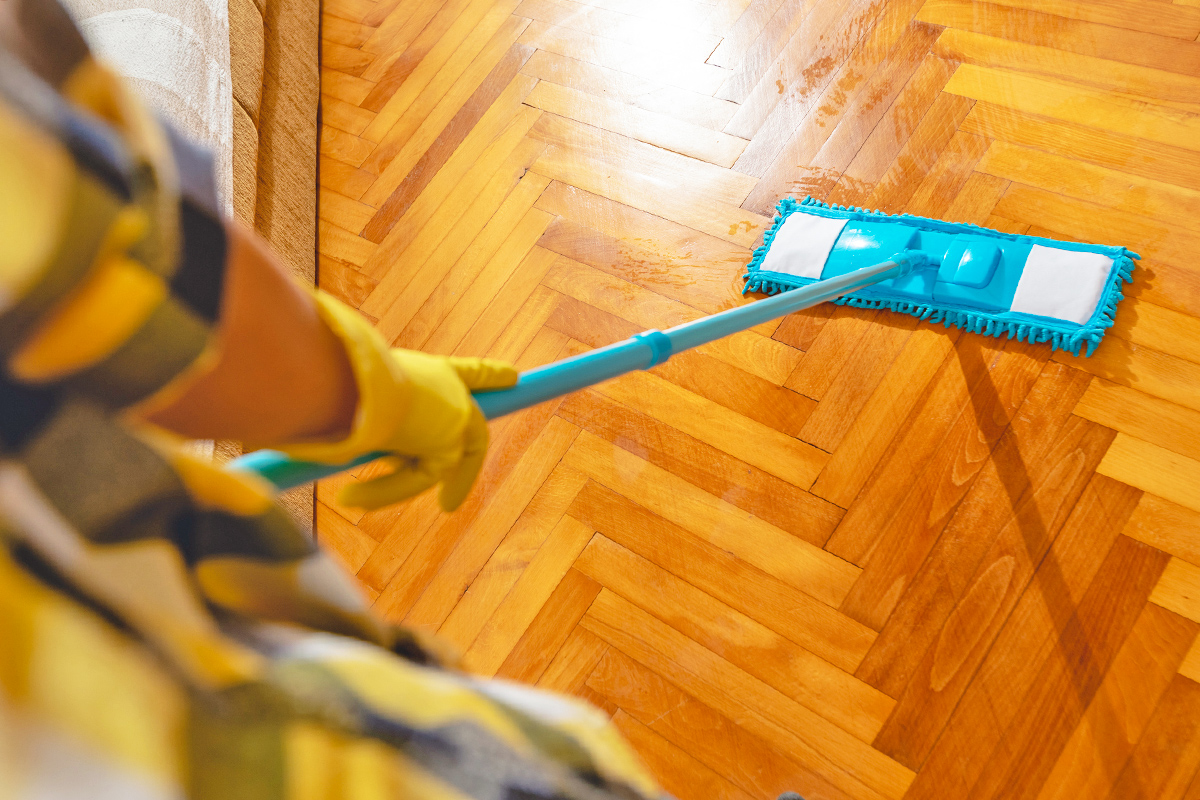
Start by vacuuming or sweeping to clear away any loose salt and debris. Next, create a cleaning solution using 1/3 cup of distilled white vinegar per gallon of warm water and transfer it into a spray bottle. For particularly stubborn stains, add a few drops of liquid dish soap to the bottle and shake well.

Related: 9 Messes You Should Never Clean With a Vacuum Cleaner

Spray the solution onto the floor and let it sit for 10 to 15 minutes to break down the minerals. Then, dampen a clean mop or cloth with lukewarm water and go over the area again. Vinegar is acidic, and if you don’t rinse it away, it could dull the floor’s finish over time. Finally, use a dry mophead, microfiber cloth, or towel to wipe down the floor, making sure it’s completely dry and no moisture remains.

Advertisement

Give It a Test Run First

There’s no denying that tracked-in salt can damage floors. However, using certain cleaners can be just as harsh. This hack is intended only for sealed floors; if you want to be extra cautious, perform a patch test in a discreet corner first. Apply a small amount of the cleaner to see how the finish holds up. The last thing you want to do is go all-in with a cleaning spray only to realize you’ve created a bigger mess than the one you were trying to clean.

Advertisement
Advertisement
Home Improvement 3m read
0

The Hidden Fridge Setting That Saves Energy

Many people take vacations to relax and reenergize. But as you’re recharging by the pool, think of all the appliances back home that are using up electricity while you’re gone. Take the fridge, for example, which is full of perishables that would quickly spoil if you unplugged it. Thankfully, most modern refrigerators have a hidden vacation setting designed to keep your food cool and your energy bills low. Here’s how it works.

Many people take vacations to relax and reenergize. But as you’re recharging by the pool, think of all the appliances back home that are using up electricity while you’re gone. Take the fridge, for example, which is full of perishables that would quickly spoil if you unplugged it. Thankfully, most modern refrigerators have a hidden…

A Setting That Keeps You From Fretting

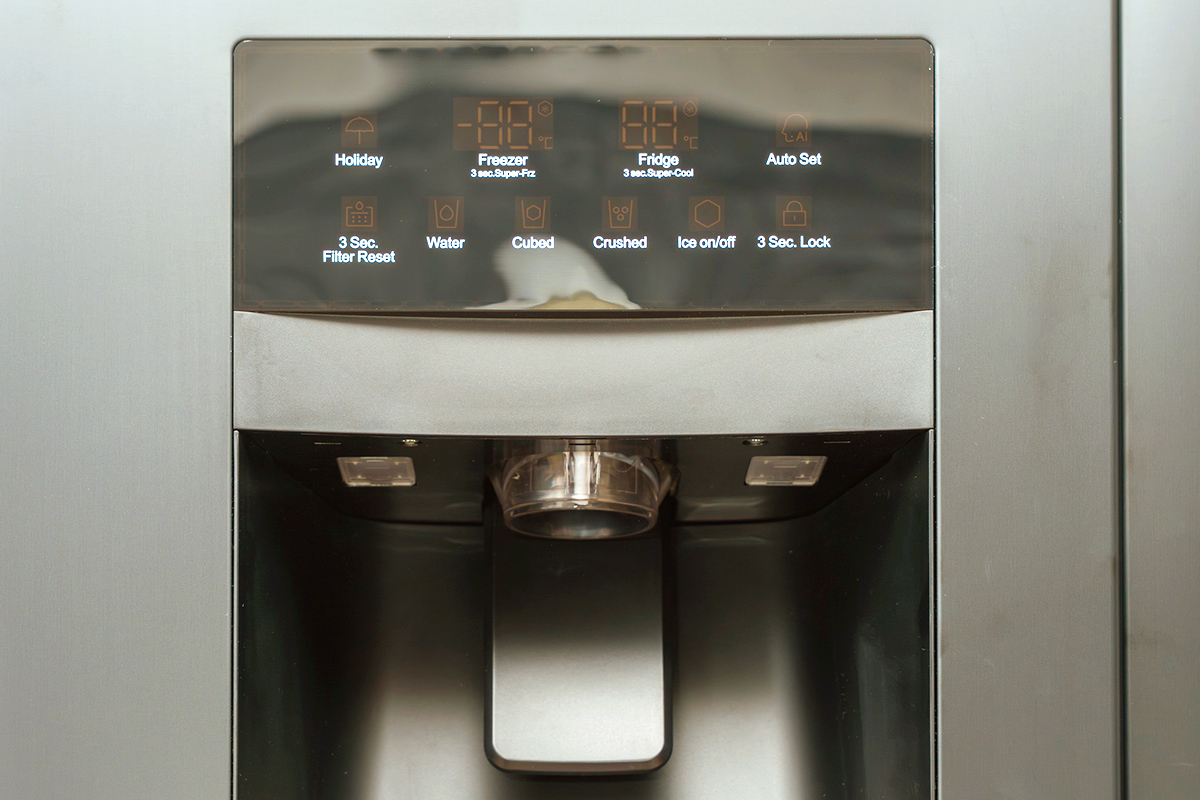
While Lindsey Buckingham once sang about “Holiday Road,” we’re singing the praises of “holiday mode.” Many modern refrigerators — from the early 2000s onward — are programmed with either a holiday mode or a vacation mode. On most models, switching to this setting raises the temperature inside the fridge compartment by about 10 to 15 degrees Fahrenheit. A normal, food-safe refrigerator temperature is 40 degrees Fahrenheit or below, but in holiday mode, the fridge typically maintains a warmer temperature of around 45 to 50 degrees Fahrenheit to conserve power.

Because of this, you should try to consume any perishables before taking off, leaving behind only low-risk items that are less likely to spoil with the slight increase in temperature. Think acidic or salty condiments, butter, pickles, olives, hard cheeses, jellies and jams, and unopened beverages.

Related: 10 Items Causing Your Electricity Bill To Skyrocket

What makes holiday mode so useful is that it doesn’t kill power to the whole unit. On most modern, dual-compartment appliances, the fridge takes a break while the freezer keeps running as normal — meaning your frozen perishables stay safe while saving you money on electricity.

Advertisement

Many refrigerators are programmed to automatically revert to their standard settings once the door is opened. That said, you should consult the manual to confirm whether that will happen with your fridge, as some models require you to switch the setting off before the fridge starts cooling at full power again.

If you’re unsure whether your fridge has a holiday mode, the quickest way to find out is by consulting the manual, as every model is different. You can also check the display panel for any vacation-themed icons, such as a plane or a beach umbrella. These are a sure sign that your fridge is equipped with this feature.

What if Your Fridge Doesn’t Have Holiday Mode?

Older refrigerators often lack a holiday mode, so you’ll have to take matters into your own hands. As a rule of thumb, if you’ll be away for more than three to four weeks, it may be worthwhile to unplug the refrigerator and defrost the freezer. Of course, you’ll need to use up or throw away everything inside of it, but the energy savings can outweigh those losses. Don’t forget to clean the appliance, dry it thoroughly, and leave the doors cracked to prevent mold. For shorter trips of less than two weeks, it’s best to leave the refrigerator plugged in and remove any perishables before jetting off.

Advertisement
Featured Image Credit:  Jakob Berg/ iStock | Updated  Dec 19, 2025 |
Bennett Kleinman
Staff Writer
Bennett Kleinman is a New York City-based staff writer for Inbox Studio, covering topics for several brands including House Outlook and Better Report. He previously contributed to television programs such as "Late Show With David Letterman" and "Impractical Jokers," and digital publications like The Onion. Bennett is also a devoted New York Yankees and New Jersey Devils fan, and thinks plain seltzer is the best drink ever invented.
This article is for general informational purposes only.
Featured Image Credit:  Jakob Berg/ iStock | Updated  Dec 19, 2025 |