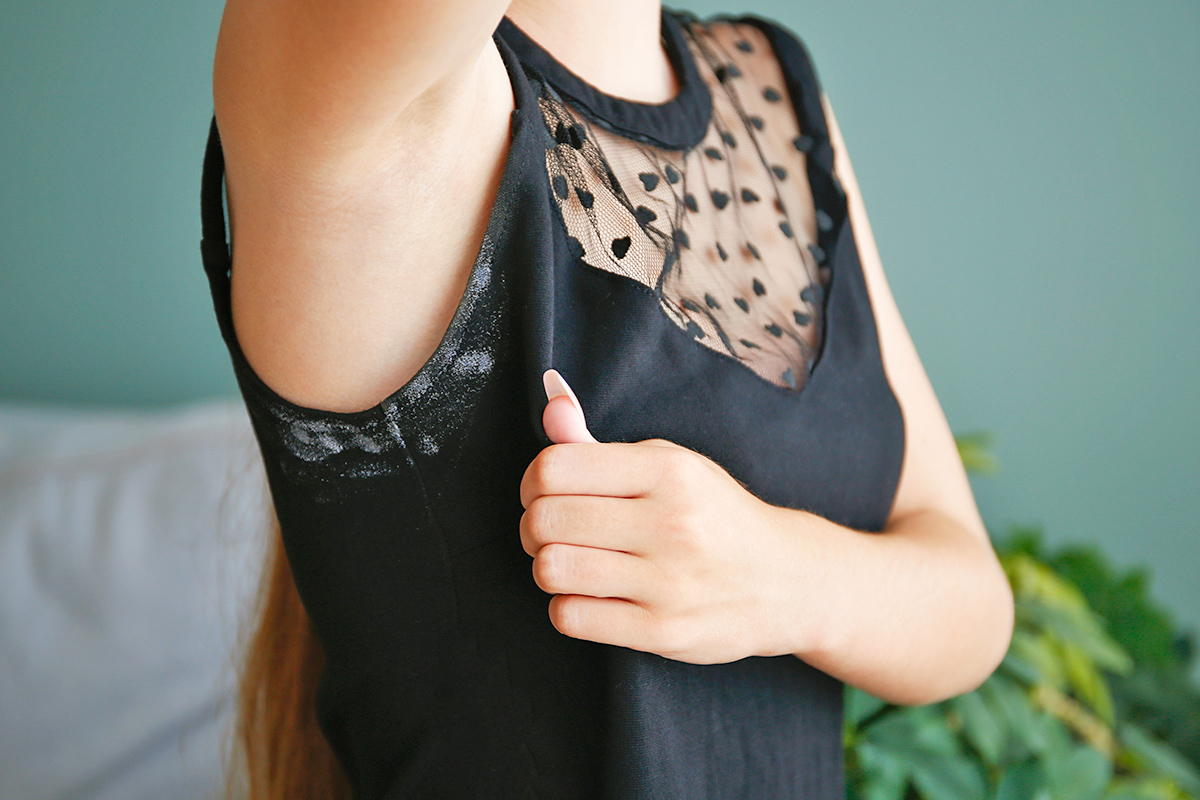
Deodorant marks on clothing seem like they shouldn’t be a big deal. How bad can a few white marks really be? But anyone who has ever looked closely at the armpits of a black T-shirt knows it’s not that simple. Although they seem like something you could get rid of with a simple wash cycle,…
Friction Is Your Friend
For deodorant marks that are recent or not yet deep-set, simply rub them with a sock, a pair of stockings, or another clean clothing item. The friction created by the fabric rubbing together helps lift the deodorant, as long as the mark is relatively fresh.
For deep-set deodorant stains, such as the ones that tend to haunt the armpits of well-loved T-shirts, a bit more elbow grease is required. (Don’t worry, it’s still easy.) Start by combining 1 to 2 teaspoons of liquid dish soap with 1/4 cup of water in a small bowl. Use a stain brush or an old toothbrush to work the solution into the stained area. This step helps to break down the oils in the deodorant. Next — and this part is key — apply a rust stain remover to the deodorant marks, making sure the stained area is fully saturated. Be sure to use a product that is formulated specifically for laundry.
Rust stain removers do the trick because many deodorants contain metals, specifically aluminum. These metals can rust, making them harder to remove from fabric. Before applying the product, conduct a spot test on a small, concealed area of the garment. After 15 minutes, check to see if the rust stain remover has caused any discoloration or damage to the fabric. You should also cross-reference the product label with the garment’s care label to make sure they’re compatible. If it’s safe to proceed, leave the rust stain remover on the stain for 15 minutes, then wash the item as usual.
More from our network
House Outlook is part of Inbox Studio, which publishes content that uplifts, informs, and inspires.


Tips and Tricks
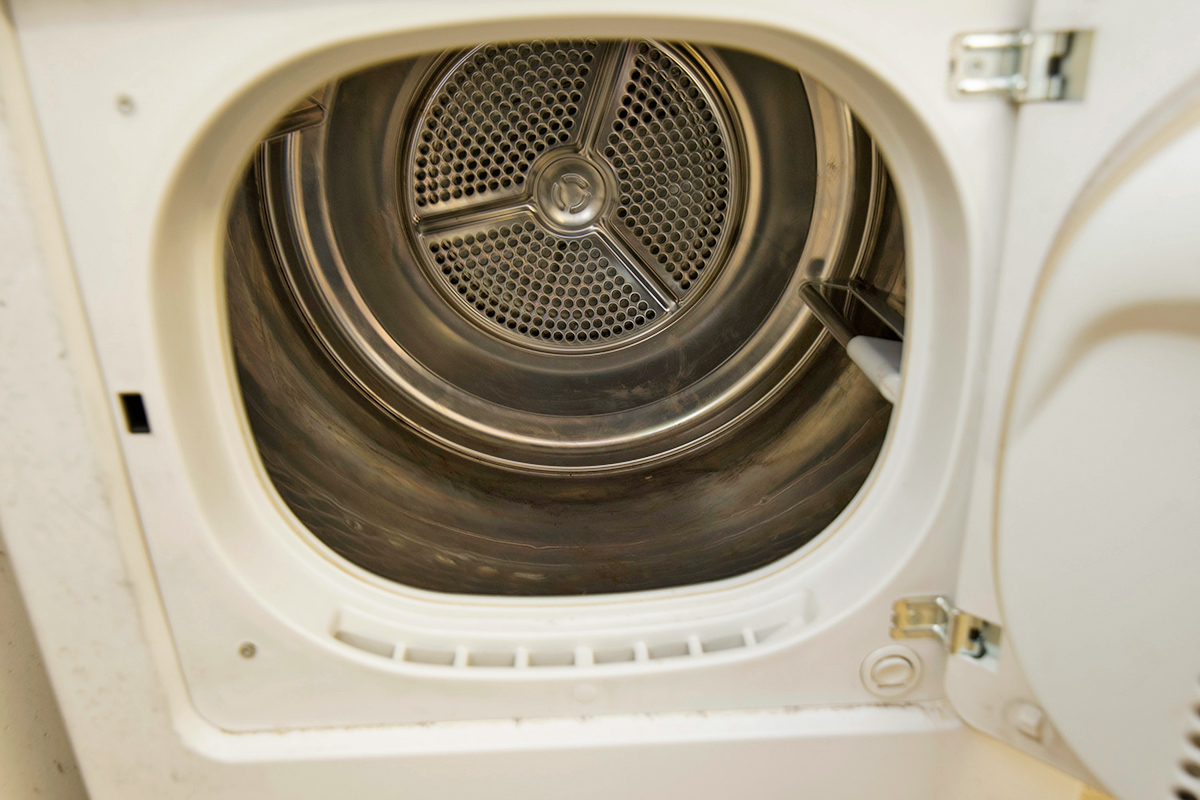
After washing, make sure you inspect your clothes before putting them in the dryer. The heat of the dryer further sets stains into fabric, so if your clothes don’t look deodorant-free, repeat the process before drying.
If you use an aluminum-free deodorant (and you’re sure it’s free of other metals), you can skip the rust stain remover step entirely. Just apply the liquid dish soap and water and launder as usual. For good measure, let the dish soap and water mixture sit for 15 minutes before the wash.