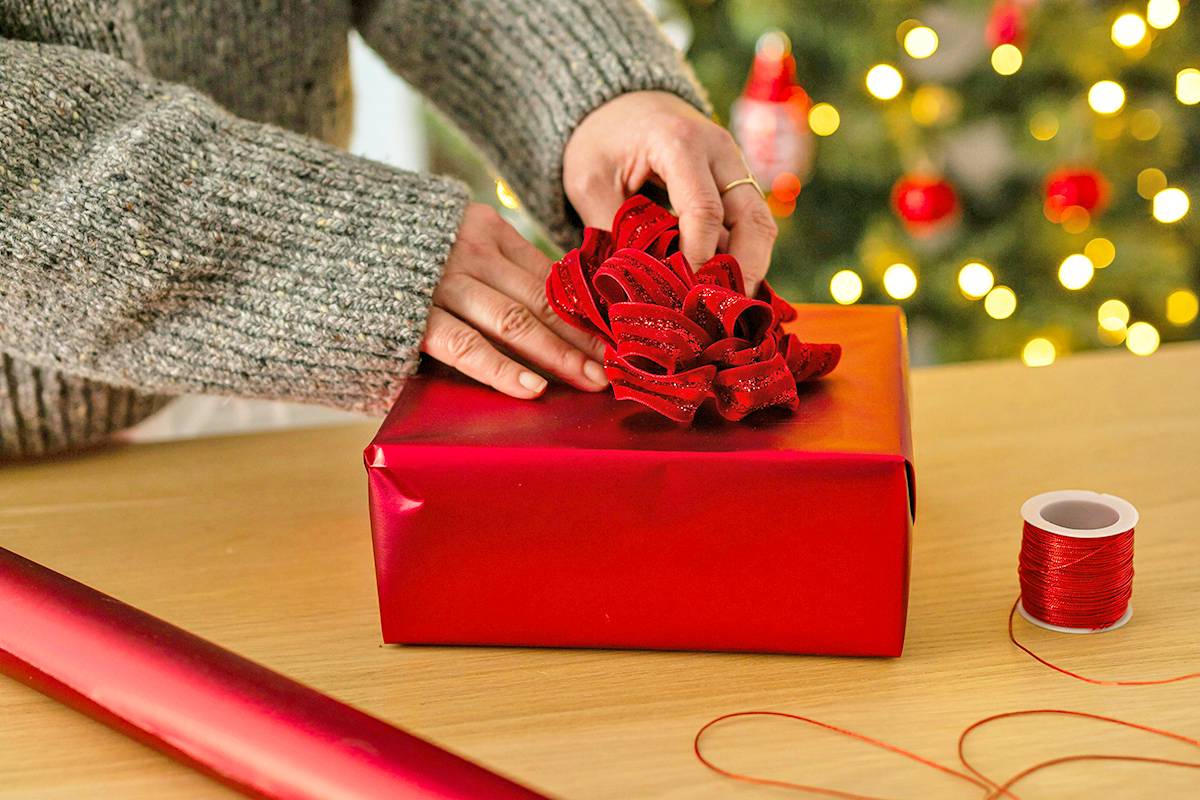
Choosing festive wrapping paper is almost as fun as shopping for the gifts themselves. Keeping that gift wrap stored in a neat and tidy manner, however, is an entirely different matter. Whether you choose specific wrapping paper for each family member, have dedicated Santa wrapping paper, or stick with neutral wrapping paper (hello, brown Kraft…
A Free Fix for Unraveling Rolls
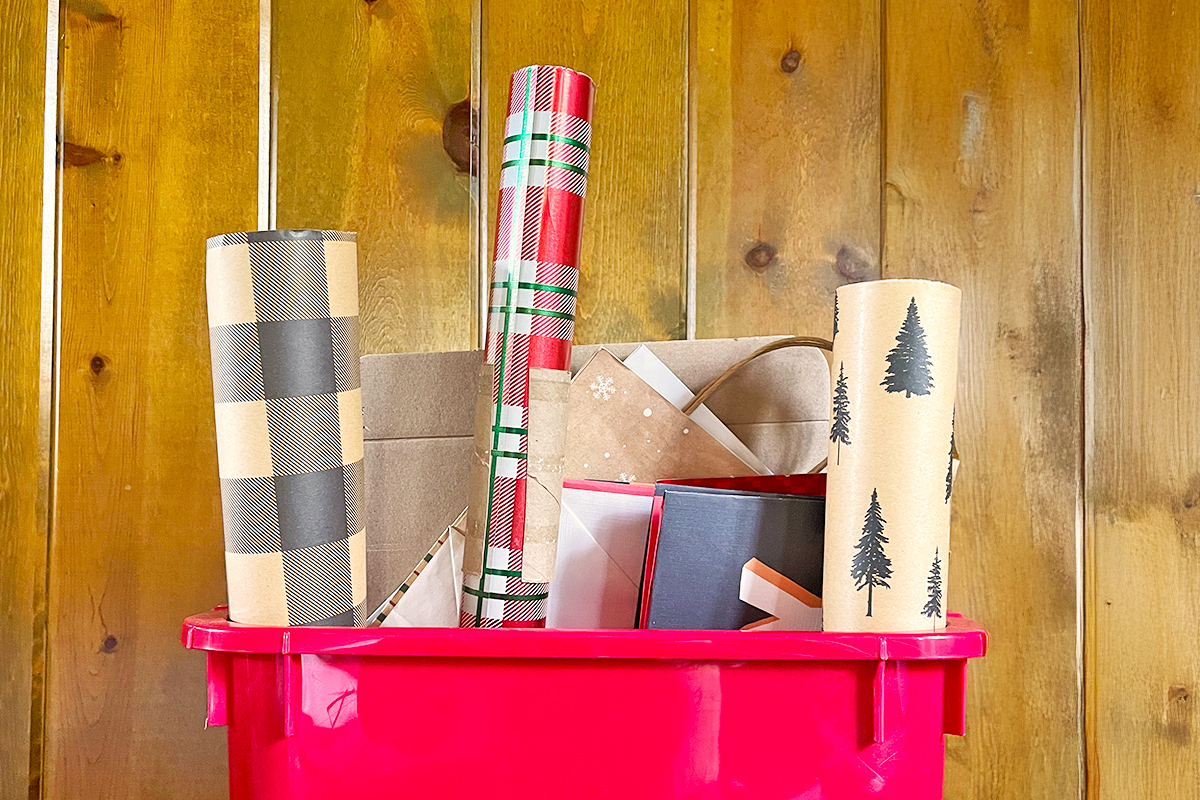
Fortunately, there is a simple hack for fixing unraveling wrapping paper. Best of all, it doesn’t require you to go out and buy any fancy organizers or innovative clips (though, if you are planning to buy something, we swear by the Little ELF storage tote). Instead, dig into your recycling and grab a few empty toilet paper and paper towel rolls.
Cut a vertical slit down the center of the cardboard roll so it opens when pulled apart, but closes (mostly) back up when left alone — sort of like a cuff. Wrap this cuff around your opened wrapping paper roll, and it will hold everything neatly in place. When you’re ready to use the wrapping paper, simply remove the cuff, cut what you need, and then replace the cuff to secure the roll again. In addition to toilet paper and paper towel rolls, empty wrapping paper rolls cut into 6-inch tubes also work well for this hack.
More from our network
House Outlook is part of Inbox Studio, which publishes content that uplifts, informs, and inspires.


Another Snappy Solution
If you don’t have any empty rolls on hand, a slap bracelet is another unique way to keep everything in place. You can purchase slap bracelets specifically designed for holding wrapping paper, such as these silicone snap bands. Or you can just order a pack of Christmas slap bracelets, such as these or these. Slap bracelets also happen to make great gift toppers or stocking stuffers.