Scrambled eggs are one of the most basic dishes imaginable, and one of the first things many of us learn how to cook. Preparing them is much easier than flipping an omelette, or trying to nail a perfect poached egg. There are various ways to make scrambled eggs, from stirring them directly in the pan…
It’s All About the Acidity
If you like to bake, you’ve likely whipped eggs at some point to create an airy sponge cake or to top a pie with a mountain of white meringue. When you do, the recipe often prompts you to add a few drops of lemon juice or a pinch of cream of tartar (powdered tartaric acid) to the mixing bowl. The acidity helps the protein molecules in the egg whites unwind, or denature, making it easier to whip them into a light, fluffy consistency. (Bringing the eggs to room temperature speeds up this process as well.)
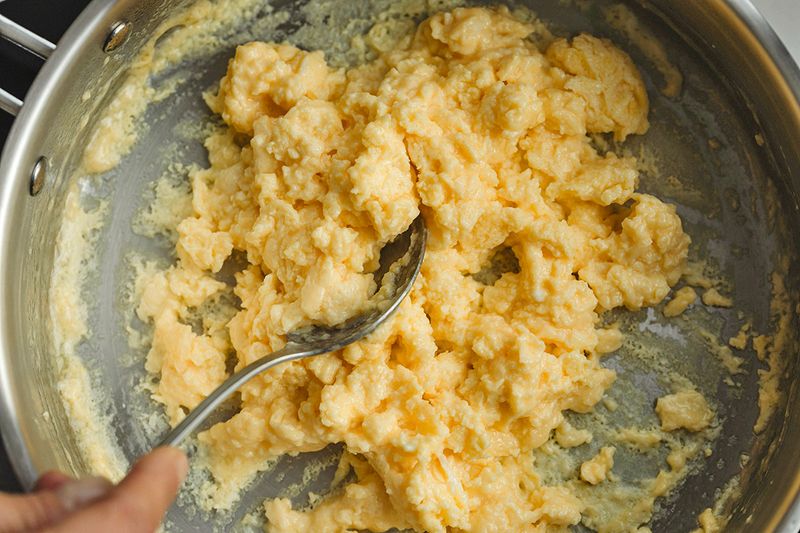
The same principle comes into play when you use vinegar in your scrambled eggs. A few drops — approximately 1 teaspoon for every two to four eggs — of apple cider vinegar or a mild wine vinegar helps loosen the proteins as you whisk, making the cooked eggs fluffier and softer on your palate. (If you hate rubbery scrambled eggs, this is the tip you’ve been waiting for.) Vinegar gives the finished eggs a creamy texture, but without the added calories and saturated fat that come from cream. Any acidic ingredient will do the trick, including lemon or lime juice, or a smidge of buttermilk or plain yogurt.
More from our network
House Outlook is part of Inbox Studio, which publishes content that uplifts, informs, and inspires.


There’s a Bonus Benefit
There’s a second reason you might want to add some acidity to your scrambled eggs, apart from improving texture. Eggs are naturally rich due to their fatty yolks, and even more so when cooked with cream or cheese. When they’re fully cooked, adding a few drops of bright acidity helps liven up your scrambled eggs, making them even tastier.
Adding a squeeze of lemon or lime juice to cooked eggs does wonders for them, while a sprinkle of finely grated zest elevates the dish even further. Salsa works similarly — think of huevos rancheros — or you can update the same basic idea by using kimchi instead. However you go about it, it will revolutionize your breakfasts and brunches.


)