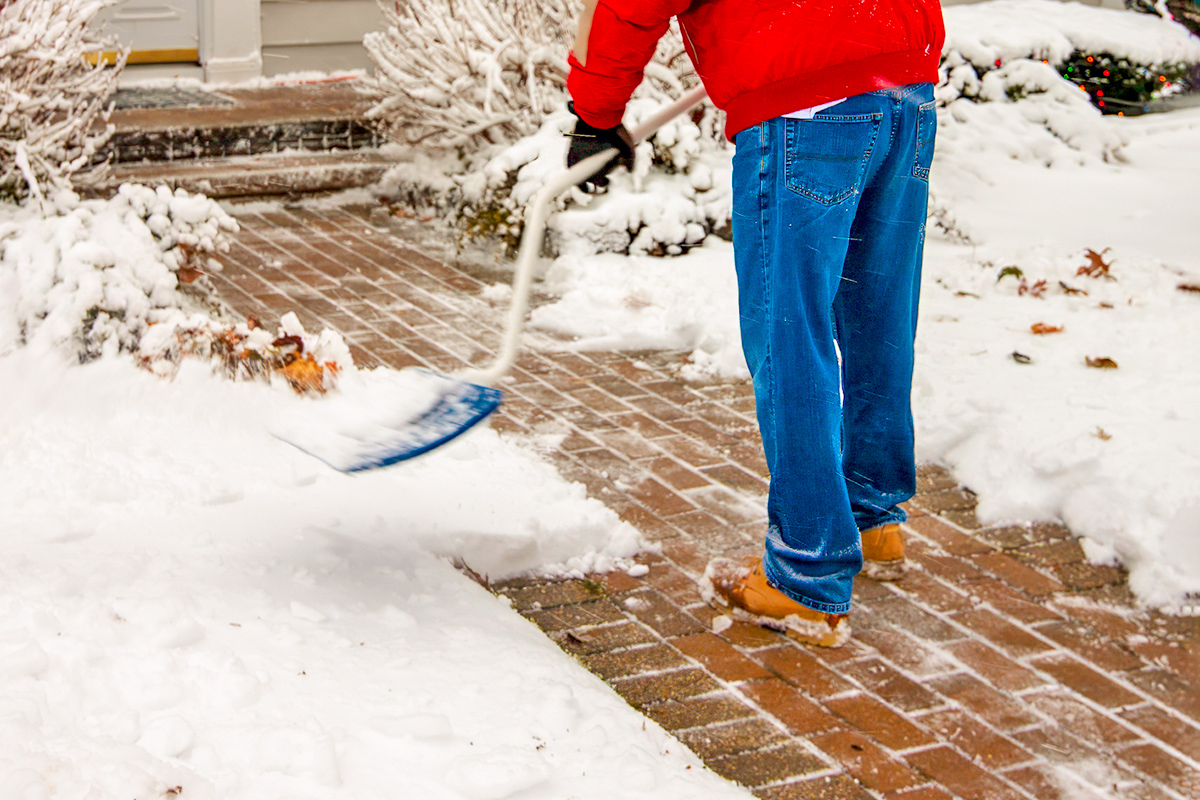
When you think of winter, chunky knit blankets, roaring fireplaces, and steaming mugs of hot cocoa might come to mind. But for anyone who lives in a snowy climate and likes a spotless home, the season also means contending with salt trickling in after each snowstorm. Salt may be helpful for melting ice and providing…
• Vacuum or broom
• Soft mop
• Microfiber cloth or towel
• Distilled white vinegar
• Warm water
• Liquid dish soap (optional)
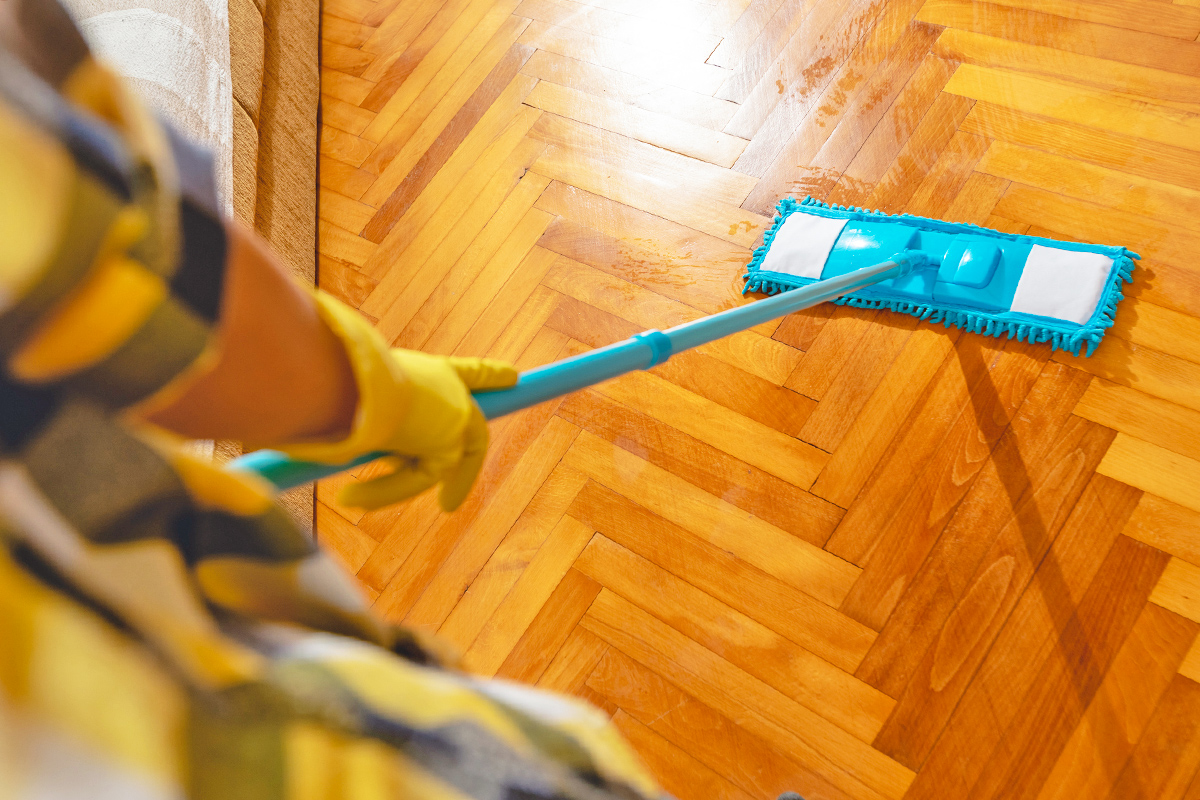
How To Get Rid of Salt Residue on Floors
Start by vacuuming or sweeping to clear away any loose salt and debris. Next, create a cleaning solution using 1/3 cup of distilled white vinegar per gallon of warm water and transfer it into a spray bottle. For particularly stubborn stains, add a few drops of liquid dish soap to the bottle and shake well.
Spray the solution onto the floor and let it sit for 10 to 15 minutes to break down the minerals. Then, dampen a clean mop or cloth with lukewarm water and go over the area again. Vinegar is acidic, and if you don’t rinse it away, it could dull the floor’s finish over time. Finally, use a dry mophead, microfiber cloth, or towel to wipe down the floor, making sure it’s completely dry and no moisture remains.
More from our network
House Outlook is part of Inbox Studio, which publishes content that uplifts, informs, and inspires.


Give It a Test Run First
There’s no denying that tracked-in salt can damage floors. However, using certain cleaners can be just as harsh. This hack is intended only for sealed floors; if you want to be extra cautious, perform a patch test in a discreet corner first. Apply a small amount of the cleaner to see how the finish holds up. The last thing you want to do is go all-in with a cleaning spray only to realize you’ve created a bigger mess than the one you were trying to clean.