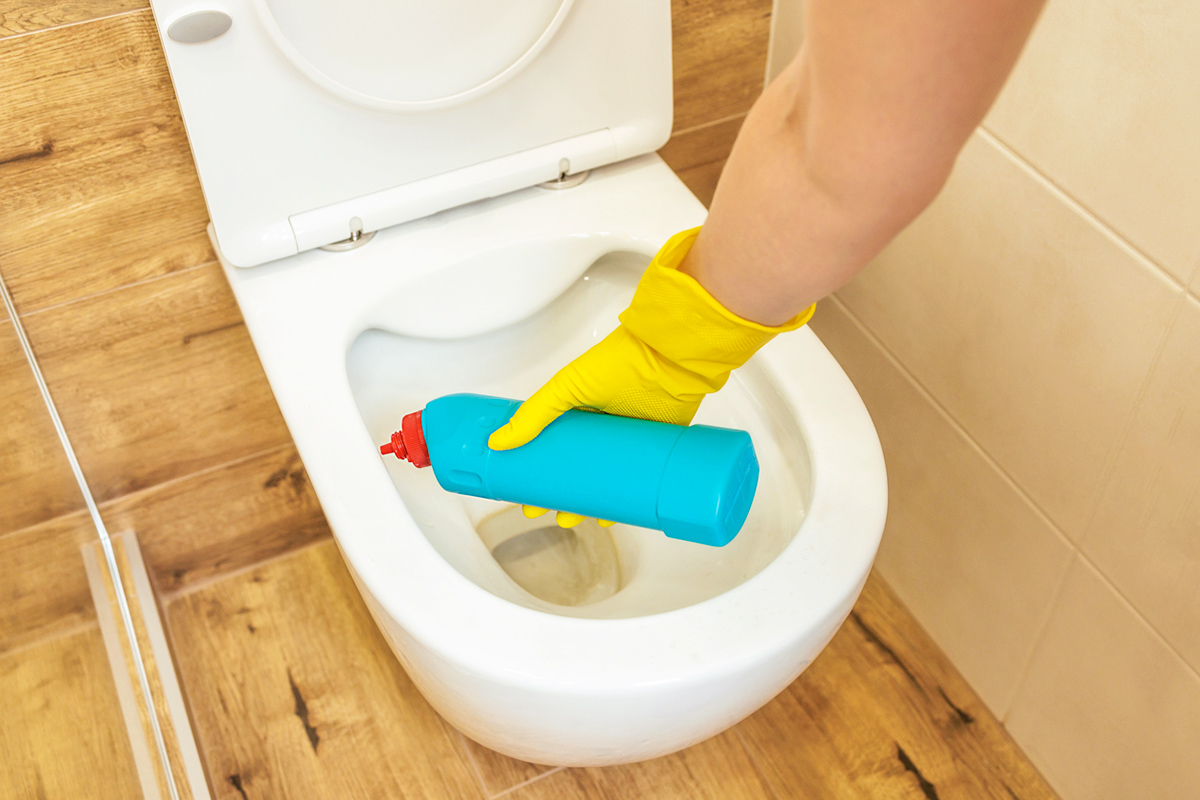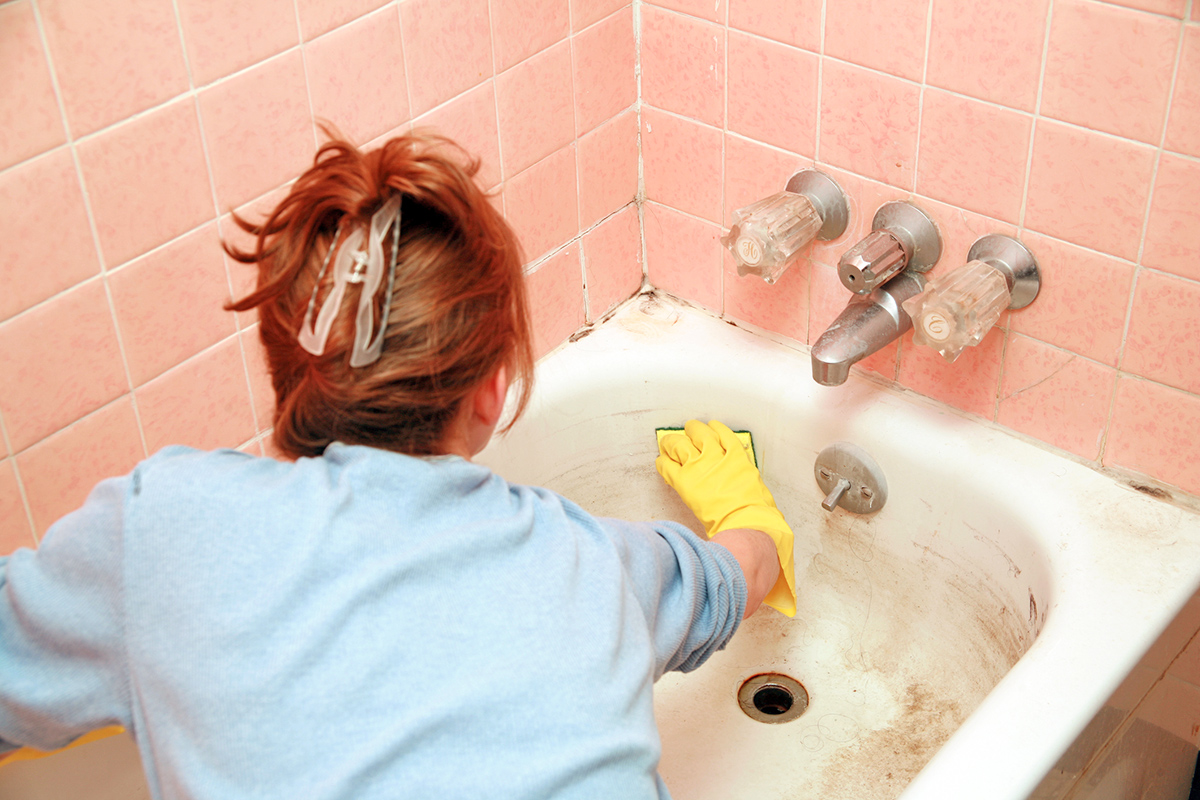
As relaxing as a bath can be, keeping the tub clean is tough. It’s one of those spots in the home that gets grimy seemingly as soon as you’re done scrubbing it; between daily use and the constant humidity in your bathroom, buildup can appear in just a few days. Fortunately, there are easy ways…
Out With the Grime, In With a DIY Cleaner
If you guessed that baking soda is partially responsible for removing those stubborn stains, you’re correct. (Honestly, what can’t baking soda fix?) To get your bathtub sparkling again, all you need is baking soda and 3% hydrogen peroxide.
Mix two parts baking soda with one part 3% hydrogen peroxide to create a thick paste. Apply the mixture to any bathtub stains — whether it’s soap scum or hard water — and let it sit for anywhere from 10 minutes to an hour, depending on the severity of the discoloration.
After allowing the paste to work its magic, take a nonabrasive sponge and begin scrubbing. Buff the paste into the stains and watch them disappear. Between the gentle abrasiveness of the baking soda and the stain-fighting power of the hydrogen peroxide, bathtub grime doesn’t stand a chance. Just give it a thorough rinse afterward, and your bathtub will be looking brand-new.
More from our network
House Outlook is part of Inbox Studio, which publishes content that uplifts, informs, and inspires.


Stubborn Stains? No Problem
If you have a stain that just won’t budge, don’t give up yet. You can repeat the process, but instead of waiting only 10 minutes, let the paste sit for the full hour. This allows the ingredients to really sink in before you scrub your way to a stain-free tub.