Whether cold or warm, drafty air is more than just an annoyance — it forces your HVAC unit to work overtime. But much like finding a needle in a haystack, locating the source of these drafts can feel nearly impossible. While searching for the leak might seem like an uphill battle, the solution is actually…
Follow the Trail
Most people use incense to make their homes smell amazing, though some burn it while tailgating in a parking lot before seeing a Grateful Dead cover band. But beyond the pleasant aroma, a lit incense stick produces a thin trail of smoke that can be used as a helpful visual guide to help you find drafts. The logic is that a lit incense stick normally produces smoke that slowly wafts upward. However, if that smoke begins to move in an irregular direction, it may be because of an air leak.
Before starting the test, turn off anything that produces a breeze, such as a fan, an air purifier, or an HVAC unit. You should also close every window and door to isolate the airflow in each room — this makes it easier to pinpoint where the draft is coming from.
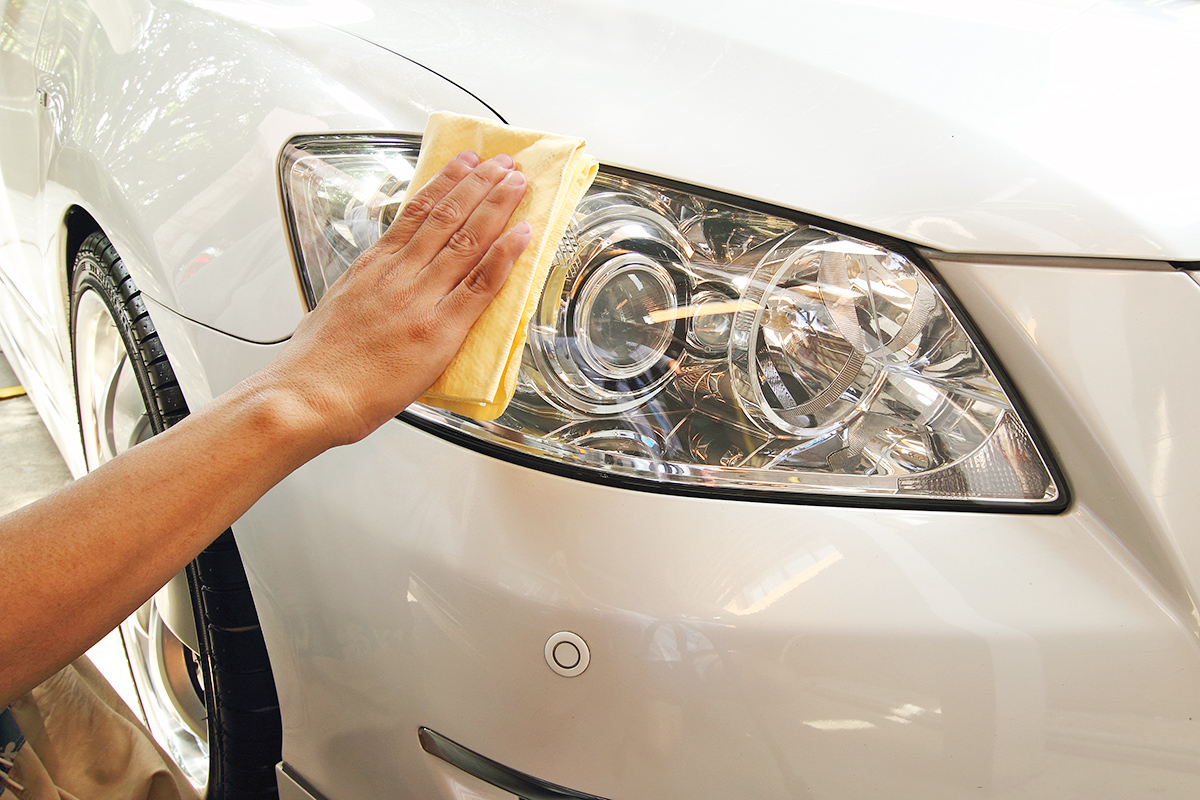
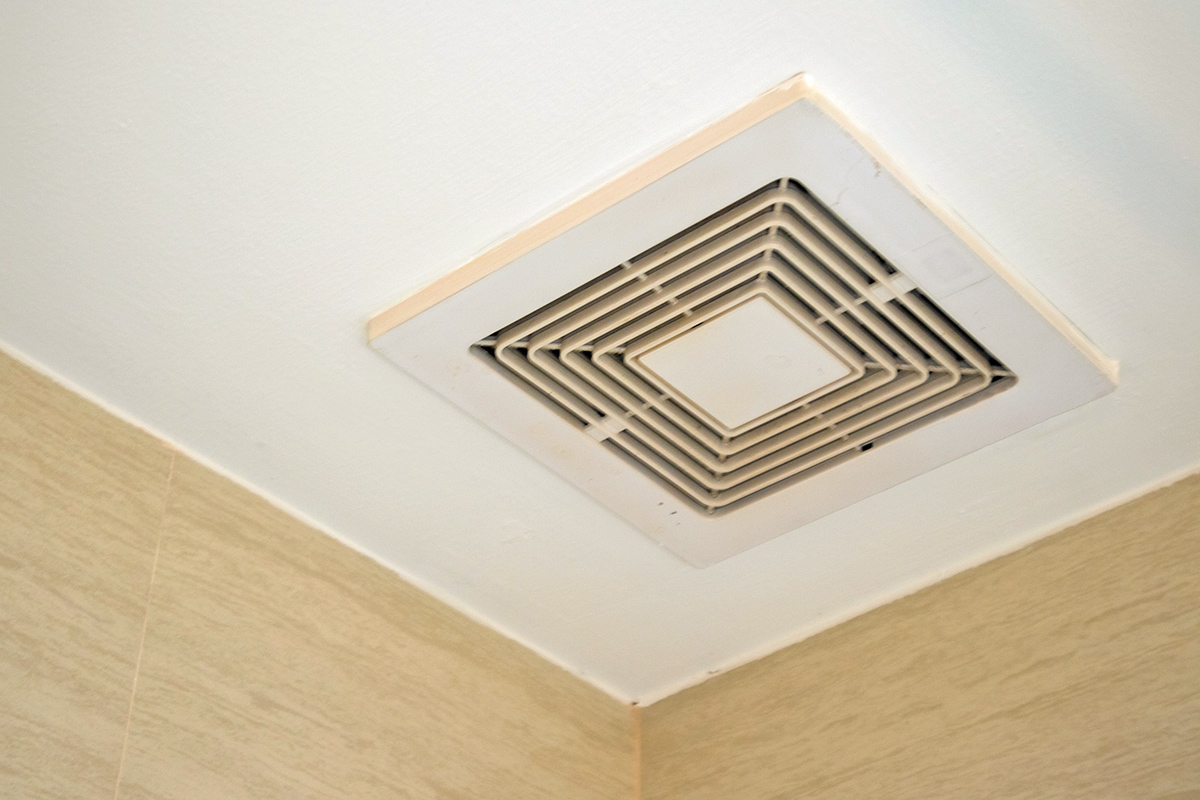
Once you’ve sealed the perimeter, light a stick of incense and carry it around the room, pausing anywhere drafty air could theoretically creep inside. Common culprits include window frames, the gaps under doors, floor vents, electrical outlets and switches, recessed can lights, fireplace dampers, and attic hatches. If there’s a leak, that incoming air will cause the smoke to change course. You might see the trail suddenly switch directions, pick up speed, or spiral in an unusual way — giving you a clear visual of the “invisible” draft.
More from our network
House Outlook is part of Inbox Studio, which publishes content that uplifts, informs, and inspires.


You Found a Leak — Now What?
When that smoke trail starts to waver, you’ve located the source of the draft. Now it’s time to troubleshoot. While the exact solution depends on the issue, most are easy fixes. If air is sneaking under a door, consider a draft stopper. For leaky windows, caulk may need to be added where the frame meets the siding, or the weather stripping along the sashes may need to be replaced. You can seal drafty electrical outlets with foam gaskets, and stop attic air leaks by insulating the hatch with rigid foam board and weather stripping.
There’s still work to be done, but at least you’ve solved the mystery of where that draft is coming from.