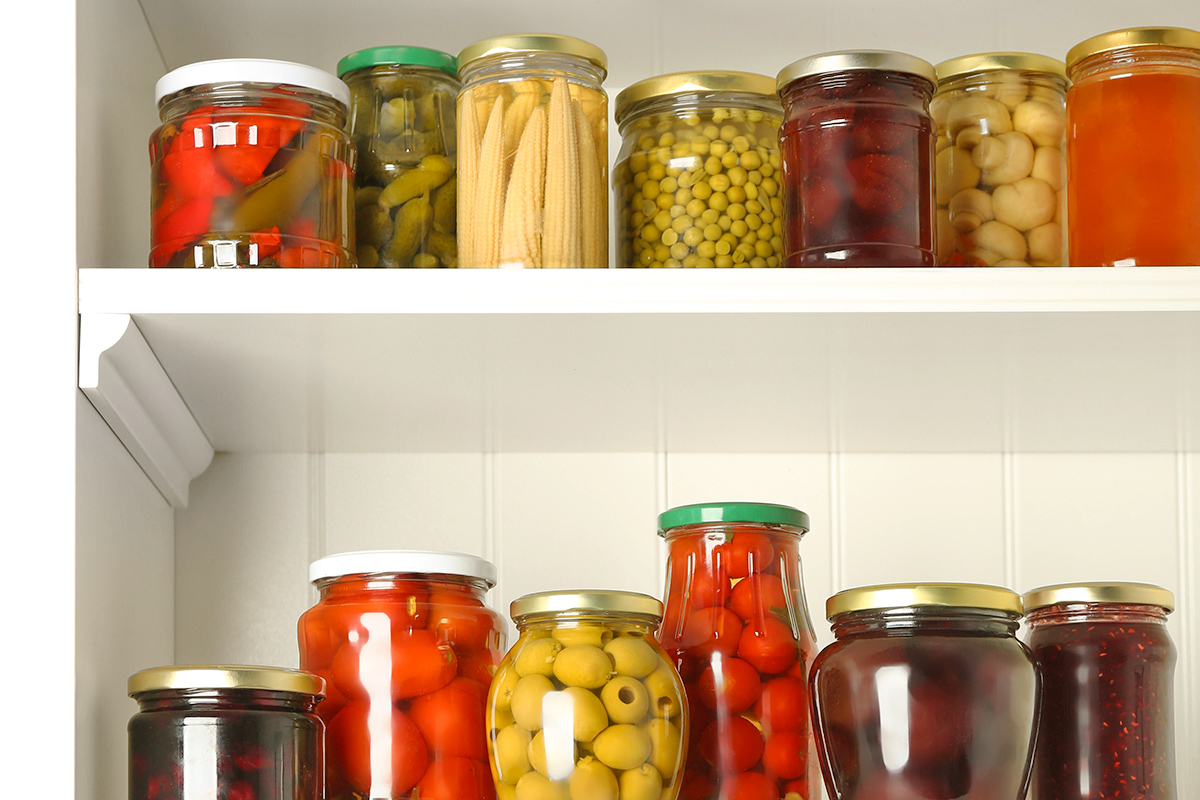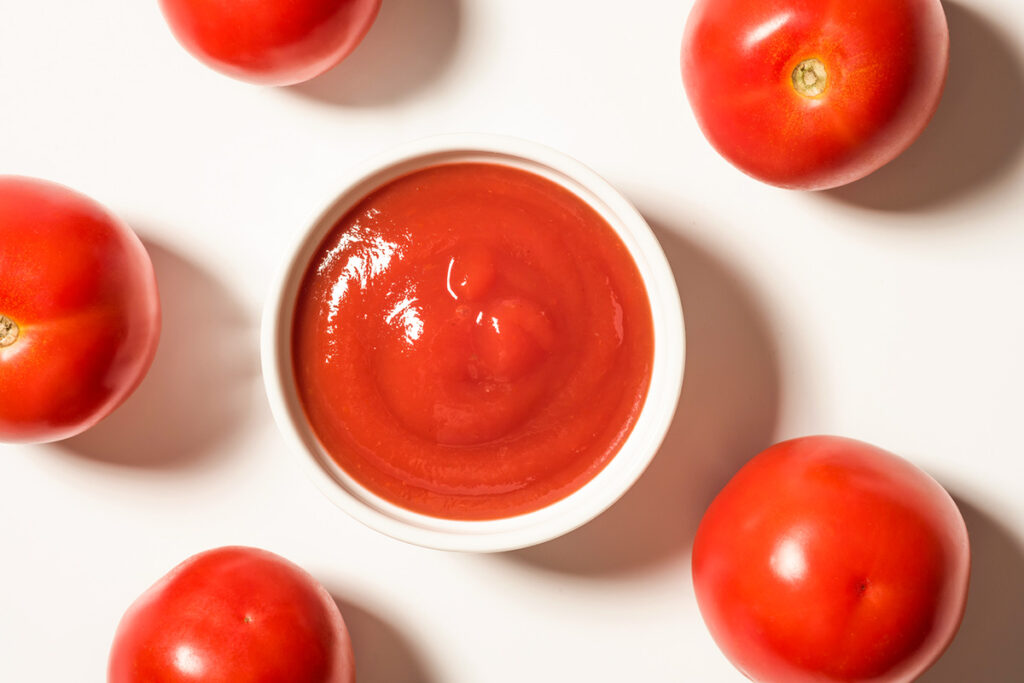
Tomato paste is something of a miracle ingredient. It serves as the base for many pasta sauces, stews, soups, and braises, adding a rich umami quality that’s crucial to the flavor of dishes across different cultures.
What Is Tomato Paste?
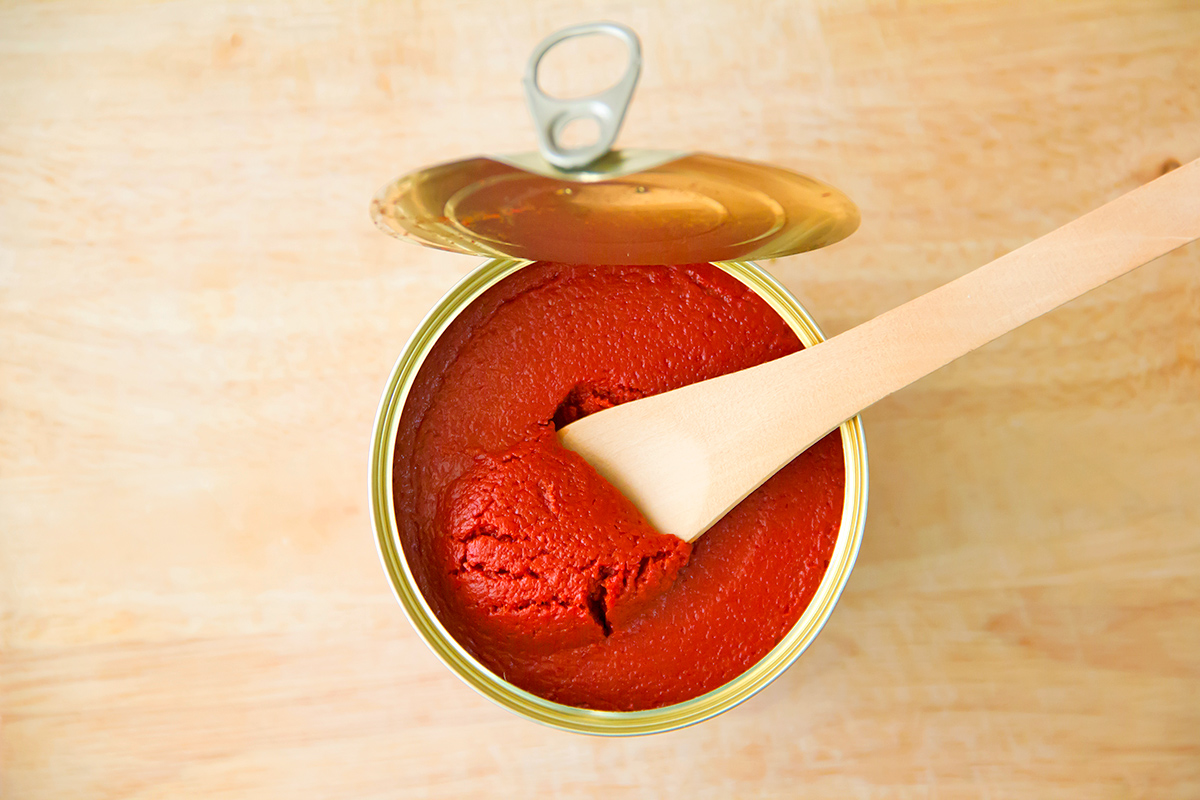
Tomato paste is made by simmering tomatoes for many hours to reduce their water content. This process also removes the skin and seeds. What remains is a thick, deep-red concentrate.
Because the flavor is so intense, most recipes call for only a small amount. This presents a problem: What do you do with the leftover tomato paste?
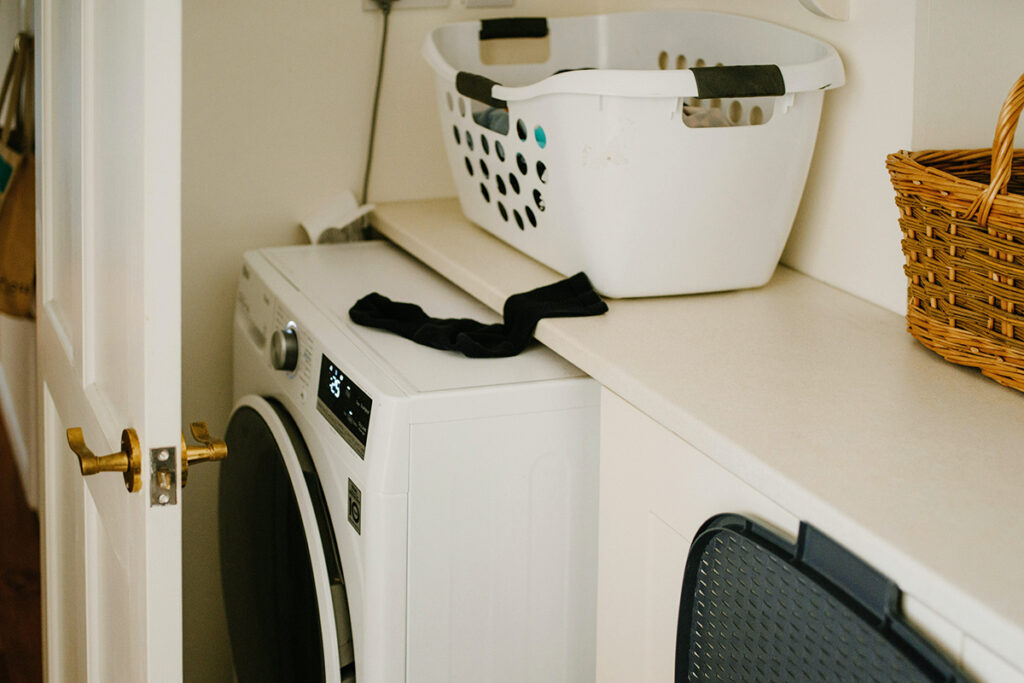
How To Save and Store Leftover Tomato Paste
Small as those cans may be, you’re often left with an awkward amount of remaining paste. Fortunately, there’s an easy solution, and it involves a little help from your freezer.
Here’s what to do: Scoop the leftover tomato paste into a freezer-safe, resealable bag. Use a rolling pin or an empty wine bottle to flatten the paste in the bag, aiming for a thickness of about 1/4 inch. To remove excess air, leave 1 inch of the zipper unsealed as you roll out the paste; seal it completely when you’re finished. You can also use the back of a butter knife to score the sheet into individual serving sizes. This makes the portions easier to break off and use as needed.
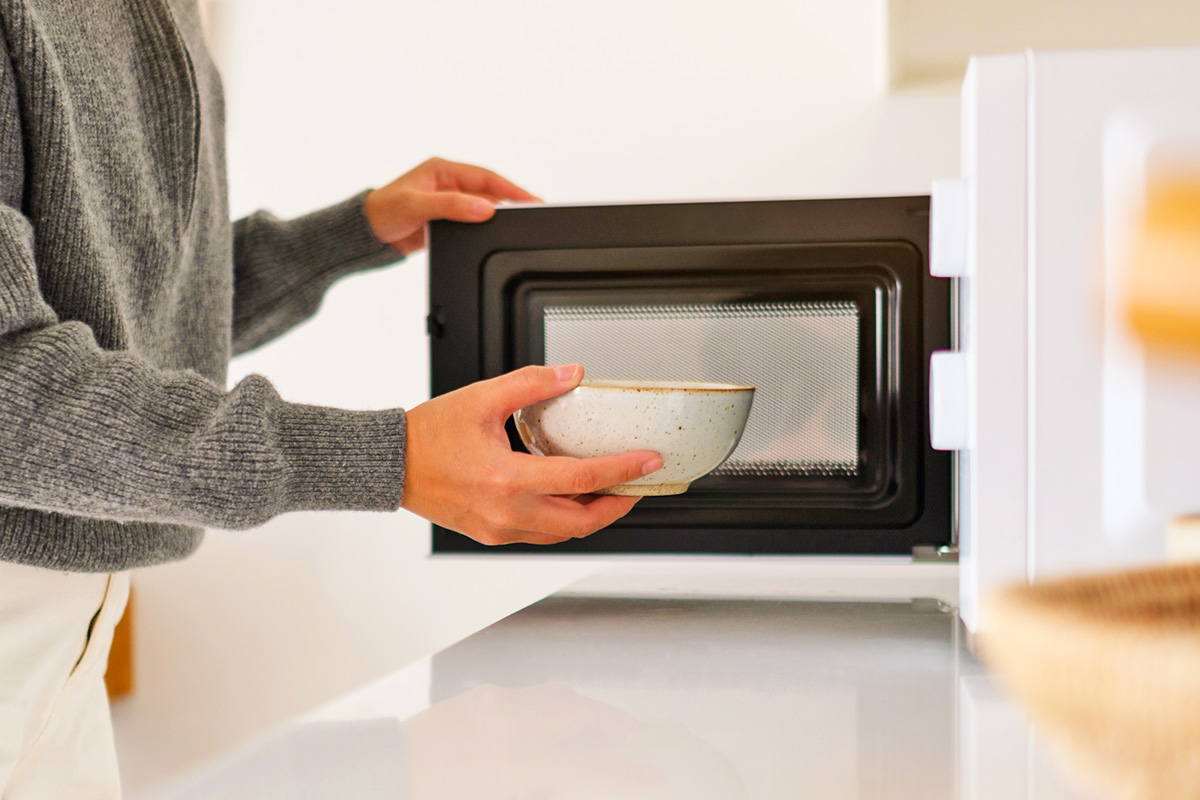
You don’t even have to wait for the frozen tomato paste to thaw before tossing it into your pan. Because it’s rolled so thin, it will begin to melt almost instantly. Remember to cook your tomato paste in some oil or butter, allowing the color to deepen. This mellows out its highly acidic flavor, lending it a caramelized sweetness.
More from our network
House Outlook is part of Inbox Studio, which publishes content that uplifts, informs, and inspires.


Tomato Paste Pro Tips
Measuring is helpful, but tomato paste isn’t the type of ingredient where a slight discrepancy will make or break your dish. Experienced cooks often eyeball the amount they use in their recipes, and may even learn exactly how much frozen paste to break off without needing a tablespoon.
If you’d rather spend a little more to skip the freezer step, you can purchase tomato paste in tubes. Some people prefer the convenience of a squeeze tube, which closes securely with a cap and stores safely in the fridge. However, keep in mind that it won’t last as long as frozen tomato paste. In the fridge, it stays fresh for six to eight weeks, compared to three to six months in the freezer.