Every home cook stocks a different array of seasonings in their kitchen, but salt is a constant. It’s simply the most versatile ingredient; without it, few foods would taste right. Even cultures that don’t use refined salt often rely on salty fermented staples, such as soy or fish sauce, to get the same result. Of…
1. Table Salt
Table salt is likely the kind you’ve known your whole life. It’s fully refined and produced with a fine texture so it can be dispensed easily from a shaker (or even the can), and sprinkled onto your food, chef-fashion, from your fingertips. When a recipe simply calls for “salt,” this is what it means.
Some recipes advise against it, however, because table salt is often iodized. An iodine compound has been added to certain varieties of U.S. table salt since 1924 to prevent goiter, an enlargement of the thyroid gland often caused by an iodine deficiency. It can add a faint bitterness to your food and discolor pickles or brines, which is why those recipes usually call for kosher salt. Noniodized table salt is easily available, though, if you prefer the fine texture.
More from our network
House Outlook is part of Inbox Studio, which publishes content that uplifts, informs, and inspires.


2. Coarse Salt
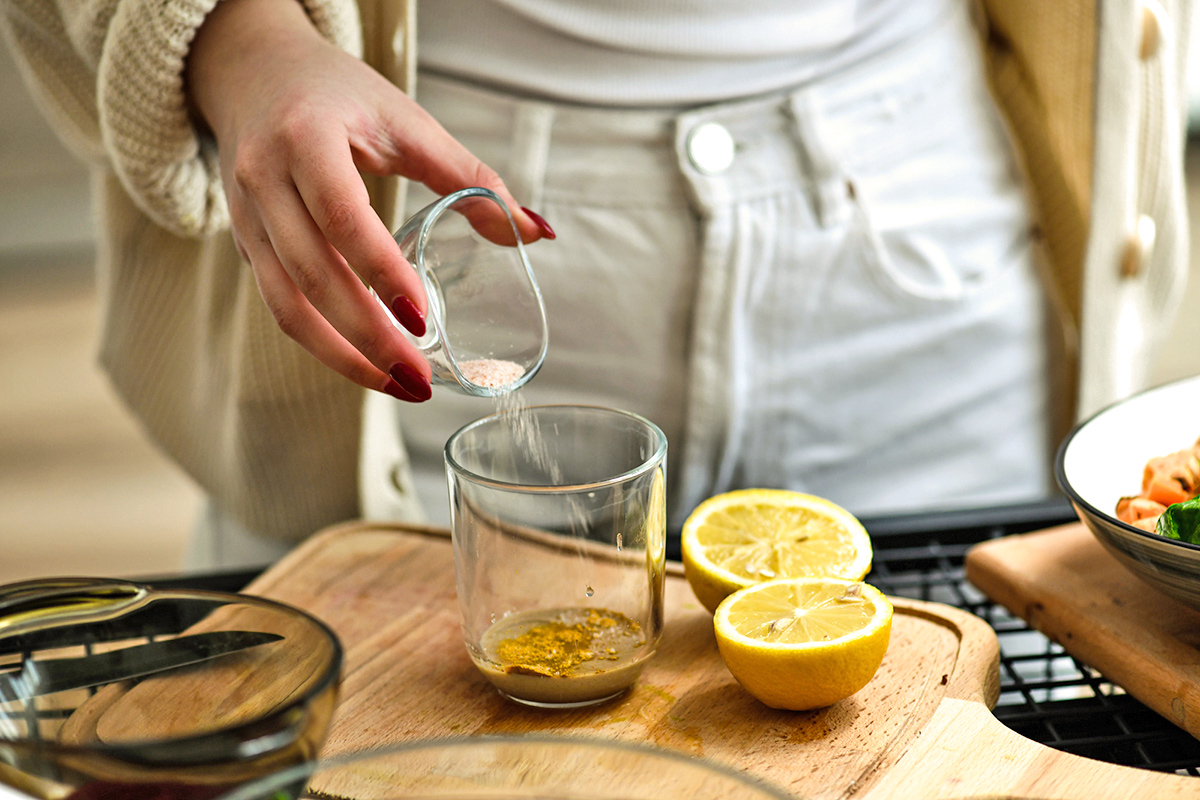
“Coarse” just refers to the size of the grains. It might be sold as kosher salt or even decorative pink Himalayan salt, which looks appealing in a grinder. Because it’s typically noniodized, it offers a cleaner flavor (sea salt being the exception, as the taste depends on its origins). Those big grains are sometimes used as a textural element on things like soft pretzels, focaccia, or margarita rims.
Coarse salt is the go-to for brines, marinades, and pickles, but be careful: Crystal sizes vary widely by brand, so swapping one for another can be a complication.
3. Finishing Salt
Finishing salt is a less obvious category than the others, though these gourmet varieties have risen in popularity over the last few decades. It refers to premium, specialized salts (usually sea salts) that you add at the very last moment as a garnish. Pyramid-shaped Maldon flakes or French “sel gris” and “sel de Guérande” are good examples. You’d use those on a dish like carpaccio, where their crunch or delicate flavor elevate the finished dish.