Is It Time for a Clean?
Unless you have a brand-new ice maker or cleaned yours recently, the answer to this question is probably yes. You can easily tell when your ice maker needs a deep clean. Look for a chlorine or chemical odor, strange-tasting ice, or visible grime on the ejector arms, inside the bin, or frozen into the cubes.
Countertop ice makers will develop pink slime or little black dots when biofilm and mold begin to grow in the damp environment. The machine may also look chalky or develop a crusty white layer if hard water mineral buildup becomes an issue. You might notice a drop in overall performance and a flat, musty taste in your ice cubes.
All of these are clear signs that a deep clean is in order — a task you can handle quickly and easily, especially if you make it a regular habit.
More from our network
House Outlook is part of Inbox Studio, which publishes content that uplifts, informs, and inspires.


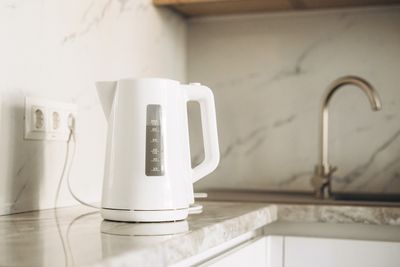
How To Clean Your Ice Maker
If you use manual ice trays, this is a simple, one-step chore. Just remove the ice trays from the freezer, pop out the ice cubes, and wash the trays with warm, soapy water. Refill with filtered or distilled water, and place the trays back in the freezer.
Automatic and countertop ice makers usually come with manufacturer instructions, so follow those first if you have them. If you’ve misplaced your manual, however, follow these steps:
1. Start by running your machine to release any remaining ice into the bin.
2. Unplug your countertop ice maker or turn off your built-in ice maker. Most modern refrigerators feature an on-off switch on the ice maker or a button on the control panel. Older models typically have a wire arm that you can lift into the “up” position to stop the machine from cycling.
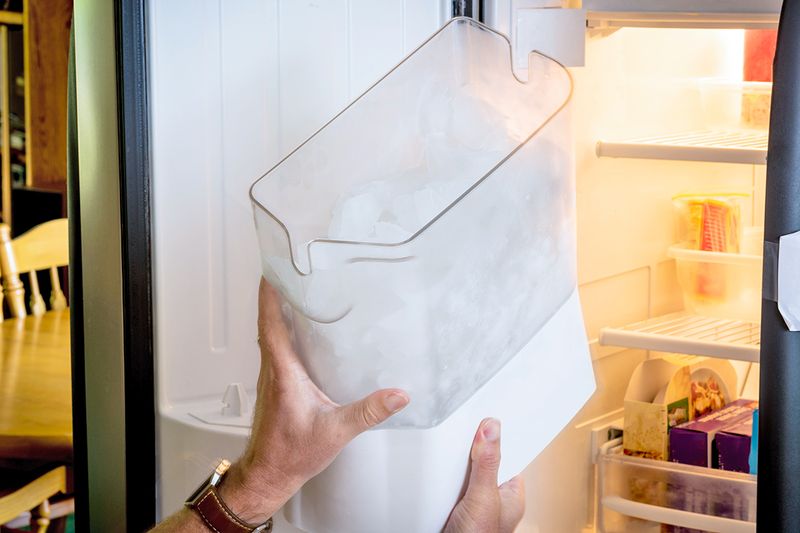
3. Empty all ice from the collection bin. Remove the bin, fill it with warm, soapy water, and toss in the scoop to soak.
4. If you are cleaning a countertop model, locate the drain line or plug on the back or bottom of the machine to empty any remaining water.
5. While the parts soak, clean the internal water lines — the usual cause of bad-tasting ice. Pour an ice-machine-compatible cleaning solution into the reservoir and run a cleaning cycle to flush out any buildup. Sylvan Ice Machine Cleaner claims to be compatible with all models, but you can also make a DIY solution using 10 parts water to 1 part distilled white vinegar. Countertop models tend to work well with descaler tablets, such as these from USKICH.
6. To clean the interior of the ice maker, you’ll need three microfiber cloths and a soft toothbrush. In a small bowl, mix a few drops of dish soap with warm water. Dip a microfiber cloth in the solution and wring it out so it’s damp, not dripping. Wipe down the interior with the cloth, and then use the toothbrush to get into those hard-to-reach spots. Wipe everything a second time with a separate cloth dampened with clean water, then dry the interior completely with a fresh microfiber cloth.
7. If your machine has a water filter, replace it with a new one.
8. Rinse your bin and scoop, then place them back into the machine before turning it back on. Don’t forget to reopen the water supply valve if you shut it off before cleaning.
9. Toss out the first two to three cycles of ice, which may absorb some of the residue from the dish soap or descaler.
Making this a regular part of your cleaning routine is the best way to keep any ice machine working properly for as long as possible. Experts recommend cleaning countertop models every three months and automatic ice makers twice a year, or every three to four months if you have hard water.