Chicken is one of the most popular protein sources, and for good reason: It’s flavorful, versatile, and generally affordable. Its only real flaw is that it’s relatively easy to overcook. Ideally, chicken should be tender and juicy, but when it’s overdone, it can become dry and tough. Fortunately, there’s a simple and easy trick, beloved…
How To Brine a Chicken
So, how does it work? Through a process called osmosis. When you put your bird in salted water, the salt alters the protein structure of the meat, allowing it to absorb some of the brine. Then, as the chicken cooks, that trapped brine seasons the meat and keeps it moist, providing a safeguard against overcooking.
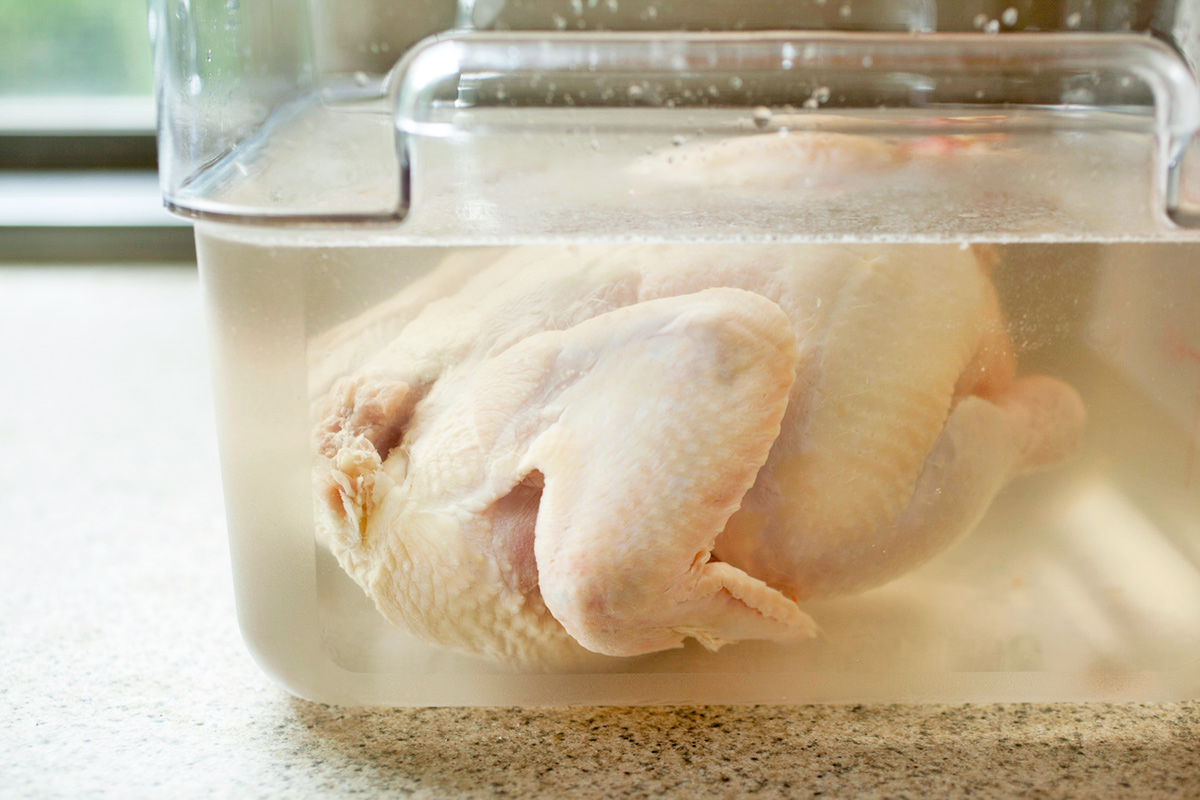
The steps are easy to follow. You’ll need a container that can hold your chicken and won’t react with the salt or any acidic ingredients you add. Consider using glass, stainless steel, food-grade plastic, or ceramic. For easier cleanup, you can also use a leakproof freezer bag.
Add the chicken to the container and enough water to fully submerge it. Then, remove the chicken, measure the water you’ve used, and add enough salt to get the right concentration. A good rule of thumb is 1 cup of salt per gallon of water, but this is only a rough estimate because salt crystal sizes vary greatly. Table salt is finer than pickling salt, which is finer than Morton’s, which is finer than Diamond Crystal. It’s often helpful to use an online “brining calculator,” which lets you specify the type of salt you’re using for better accuracy.
More from our network
House Outlook is part of Inbox Studio, which publishes content that uplifts, informs, and inspires.


Regardless of the salt you choose, a whole chicken should brine for at least four hours and no more than 12 hours. For boneless, skinless chicken breasts, you only need about 30 minutes to two hours. While brining chicken thighs is not always necessary, if you choose to do so, one to two hours should be sufficient. For bone-in cuts, allow two to four hours for brining.
Tip: Check the label to see if your chicken has been preseasoned. Those are likely already brined, so you won’t want to do it again.
Dry Brine Your Chicken
That may sound like a lot of work, and it can be. You’ll also need to make sure you have enough fridge space for a container full of bird and brine. This is why many cooks prefer dry brining, which means you don’t have to contend with a large container of salty water. A dry brine is as simple as rubbing your chicken with salt and letting it sit.

The process still works because the salt draws moisture from the chicken, which dissolves the salt and creates a small amount of concentrated brine. That brine is then reabsorbed into the bird, seasoning the meat and altering its structure just enough to help it retain its own moisture better. Not only is it a simpler method, but it also gives you a more concentrated chicken flavor.
You don’t need as much salt, either — just about ½ ounce by weight, rubbed evenly all over a whole chicken or individual cuts. Simply leave the chicken — whether it’s a whole bird or individual cuts such as thighs or breasts — uncovered on a plate in the fridge overnight, and you’re good to go. There’s no need to rinse the chicken before cooking, as this can spread bacteria around your kitchen and wash away the flavor. Patting the meat dry, however, will help you achieve delicious, crispy skin.