Wallpaper is everywhere right now, and with so many cute peel-and-stick styles available, adding a splash of color and a fun print to your home has never been easier. But here’s the thing: Even with the convenience of peel-and-stick, this trend is a commitment, and not all of us are ready to deal with the…
The Damage-Free Wallpaper Hack
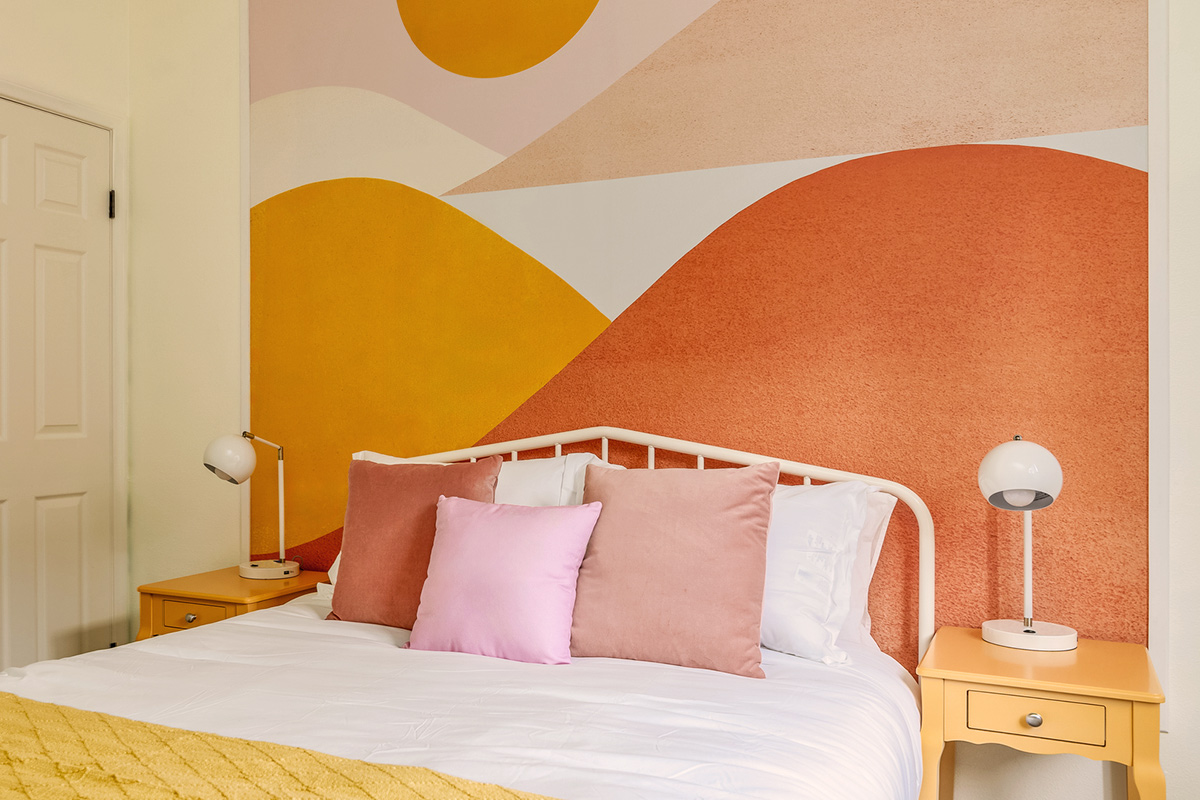
Instead of applying wallpaper directly to your walls, you can create a renter-friendly wall mural using supplies from your local home improvement store, as demonstrated by Leeanne of @homemakinginlove. In her Instagram reel, Leeanne divided a vintage-looking countryside wall mural into two oversized panels, applying the wallpaper’s adhesive backing to corrugated plastic sheets and framing them with trim for an elevated finish. Keep reading to find out how to recreate the look in your own home.
• Tape measure
• Large corrugated plastic sheet(s)
• Utility knife
• Peel-and-stick wallpaper mural
• Credit card or smoothing tool
• Picture frame molding
• Paint or wood stain (optional)
• Hanging hardware
• Level
More from our network
House Outlook is part of Inbox Studio, which publishes content that uplifts, informs, and inspires.


1. Before heading to the home improvement store, measure the wall (or walls) where you plan to hang the mural. We suggest using painter’s tape to map out the exact dimensions of the artwork you’re considering. This will help you determine the size of the corrugated plastic sheets and the amount of trim to purchase.
2. Place the corrugated plastic sheet on a clean, flat surface. If necessary, use a box cutter to trim it so it’s slightly larger than your mural.
3. Apply the peel-and-stick wallpaper mural to the corrugated plastic sheet. Work slowly and carefully, using a credit card or a smoothing tool to remove any air bubbles. Trim excess wallpaper with a box cutter if needed.
4. Measure the length of each side of the plastic sheet to figure out how much trim you’ll need. If you don’t own a miter box and hand saw, you can get the trim cut in-store at Lowe’s or The Home Depot when you buy it. You’ll need four pieces of trim (e.g., picture frame molding), with the ends cut at a 45-degree angle, to form each frame. If desired, paint or stain the trim pieces before adhering them to the plastic sheet.

5. Use construction adhesive, such as Liquid Nails, to attach the trim pieces to the plastic sheet. Make sure the mitered corners line up neatly before allowing the adhesive to dry for a full 24 hours.
6. Now it’s time to hang your finished mural. You can use heavy-duty Command strips for a damage-free option, or Z clips for a more permanent solution. Use a level to make sure the mural hangs perfectly straight.
A Small-Space Alternative
If you don’t have the space for a larger art mural like Leeanne’s, you can achieve the same look on a smaller scale. Use poster board cut to your desired size and a picture frame (IKEA has some of the best affordable options). If you can’t decide on a single wallpaper print for this DIY, you can go with a few different ones to create a gallery wall with a cluster of curated frames.